How to Fix Common Sourdough Pretzel Problems: A Troubleshooting Guide
Both new and experienced bakers strive to make perfect sourdough pretzels. Their creations often don’t match expectations because of common pretzel problems. Dough consistency and final texture are just two factors that affect these beloved treats’ success.
This detailed troubleshooting guide helps bakers tackle their biggest challenges. You’ll discover solutions to fix sticky dough and learn proper rising techniques that create the classic pretzel brown color. The guide shows you the appropriate baking soda bath methods and texture techniques. You’ll also learn how adequate storage keeps your pretzels fresh longer.
Dough Issues
Bakers must understand and manage common dough problems to make perfect sourdough pretzels. The preparation process presents three significant challenges that determine the quality of the final product.
The dough is too sticky.
Sticky sourdough pretzel dough usually indicates problems with flour choice or hydration levels. The flour’s protein content is vital – bread flour with at least 12% protein content yields the best results. Bakers struggling with sticky dough should take these steps:
- Check flour type and protein content
- Ensure accurate measurements using a digital scale
- Think about ambient humidity levels
- Adjust hydration levels if needed
- Perform proper gluten development through stretching and folding
Bakers can fix sticky dough quickly by gradually adding flour, one tablespoon at a time while kneading until the dough reaches the right consistency.
The dough is too dry.
Pretzel dough that turns out dry and crumbly creates quite a challenge. This happens because bakers mismeasure flour or don’t add enough water. When rolling, the dough should be moist enough to stick slightly to the work surface. The solution to dry dough requires these steps:
- Let the dough rest for 30 minutes before adding more liquid
- Take a spray bottle and lightly mist the dough surface
- Add water slowly, one tablespoon at a time
- Knead the dough gently until it becomes cohesive
Important: Your flour measurement technique matters a lot. Direct scooping from the flour bag can pack too much flour into your measuring cup.
The dough isn’t rising properly.
Your dough’s proper fermentation depends heavily on temperature. Cold environments make dough sluggish and slow down the rising process. To achieve optimal fermentation, the ideal dough temperature ranges between 75-80°F (24-27°C).
Here’s how you can fix rising problems:
- Mix with warm water (80-90°F) at the start
- Choose a spot without drafts for fermentation
- Turn your oven into a proofing box by leaving the light on
- Keep track of dough temperature as you go
- Give extra time for fermentation when it’s cool
If your dough still refuses to rise, the sourdough starter’s health might be the culprit. A healthy starter doubles in size and floats when tested. Room temperature significantly affects fermentation timing—warmer rooms speed things up, while cooler spaces demand more patience.
Shaping Problems
Poor shaping techniques can affect perfectly prepared sourdough pretzel dough, resulting in misshapen products. Bakers who understand the shape retention science and become skilled at proper techniques consistently achieve professional-looking results.
Pretzels lose their shape.
Bakers often struggle with their perfectly shaped pretzels that lose their signature form in the oven. The dough’s elasticity or improper preparation for the baking soda bath usually causes this problem.
These steps help maintain the classic pretzel shape:
- Place shaped pretzels in the refrigerator for 30-60 minutes before the baking soda bath
- Let the dough develop a light skin while chilling
- Make sure the pretzel ends stick together firmly
- Shape the pretzel holes right after forming them
- Give shaped pretzels a quick 15-minute proof if you plan to refrigerate them
Expert Tip: The dough might feel too elastic and fight back as you roll it. Let it rest for a few minutes, and try again.
Difficulty achieving the classic pretzel twist
Making that perfect pretzel twist needs careful attention and the proper technique. Bakers often find it frustrating when their dough shrinks back or won’t stay stretched during shaping.
Here’s what you need to think about to nail that twist:
- Use a spray bottle to keep the dough moist enough
- Leave an extra-large bulge in the middle so it rises well
- Shape the rope into a U first
- Cross the ropes about a third of the way from the U
- Push the ends firmly into the bottom to seal them
Important: Your dough rope must be long enough. Short ropes will yield bun-shaped pretzels after baking. If the dough fights back against rolling, it needs time to rest.
Bakers must keep the dough covered to stop it from drying out. A light mist of water on hands and work surface can provide the right friction to roll without hurting the dough’s texture. The pretzels might look wonky after boiling, but these quirks usually sort themselves out in the oven.
The dough’s temperature and moisture level play a significant role in shaping. The dough should stick slightly to your work surface as you roll it. Dry dough becomes tough to shape and won’t hold its form in later steps.
Note that you might need slight tweaks after the baking soda bath since pretzels can change shape during this step. Good chilling and careful handling should keep these adjustments small. This care leads to beautiful sourdough pretzels with classic twists and well-placed holes.
Baking Soda Bath Challenges
A baking soda bath is a significant step that creates authentic pretzel characteristics. Home bakers often face challenges with this process. The science behind this technique helps bakers achieve the distinctive pretzel flavor and appearance while maintaining the dough’s quality.
Why Do Pretzels Break in the Bath?
Sourdough pretzels that fall apart in their baking soda bath usually indicate the wrong preparation techniques. Proper temperature control and timing make all the difference.
Here’s how to give your pretzels a proper bath:
- Cool your shaped pretzels in the fridge for 30-60 minutes
- Keep water at a gentle simmer instead of a full boil
- Mix baking soda with hot water before adding other ingredients
- Protect your hands with kitchen gloves
- Bath each side for just 30 seconds
- Move pretzels carefully between steps
Important: Your pretzels will crumble instantly if you put them in rapidly boiling water.
The bath is not producing the desired color.
The classic mahogany color of pretzels comes down to the right bath concentration and technique. Traditional recipes use lye, but baking soda can give excellent results when used correctly.
To get that perfect color:
- Use 120 grams of baking soda per 2 liters of water
- Add a small amount of honey to balance any metallic taste
- Make sure pretzels are fully submerged in the bath
- Think about baking the soda beforehand to boost browning
- Pat pretzels dry before adding the egg wash
Expert Tip: Baking the soda first creates a more robust alkaline solution that will give you better browning and a more traditional pretzel look.
Your bath temperature needs to stay steady. Cold water won’t develop that signature color properly. Too much heat can mess up your dough’s structure. Maintain water at a gentle simmer (just below boiling) to work best.
Bakers looking for lye alternatives can still get professional results by paying attention to the baking soda solution’s strength. A mix of 6 tablespoons baking soda and 8 cups water will give enough alkalinity for proper pretzel development. This method might not provide results similar to lye-dipped pretzels, but it’s a safe and effective option that makes tasty pretzels.
Note that pretzels should be patted dry gently after the bath and before egg washing and baking. This step keeps extra moisture from affecting your final texture and helps them brown evenly in the oven.
Baking Troubles
The perfect sourdough pretzel needs precise temperature control and proper surface prep. Expert bakers sometimes struggle with the final steps of pretzel making. Understanding common challenges guides them toward consistent results.
Pretzels are not browning evenly.
Temperature control is a vital part of getting that signature pretzel color. Bakers should maintain an oven temperature of 450°F (232°C) to get optimal results during the 15-18 minute baking period. Your pretzel’s browning consistency depends on proper rack positioning.
Essential steps for even browning:
- Arrange racks in the upper and lower thirds of the oven
- Preheat the oven well before baking
- Rotate baking sheets halfway through
- Monitor internal temperature carefully
- Adjust temperature down by 25° if browning too quickly
Bakers working at altitudes above 5,000 feet might need to adjust temperatures slightly and extend baking times. A simple egg wash before baking will promote even browning and give your pretzels an attractive shine.
Pretzels sticking to the baking sheet.
Bakers often struggle when pretzels stick to baking surfaces. The baking soda bath’s alkaline solution makes things worse, so you need to prepare your baking surface properly.
Here’s what works to prevent sticking:
- Use silicone baking mats (Silpat) with plenty of non-stick sprays
- Add lots of oil or pan release to any baking surface
- Let all extra liquid drain after the alkaline bath
- Try stainless steel racks to improve airflow
- Stay away from aluminum surfaces – they react with alkaline solutions
Necessary: If you use parchment paper, you’ll need lots of non-stick spray. Many bakers get better results by letting pretzels sit on cooling racks for 5-10 minutes before moving them to baking sheets.
Perforated baking sheets work great to get professional results. These particular sheets let moisture escape while baking. The right tools and proper prep will cut down on sticking and give you even browning.
Watch your temperature throughout baking. An oven thermometer helps because home ovens can be off by 25-50 degrees. Your pretzels might brown too fast on top while staying pale underneath. You can fix this by moving the rack or turning down the heat.
Expert Tip: Leave enough space between pretzels on silicone mats or parchment paper. Good spacing lets heat move around and stops wet spots that cause sticking.
The right temperature, good surface prep, and proper tools will help you bake perfect sourdough pretzels. Monitor your dough as it bakes and make adjustments to achieve consistent results without sticking.
Texture and Flavor Concerns
Texture and flavor define excellence in sourdough pretzel making. If these elements do not meet expectations, bakers must understand the mechanisms and solutions.
Pretzels are too chewy.
Sourdough pretzels become excessively chewy because of improper proofing or flour selection. A perfect pretzel should have a light, airy inside while keeping its chewy exterior. Here’s what creates this delicate balance:
Flour Selection
- Your flour should have 11-13% protein content
- High-protein flour (>13%) makes pretzels too dense
- You can mix all-purpose with bread flour to get the right texture
- The correct flour measurement keeps proper hydration
- The dough needs to puff up before you boil it
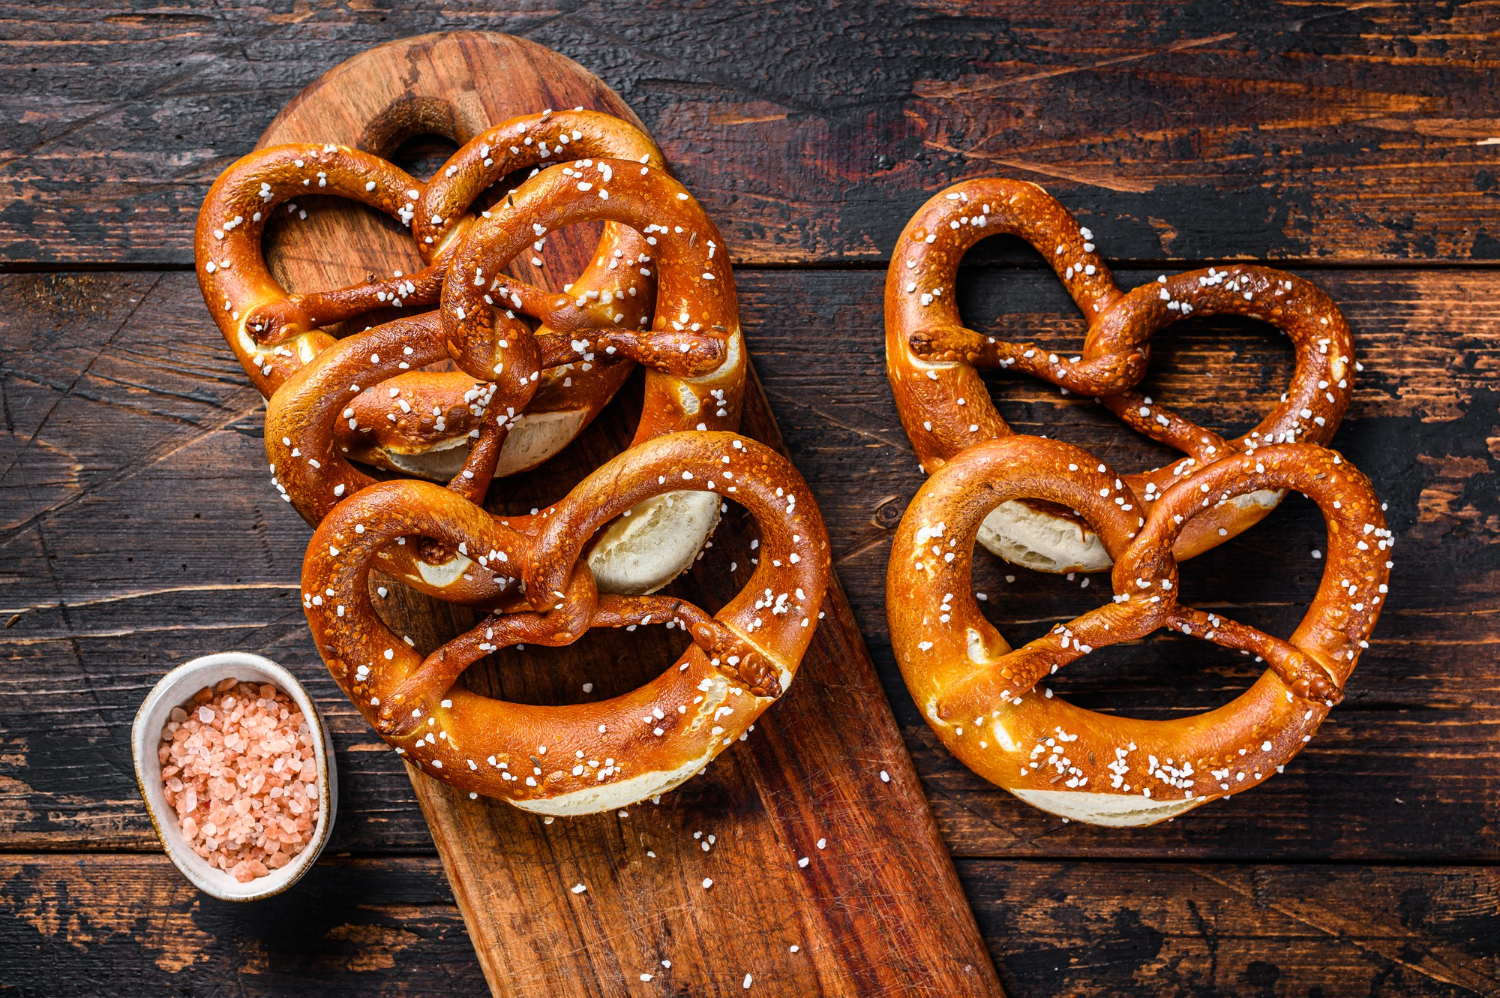
- Shaped pretzels should look like soft pillows
- The proofing temperature must stay steady
- Dense pretzels result from over proofing
Expert Tip: Your pretzels should look puffy like twisted pillows of dough before their alkaline bath. This visual sign shows proper proofing and tells you the texture will turn out just right.
Lack of classic pretzel flavor
Pretzels get distinctive flavor through specific chemical reactions during the alkaline bath and baking process. Here’s how bakers can achieve that authentic taste:
Traditional methods for flavor development:
- Baked Baking Soda Bath: Creates sodium carbonate with pH 11
- Traditional Lye Solution: Gives you authentic German-style results
- Standard Baking Soda: Produces milder but acceptable results
Technical Note: Baked baking soda becomes 1,000 times more alkaline than regular baking soda. This improves flavor development greatly through a better Maillard reaction.
Here’s how to get optimal flavor using baked baking soda:
- Spread baking soda on a foil-lined baking sheet
- Bake at 250°F (121°C) for one hour
- Store in an airtight, labeled container
- Use ½ cup per water bath
Important Consideration: Lye gives the most authentic results, but baked baking soda is a safer option that still creates excellent flavor. The solution’s pH level shapes both color development and final taste.
Texture and flavor share a complex relationship. A well-proofed pretzel with proper alkaline treatment develops the right chewiness and characteristic pretzel taste. Bakers should know that darker colors from longer baking can make pretzels too chewy, while weak alkaline treatment leaves them bland.
These advanced techniques will give you better flavor:
- Add malted barley flour for depth
- Let the dough ferment longer for complex flavors
- Use filtered water to avoid metallic tastes
- Sprinkle coarse salt right after the bath
Professional Insight: Great sourdough pretzels need balanced proofing and alkaline treatment. This combination will give a signature pretzel flavor with the perfect contrast between crust and crumb.
Bakers should check their alkaline bath concentration and temperature first if flavor problems arise. Lukewarm baths or weak alkalinity often create pale, tasteless pretzels. Poor proofing can also make dense, chewy products that lack that classic pretzel taste.
Storage and Freshness Issues
Sourdough pretzels are tricky to keep fresh because of their unique makeup and structure. Bakers who understand how staling works can store these pretzels better. This knowledge helps maintain the pretzel’s texture and quality for extended periods.
Pretzels become stale quickly.
Sourdough pretzels get stale fast because of their high crust-to-crumb ratio. This feature gives pretzels their classic texture but makes them lose moisture and causes starch retrogradation faster. Like baguettes, pretzels are “daily breads” that taste best when eaten fresh.
These factors make pretzels go stale:
- High baking temperatures speed up staling
- Surface-area-to-volume ratio affects how well moisture stays
- The surrounding humidity affects shelf life
- Storage temperature plays a significant role
Technical Note: Sourdough’s acidification helps food last longer than products made with commercial yeast. But the pretzel’s structure can cancel out this benefit.
Proper storage techniques
Your storage process should start right after baking. You need to cool your pretzels properly before you store them. Let them cool completely for 15-30 minutes. This prevents condensation and keeps their texture perfect.
You have several options to store pretzels for a short time:
Room Temperature Storage (3-4 days)
- A bread box gives the best air circulation
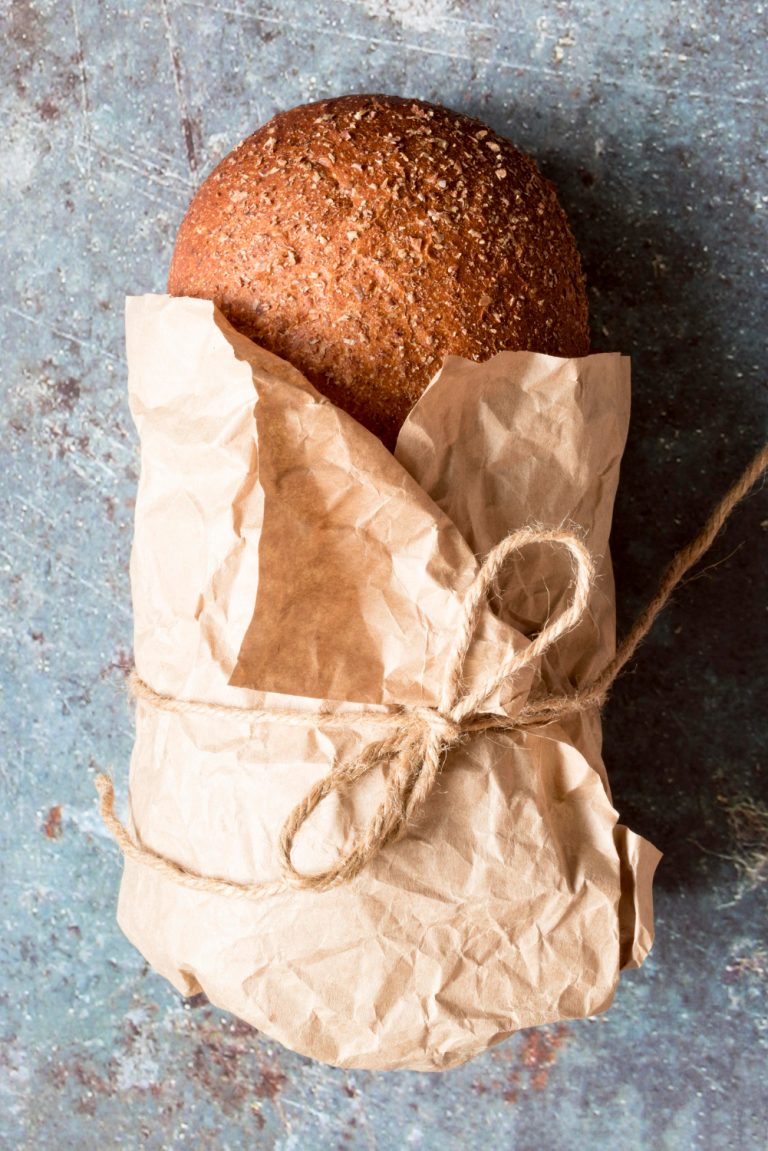
- Paper bags or linen cloth work well
- Keep them away from direct sunlight
- Room temperature should stay steady
- Take off the salt if you plan to store them for days
Refrigeration Method (up to 1 week)
- Put your cooled pretzels in resealable bags
- Layer them with parchment paper
- Squeeze out extra air before sealing
- Keep them away from foods with strong smells
Long-term Storage Solution: Freezing is your best bet to keep pretzels fresh for up to three months. Here’s how to freeze them properly:
- Let them cool completely
- Wrap each pretzel in plastic wrap or aluminum foil
- Put the wrapped pretzels in freezer-safe containers
- Write the date and contents on labels
- Keep your freezer temperature steady
Professional Tip: Freeze your pretzels within 24 hours of baking. This keeps them as fresh as possible.
Your frozen pretzels need careful reheating to stay delicious. Here are the quickest ways to do it:
Oven Method:
- Heat your oven to 325°F (163°C)
- Add water drops on the pretzel surface
- Wrap them in aluminum foil
- Heat them for 5 minutes
- Optional: Take off the foil for 1-2 minutes to get a crispy crust
- Use a microwave-safe plate
- Sprinkle some water on top
- Heat for 15 seconds at a time
- Check how hot they are between heating
Expert Insight: Adding moisture while reheating returns the original texture and stops it from drying out.
You can make your pretzels last longer by taking these steps while baking:
- Add conditioning ingredients like malt or honey
- Use pre-ferments to boost α-amylase content
- Try lower baking temperatures
- Let them cool completely before storing
Important Note: Sourdough pretzels taste best within 24 hours of baking, though you can store them in several ways. Expert bakers suggest you eat these treats fresh off the rack.
Slightly stale pretzels still work great in other recipes:
- Crush for pretzel crumbs in mac and cheese
- Use as a pie crust base
- Create breadcrumb coating for other dishes
Storage Environment Tip: Room temperature and humidity greatly affect shelf life. If you live in a dry climate, you might need to tweak your storage methods.
Your pretzels will stay fresh longer if you:
- Let them cool completely before storing
- Skip plastic bags at room temperature
- Store salt separately for longer shelf life
- Keep an eye on the humidity where you store them
- Look for any signs they’ve gone bad
Scientists are continually discovering more about sourdough preservation. The acidification process is vital to making pretzels last longer. The pretzel’s unique structure creates special storage challenges that require extra care and the right conditions.
Conclusion
Creating perfect sourdough pretzels demands precision at every step. Proper dough consistency, precise temperature control, and technique during shaping form crucial elements in the alkaline bath process. Bakers who master these fundamentals alongside proper baking and storage methods consistently create professional pretzels with authentic flavor and texture.
The journey into sourdough pretzel-making unlocks new possibilities in artisanal baking. Passionate bakers can lift their bread and pizza creation skills with an authentic artisanal sourdough starter from The Yeast We Can Do. Quality starter culture leads to exceptional bread and pizza with perfect tangy flavor and signature crust – reach out to [email protected]. Home bakers equipped with proper techniques and premium ingredients create outstanding pretzels that match traditional German bakeries consistently.
FAQs
What could be causing my sourdough to fail?
The most common issue with sourdough not working as expected often relates to the temperature at which the starter is kept. If the temperature is too low, around 70°F (21°C), it can significantly slow the fermentation process, causing the dough to rise slowly and show delayed signs of fermentation. To resolve this, ensure your starter is kept in a warmer environment.
Why does my sourdough starter bubble but not increase in size?
If your sourdough starter is bubbling but not doubling in size, it might be due to the consistency of the mix being too wet. Consider reducing the amount of water you add during the next feeding. Additionally, the type of flour used can affect the rise of your starter—experiment with adjusting these elements to see improvements.
What should I do if my sourdough starter separates?
Separation in a sourdough starter typically indicates hunger and requires more frequent feeding. To fix this, mix in more flour than water at your next feeding and allow it to sit until it’s time to feed again. If the separation continues, increase the flour proportion slightly.
How can I improve the texture of my homemade pretzels if they’re not turning out right?
If your pretzels are not achieving the desired smooth, browned exterior and chewy interior and instead have a texture similar to flaky biscuits, it could be due to issues in the dough preparation process. Ensure the dough is kneaded sufficiently until smooth before letting it rise, ideally taking about 2.5 hours to double in size. If the dough is too stiff, consider adjusting the hydration levels by adding or reducing water slightly.
