How to Master the Sourdough Lamination Technique: A Step-by-Step Guide
The sourdough lamination technique is vital in creating artisanal bread with exceptional texture and structure. This folding method helps bakers achieve the perfect open crumb and superior oven spring. Bakers who take sourdough seriously need this skill to produce excellent bread consistently.
This detailed guide simplifies the sourdough lamination process into clear steps. You will learn about dough temperature requirements and the right tools, such as baking stones. The relationship between lamination and autolyze becomes clear as you read along. The guide includes troubleshooting common issues, making it easier to become skilled at this fundamental bread-making technique.
Understanding Sourdough Lamination
Bakers who want to become skilled at dough lamination must grasp its core principles and applications in sourdough baking. This technique helps home bakers achieve professional results and has gained popularity recently.
What is sourdough lamination?
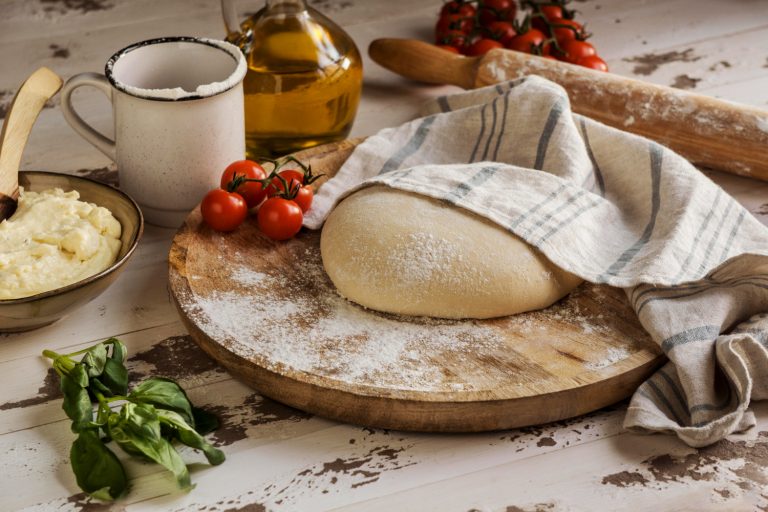
Sourdough lamination is a unique technique in which bakers stretch their dough into a fragile, membrane-like sheet that is almost see-through. The baker spreads the dough gently on a slightly wet surface, folding it back onto itself to build multiple layers. The process creates a silky, strong dough fabric that becomes the foundation of outstanding bread.
Benefits of laminating sourdough
Lamination gives bread several important advantages that improve its quality:
- Builds a stronger gluten network that creates a better structure
- Makes the crumb texture lighter and more open
- Makes even distribution of ingredients easier
- Helps handle dough better, especially in high-hydration recipes
- Improves oven spring while baking
- Gives you better control of the final bread texture
When to use this technique
The right timing makes all the difference with the sourdough lamination technique. You’ll find the best results during bulk fermentation, about 30 minutes to one hour after adding salt to the dough. This approach works best with elastic, well-developed dough. Bakers should stay away from laminating beyond two hours into proofing. The gluten structure could break down, and the dough might lose too much gas.
The technique shines, especially when high-hydration doughs need extra strength. But you might want to skip lamination if your dough has gone through a long autolyze or shows enough gluten development from other mixing methods. This technique isn’t needed for every bake, yet it remains a vital tool that helps create professional-quality bread.
Preparing for Lamination
Successful sourdough lamination requires proper preparation and the right tools. Bakers must gather all necessary equipment before they start the process to achieve the best results.
Required tools and materials
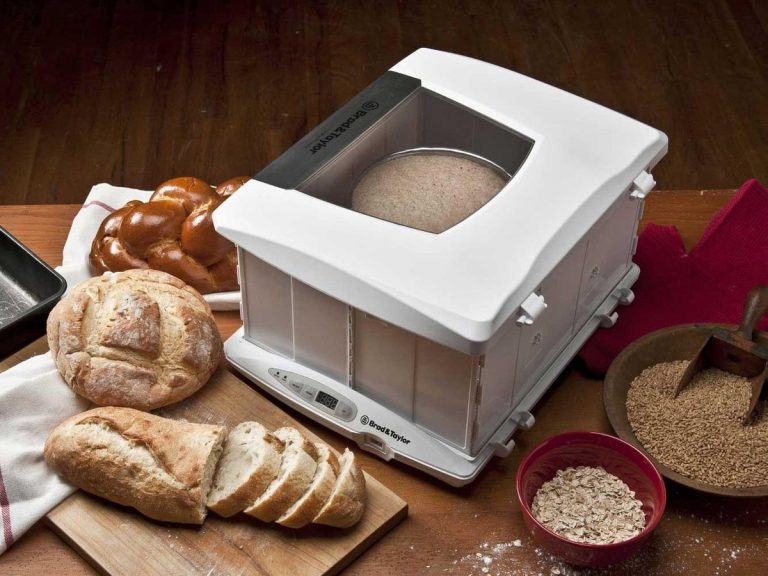
The lamination process needs these tools:
- A precise digital scale (accurate to ±2 grams)
- A bench knife or scraper for dough handling
- A flexible bowl scraper for folding
- A spray bottle with clean water
- A clean, flat work surface
- Bannetons for final proofing
Ideal dough consistency
Your dough needs to have perfect consistency before lamination begins. A good dough stretches without tearing and shows strong elasticity. Bakers should complete 2-3 sets of stretch and fold to build a sufficiently elastic gluten structure. The dough might tear during handling, but a 10-minute rest period helps the gluten relax and makes the dough easier to work with.
Creating the right environment
Temperature control is vital to successful lamination. Your working environment should maintain the dough’s temperature between 36-43°F (2-6°C). Spritz the work surface lightly with water—just enough to prevent sticking without making the dough slide around. Too much moisture can compromise the dough’s structure, and too little makes the process difficult.
Bakers should get their workspace ready by:
- Cleaning the work surface really well
- Having all tools within easy reach
- Setting up temperature monitoring if available
- Making enough space to stretch and fold
A properly prepared workspace with good temperature control greatly improves the chances of perfect lamination. Good lighting also helps bakers see the dough’s transparency during stretching, showing when it reaches its ideal thinness.
Step-by-Step Lamination Process
The sourdough lamination process needs careful attention and a gentle touch. This key technique builds on preparation steps to create a strong, well-laid-out dough.
Stretching the dough
A baker needs a surface with a light water mist to start. The dough sits at the center while you carefully pull each corner outward. Your goal is to create a thin, translucent membrane without any tears. Start from the middle and stretch the dough gently until your fingers become visible through the stretched surface.
Folding techniques
The dough needs careful folding after stretching to build its structure properly. These steps outline the standard folding process:
- Fold one length side toward the center (about 75% of the way)
- Square off edges for uniformity
- Perform a second fold from the opposite side
- Give a gentle roll to press layers together
- Complete a final fold to create a neat package
Bakers must keep the edges squared throughout to achieve optimal results and minimize dusting flour usage. The process works best with high-protein bread flour that requires minimal dusting.
Incorporating add-ins (optional)
The lamination process gives you a great chance to add extra ingredients. Here’s the quickest way to distribute them evenly:
- Divide add-ins into 8 equal portions
- Spread ingredients between dough layers during folding
- Focus additions on the center of each fold
- Ensure ingredients don’t pierce through dough layers
This approach works especially when you have ingredients like cinnamon or garlic that can create attractive swirls through the finished loaf. However, bakers should be careful with sugar-based additions since they affect the dough’s hydration levels.
The dough needs a 30-minute rest after lamination before moving to bulk fermentation. This rest lets the gluten relax and helps layers bond properly. These steps are the foundations for an excellent oven spring and crumb structure.
Troubleshooting and Tips
Learning to make great sourdough bread means understanding its everyday challenges and solutions. Skilled bakers sometimes struggle with the lamination process. Knowledge and technique adjustments help overcome these challenges effectively.
Common Problems and Solutions
Bakers face several challenges when they work with lamination:
- Tearing Dough: The dough’s gluten structure needs a 10-minute rest period when it tears during stretching
- Weak Structure: The dough needs gentle stretch and folds before lamination to gain strength
- Inconsistent Results: The dough temperature should stay between 75-80°F to handle it properly
- Sticking Issues: A light water coating works best on the work surface to prevent sticking
- Poor Development: The dough needs proper hydration levels (minimum 70%) to achieve good elasticity
Expert tips for perfect lamination
Professional bakers share these time-tested techniques that guarantee great results:
- Your dough needs maximum strength, so schedule lamination near the end of bulk fermentation
- Room temperature should stay steady throughout the process
- Stretch your dough with smooth, unhurried movements
- Build a robust gluten structure through proper development before you start lamination
- Give your dough enough time to rest between handling
Adapting the technique for different recipes
The sourdough lamination technique adapts well to meet various recipe requirements. Pizza dough develops a bubblier, flakier crust through lamination near the end of bulk fermentation. Bakers should reduce hydration slightly to maintain workability with enriched doughs.
High-hydration recipes (above 75%) need extra attention during stretching to prevent tearing. Add-ins can be incorporated during lamination, but timing is significant – additions work best halfway through the stretch and fold stage to distribute evenly.
Additional rest periods between stretches help maintain dough integrity in whole-grain flour. Bakers should adjust hydration levels based on flour type and ambient conditions to achieve the best results. Weaker leavens significantly benefit from the lamination process, which helps strengthen the dough structure and improve the oven spring.
Bakers new to this technique should start with simple recipes before moving to specialty ingredients or alternative flours. This method helps them understand dough behavior better and develop proper techniques.
Conclusion
Becoming skilled at sourdough lamination can transform ordinary bread into exceptional artisanal creations. This advanced folding method requires the right temperature, timing, and technique. Bakers who master it achieve superior oven springs and perfect open crumb structures. The simple steps in this piece help you prepare and execute the technique correctly. You can use this versatile method with many recipes, from simple bread to specialty doughs.
Bakers who practice consistently and pay attention to detail achieve professional results. Every successful attempt builds confidence, and you learn more about dough behavior with each bake. The Yeast We Can Do offers an authentic artisanal sourdough starter to improve your bread and pizza-making skills. Our premium starter creates exceptional bread and pizza with perfect tangy flavor and signature crust—reach out to john@theyeastwecando.com to get yours. Quality ingredients and proper technique knowledge let bakers create professional-quality sourdough. The result? Bread that perfectly balances texture, flavor, and visual appeal.
FAQs
What is the correct timing for laminating sourdough during its preparation?
Sourdough lamination should be done during the bulk fermentation stage after the dough has undergone several stretch and fold processes. The dough must be elastic enough to prevent tearing during lamination.
Should lamination occur before or after the bulk fermentation is complete?
Lamination should ideally be performed as the final step of bulk fermentation. This technique helps evenly distribute any add-ins throughout the dough.
How can you incorporate additional ingredients into sourdough during the lamination process?
To add inclusions during lamination, stretch the dough thinly on a surface. Evenly distribute your chosen inclusions over the dough, fold it, and optionally add more inclusions. Proceed with the usual steps of bench resting, shaping, and cold-fermenting the dough.
Can you explain the steps involved in laminating dough?
To laminate dough, begin by preparing your base dough. Next, gather all the necessary materials and create a butter block. Roll out your dough, fold, and roll to encase the butter block. Continue this process by rotating, folding, and chilling the dough. Repeat these steps as necessary to achieve the desired lamination.