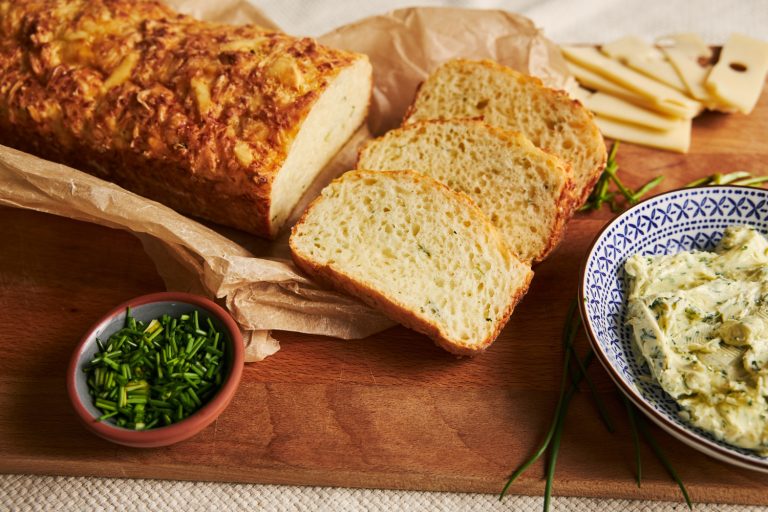
How to Make Easy Overnight Sourdough Bagels at Home
Homemade sourdough bagels deliver a perfect blend of chewy texture and tangy flavor that store-bought versions can’t replicate. Bakers can achieve professional-quality results at home by making overnight sourdough bagels that fit their busy schedules. These bagels become healthier alternatives to commercial varieties through the slow fermentation process that develops complex flavors and enhances digestibility.
A detailed breakdown helps you master the sourdough bagel-making process through simple, manageable steps. You’ll discover the best techniques for working with sourdough starter, preparing dough properly, and perfecting the vital water bath process. From ingredient selection to shaping methods, this piece guides novice and experienced bakers toward consistent success.
Ingredients and Equipment Needed
The right ingredients and equipment are crucial in creating perfect overnight sourdough bagels. Here are all the essential items and ingredients that give you professional results for your homemade bagels.
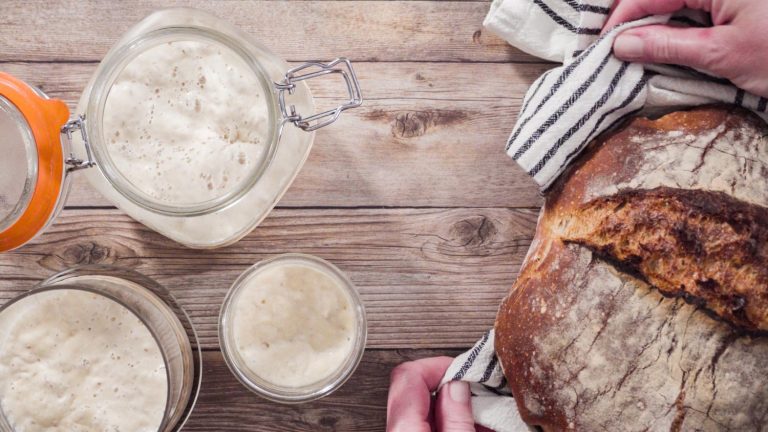
Active sourdough starter
A healthy, active sourdough starter at 100% hydration (equal parts flour and water by weight) is the foundation of great bagels. The starter should be bubbly and double in size, which indicates peak fermentation activity. To achieve optimal results, your starter needs bread flour feeding 8-10 hours before mixing the dough.
Flour, water, and other ingredients
These essential ingredients make perfect sourdough bagels:
- Bread flour (500-560g): High-protein flour (around 13% protein content) creates a chewy texture
- Water (236-250g): Filtered or spring water at room temperature
- Active sourdough starter (100-113g): Should be bubbly and at its peak activity
- Honey (20-30g): Makes a shiny exterior and helps fermentation
- Salt (10g): Improves flavor and controls fermentation
King Arthur bread flour works best, especially when maintaining consistent protein content and reliable results. To create that traditional bagel flavor, you can use barley malt syrup or molasses instead of honey.
Baking tools and equipment
Making professional bagels requires specific tools. A kitchen scale gives precise measurements and a stand mixer with a dough hook makes kneading easier. Bakers use a large container with a lid to store the dough while it proofs.
The boiling process is a vital step in creating an authentic bagel texture. To remove the bagels, you’ll need a large pot (at least six-quart capacity) and a spider tool or slotted spoon. A thermometer helps you track water temperatures during proofing and boiling.
Heavy-duty, non-stick baking sheets or baking stones distribute heat best for baking. The process becomes smoother with a dough scraper to divide and shape, parchment paper to transfer quickly, and cooling racks for finished bagels.
Glass containers with lids work great to maintain your starter. Plastic containers or bowls with covers keep the dough protected during bulk fermentation. Freezer-safe containers or bags help store finished bagels longer.
Preparing the Sourdough Bagel Dough
A perfect sourdough bagel dough requires precise measurements and careful timing. The right technique brings out ideal texture and develops rich flavors. These elements work together to create the signature sourdough taste and chewy consistency that make bagels special.
Mixing the dough ingredients
The original mixing stage forms the foundations of excellent bagels. A large mixing bowl combines water, sourdough starter, and honey. Whisk these ingredients until the starter dissolves completely. When yeast activity peaks, the mixture performs best at room temperature (68-72°F). The flour and salt should be added and mixed until a stiff, shaggy dough takes shape.
Follow these steps for proper incorporation:
- Combine water, starter, and honey with thorough whisking
- Place flour and salt in the bowl
- Mix the ingredients until no dry flour remains visible
- Place a damp towel over the bowl
- Let the flour hydrate for 15 minutes
Kneading and original rise
The dough needs proper kneading to develop its gluten structure. Bakers can choose between two methods: stand mixer or hand kneading. A stand mixer with a dough hook needs 8-10 minutes of kneading at low speed until the dough becomes smooth and pliable. Hand kneading requires 10-12 minutes of work on an unfloured surface with a slap-and-fold technique.
The dough’s gluten needs to relax and develop during two 15-minute rest intervals during the kneading process. After the final kneading, the dough should feel firm and slightly tacky but not sticky. A smooth ball formation prepares it for the bulk fermentation phase.
Overnight fermentation
Extended cold fermentation is vital to developing complex flavors and proper texture. The dough needs to rest in a lightly oiled container with a damp towel or plastic wrap. Room-temperature fermentation should last 1-2 hours before the dough goes into the refrigerator.
Several signs indicate proper fermentation progress. The dough’s volume doubles in size, and its surface becomes slightly domed. Small bubbles form along the sides, and the dough feels elastic when pressed gently.
The dough requires 8-12 hours in the refrigerator at 39°F (4°C). This slow process allows the sourdough culture to create tangy flavors while the dough’s structure remains intact. To achieve the best results, the temperature should stay consistent throughout the fermentation process.
Summer weather or warmer climates require adjustments. The dough’s room temperature rest should be reduced to 30-45 minutes before refrigeration. This prevents over-fermentation and helps develop the dough’s strength and extensibility during cold bulk fermentation. The result is bagels with exceptional texture and complex flavors.
Shaping and Boiling the Bagels
Raw dough’s transformation into perfectly shaped bagels represents a significant phase in sourdough bagel-making. The dough rests through overnight fermentation and develops complex flavors that prepare it for the final steps. These steps will give the bagels their distinctive characteristics.
Dividing and shaping the dough
Remove your fermented dough from the refrigerator and place it on a clean work surface. A bench scraper will help you divide the dough into eight equal portions of 115g each. A digital kitchen scale is a great way to get consistent results at this stage.
The classic bagel shaping process follows these steps:
- Roll each portion into a smooth ball
- Let dough balls rest under a tea towel for 15-20 minutes
- Push your thumb through each ball’s center
- Stretch the hole gently until it reaches 1-inch diameter
- Roll the dough with circular motions to create an even thickness
Don’t worry if the hole looks too big at first – it will shrink during proofing and baking. The shaped bagels must rest on a parchment-lined baking sheet covered with a damp tea towel. They should become noticeably puffy after 1-2 hours of rest.
Boiling the bagels
A proper bagel’s chewy exterior comes from the water bath process’s signature chewy exterior. The process starts with a large pot of water brought to a rolling boil. The alkaline solution needs two tablespoons of baking soda and ¼ cup of honey or barley malt syrup, creating the bagel’s distinctive crust and golden color.
The bagels should be boiled in small batches of 2-3 at a time. A spider strainer or slotted spoon helps lower them safely into the boiling water. Each side requires 45-60 seconds of boiling time. You’ll notice the bagels floating and puffing up slightly as they cook. A wire rack helps drain the excess water after removing it from the pot.
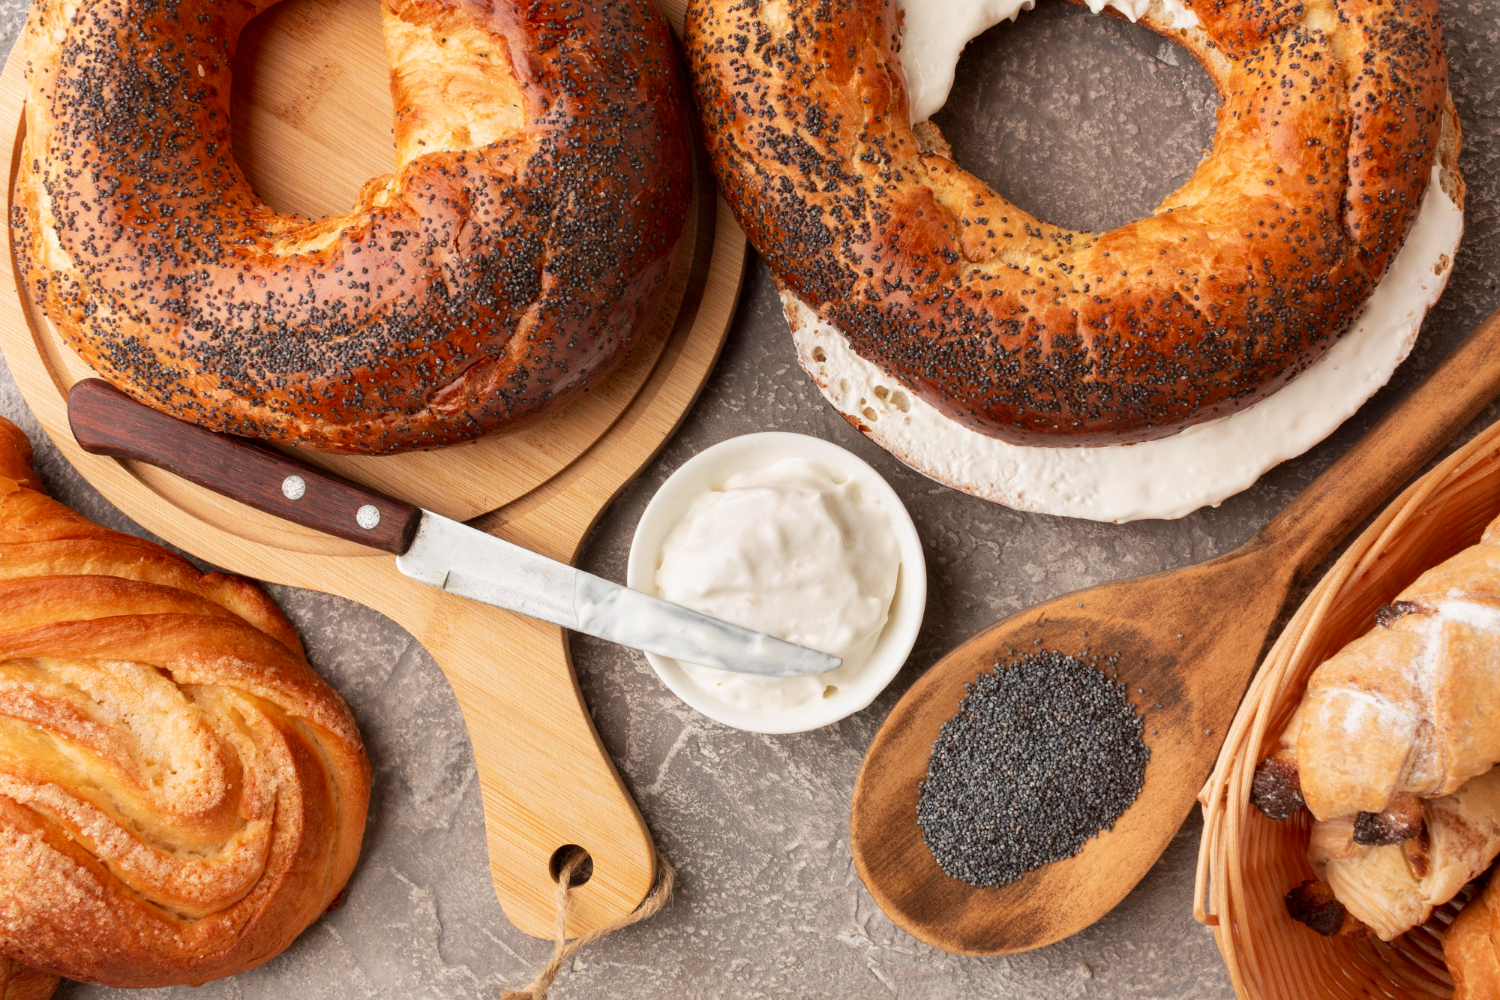
Adding toppings
Bagels need toppings right after boiling while they’re still slightly wet. You can choose from these popular options:
- Everything bagel seasoning
- Sesame or poppy seeds
- Dried onion or garlic
- Coarse salt
- Cheddar cheese and jalapeños
- Cinnamon sugar mixture
The quickest way to add toppings is to place them in shallow dishes. Each bagel’s top side should be gently pressed into your chosen topping. This technique will give a better grip than sprinkling toppings over the bagels. Cheese toppings stick best when applied right after the water bath while the bagel’s surface remains tacky.
Your topped bagels should go on a fresh parchment-lined baking sheet, 2 inches apart. A properly prepared bagel should feel slightly tacky but not wet. Its surface will have a shiny, gelatinized appearance, indicating it’s ready to bake.
Baking and Serving Sourdough Bagels
Perfect overnight sourdough bagels need precise baking techniques and proper storage methods that keep them fresh and delicious longer.
Baking temperature and time
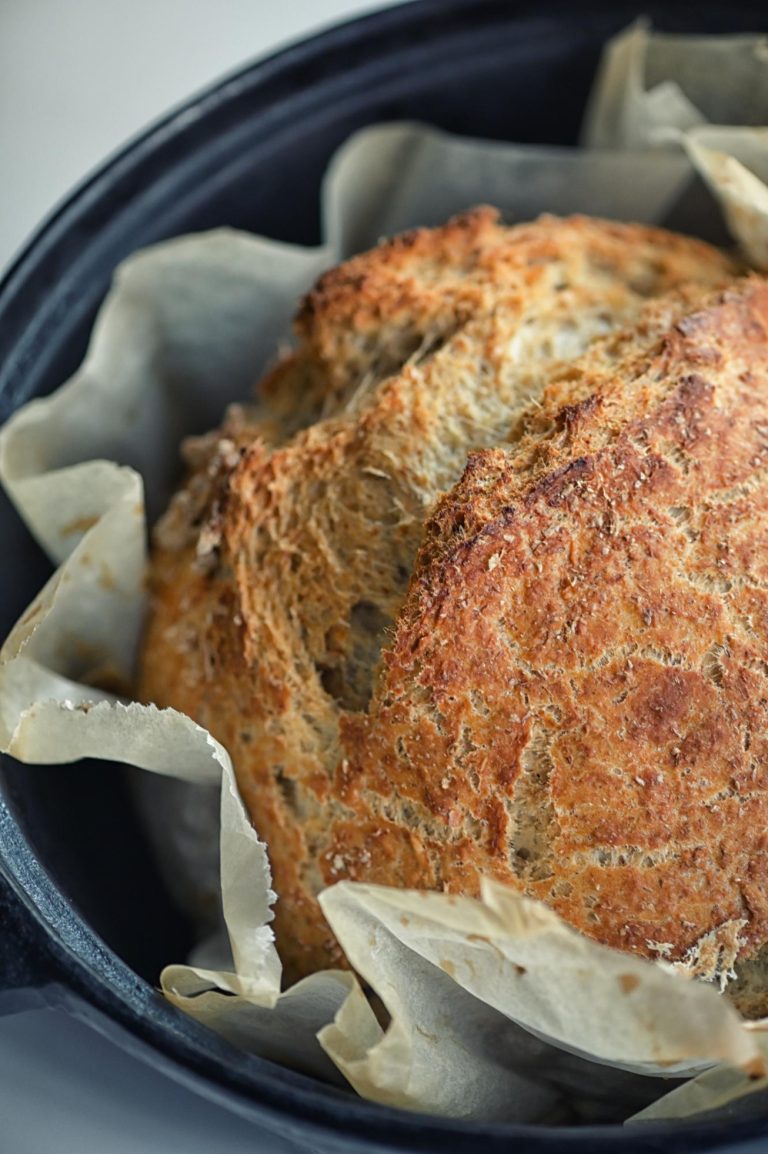
Perfect sourdough bagels need the right temperature throughout the baking process. Your oven should be preheated to 425°F to ensure consistent results. The prepared bagels need 20-25 minutes on the center rack until they develop a beautiful golden-brown exterior. A firm crust with a chewy interior indicates perfectly baked bagels.
Temperature and timing guidelines:
| Stage | Temperature | Duration |
|---|---|---|
| Original Preheat | 425°F | Until reached |
| Main Bake | 425°F | 20-25 minutes |
| Alternative Method | 500°F, then 475°F | 10 min, then 5 min |
Cooling and storing
Bagels need proper cooling to maintain their perfect texture. Take them out of the oven and place them on a wire rack immediately. Let the bagels cool completely before you slice or store them. This prevents moisture buildup and keeps their exterior crisp.
Storage options to keep bagels fresh:
- Room Temperature (2-3 days):
- Paper bags work best to maintain the crust
- Place in airtight containers with a paper towel
- Skip the refrigerator since it makes bagels stale faster
- Freezer Storage (up to 3 months):
- Wait until bagels cool completely
- Slice them before freezing
- Wrap each bagel in plastic
- Add a foil layer to protect them better
- Put them in a freezer-safe container
Serving suggestions
Sourdough bagels taste amazing with countless toppings, making everything from quick breakfasts to hearty sandwiches. Let frozen bagels reach room temperature and toast them to bring back their fresh-baked texture.
Classic serving combinations include:
Breakfast Variations
- Cream cheese topped with tomatoes and cucumbers
- Fried egg paired with bacon and cheese
- Avocado slices seasoned with salt and pepper
- Peanut butter layered with banana slices
Lunch Options
- Smoked salmon and cream cheese (lox)
- Turkey club loaded with Swiss cheese and avocado
- Ham topped with melted cheddar and honey mustard
- Chicken salad garnished with lettuce and tomato
A light toasting enhances the bagel’s flavor before adding toppings. The sourdough’s natural tang works well with savory and sweet ingredients throughout the day. Frozen bagels need complete thawing and warming in a toaster or oven before serving.
Day-old bagels come back to life with a light water sprinkle and five minutes in a preheated 350°F oven. This method restores their original texture while keeping that distinct sourdough flavor. The bagel’s freshness lasts longer when sliced right before serving.
Conclusion
Learning to make sourdough bagels requires precise techniques and patient fermentation processes. Each step naturally flows from the previous one. The process starts with maintaining an active starter and continues through final baking, creating better bagels than store-bought versions. These homemade creations offer authentic chewiness, complex flavors, and endless customization options. Busy schedules can easily accommodate the process through overnight fermentation.
A baker’s success with sourdough bagels opens doors to an exciting baking experience. Many home bakers who become skilled at these techniques find a passion for creating various sourdough products. Each creation brings unique satisfaction and artisanal quality to their kitchens. You can lift your bread and pizza game with an authentic artisanal sourdough starter from The Yeast We Can Do. Email [email protected] to get our premium sourdough starter and reshape your baking today. Bakers who combine proper knowledge, quality ingredients, and dedication to their craft consistently produce professional-quality bagels that delight family and friends.
FAQs
Can sourdough bread dough be left to rise overnight?
Yes, you can leave sourdough bread to rise in the refrigerator. Unlike bread made with commercial baker’s yeast, which may overproof if left in the fridge overnight, sourdough bread can typically be refrigerated for up to 24 hours without overproofing.
Is it possible to let the bagel dough rise overnight?
Yes, you can let homemade bagel dough rise overnight. This method involves preparing the dough the previous evening, allowing it to rest overnight, and then boiling and baking the bagels the following morning.
Can bagels be prepared the night before baking?
Yes, bagels can be prepared and shaped the night before baking. After shaping the dough into balls, place them on a baking sheet, spaced at least an inch apart. Cover them loosely with plastic wrap after spraying the tops with cooking spray, then refrigerate overnight.
Can I refrigerate sourdough bagel dough overnight?
If you prepare sourdough bagel dough in the evening, you can store it in the refrigerator overnight to slow the fermentation process. You can continue the bulk fermentation process the following day to ensure the dough is not overproof.