How to Master the Multi-Stage Levain Method: A Complete Guide
How to Master the Multi-Stage Levain Method: A Complete Guide
The multi-stage levain method has changed sourdough bread making and gives bakers better control over fermentation and flavor development. Professional bakers and home enthusiasts have found a more organized approach that creates consistent, flavorful, and well-laid-out loaves compared to traditional single-stage methods. This process changes a simple sourdough starter into a carefully fostered levain through multiple feeding stages.
This detailed guide shows you each stage of the levain building process, which starts with the original mixture and ends with incorporating the final levain into bread dough. You will learn the optimal ratios, temperatures, and timing for each stage and clear indicators that show when your levain is ready for the next step. The guide shows you simple techniques that help you maintain proper hydration levels and monitor fermentation progress throughout each stage.
Understanding the Multi-Stage Levain Method
The perfect loaf of bread comes from understanding how microorganisms, temperature, and time work together. A multi-stage levain creates a strong preferment through sequential feeding stages.
What is a multi-stage levain?
A multi-stage levain is a well-developed preferment that bakers create through a series of controlled feedings. This method differs from a straight starter because it builds the levain in distinct stages with specific flour and water ratios. Bakers take a small amount of active starter and build it up through multiple feeds. This approach gives them exact control over fermentation and microbial activity.
Benefits of using multiple stages
The multi-stage levain method provides these most important advantages:
- Improved flavor development through controlled fermentation
- Better control over acidity levels and bacterial balance
- Stronger and more stable dough
- Fermentation timing you can rely on
- Lower chances of over-fermentation
- Consistent quality in your final bread
How is it different from a single-stage levain
The main difference between single and multi-stage methods shows in their approach to fermentation and microbial development:
| Aspect | Single-Stage Levain | Multi-Stage Levain |
|---|---|---|
| Feeding Process | One-time build | Sequential builds |
| Fermentation Control | Limited | Precise |
| Acid Development | Less controlled | Carefully managed |
| Microbial Balance | Variable | More stable |
| Gluten Development | Basic | Enhanced |
Bakers can adjust the microbial environment gradually through the multi-stage process, which prevents sudden changes that might stress the culture. Each stage has its own purpose. The first build awakens the microorganisms, the second boosts yeast activity, and the final build concentrates flavors while maintaining optimal bacterial balance.
Temperature control is a vital part of this method. Most stages need temperatures between 21-24°C (70-75°F) to properly balance bacterial and yeast activity. This careful management helps prevent too much acid buildup, which can weaken the gluten structure and affect the bread’s final quality.
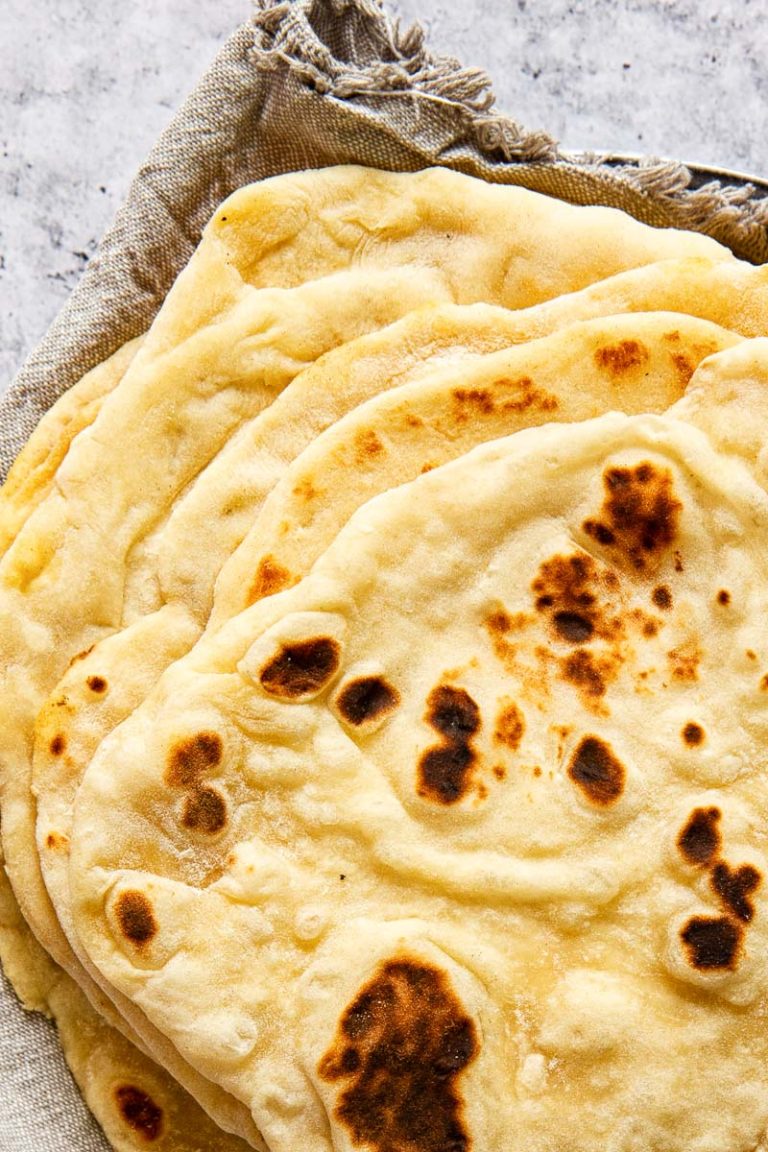
The multi-stage method works especially well with heavier doughs that contain whole grains or enriched ingredients. It creates a stronger levain that provides enough leavening power and maintains desired flavor profiles. The process also helps alleviate common problems like excessive sourness or weak gluten development that often occur with single-stage methods.
Stage 1: Creating the Initial Levain
Precise measurements and careful attention to environmental conditions create the foundation of a successful multi-stage levain. The original levain preparation shapes all subsequent builds and ultimately defines the bread’s characteristics.
Choosing the right flour blend
Your choice of flour will affect fermentation activity and flavor development. A well-balanced blend should contain:
| Flour Type | Recommended Percentage |
|---|---|
| Bread Flour | 70-80% |
| Whole Wheat | 10-15% |
| Rye Flour | 10-15% |
This mix gives the best nutrients for microbial activity and helps develop sufficient gluten. Rye flour improves fermentation because of its high amylase content, and bread flour adds structural stability to the mix.
Determining optimal hydration
The original levain build requires 100% hydration (equal parts flour and water by weight). This creates the perfect environment where microorganisms can thrive. A simple recipe that works well includes:
- 25g mature starter
- 50g filtered water at 27°C (80°F)
- 50g flour blend
The 1:2:2 ratio (starter:water: flour) creates perfect conditions that balance bacterial and yeast activity. Filtered water works best because it doesn’t contain chlorine, which can slow fermentation.
Mixing and fermentation time
The mixing process needs all ingredients to blend well for even fermentation. The mixture should not have dry flour pockets that could create uneven fermentation spots.
Temperature control is a vital part of the original fermentation period. Bakers work best with an ambient temperature of 24-26°C (75-78°F). The dough shows several signs of healthy fermentation at this temperature:
- The volume doubles in 4-6 hours
- Small bubbles form throughout the mixture
- A pleasant, slightly sweet aroma develops
- The surface domes up with small bubbles breaking through
The original stage needs 8-12 hours of fermentation, but room temperature and starter strength can change this timing. Bakers can check if it’s ready with a float test—a small piece of ripe levain should float in room-temperature water.
Watching the levain’s development at this first stage helps bakers understand what to do next. Slow fermentation means the room temperature needs adjustment, or more rye flour needs to be added to activate the culture. The process moves too fast sometimes, and lowering the room temperature or changing to a 1:3:3 ratio can slow it down.
Stage 2: Building Up the Levain
The second phase builds on the original levain stage and focuses on developing stronger fermentation activity with optimal bacterial yeast balance. This vital stage shapes the bread’s flavor profile and determines its fermentation strength.
Adjusting ratios for the second stage
Your second build needs precise feeding ratios that keep fermentation moving smoothly. Bakers commonly work with these proportions:
| Component | Standard Ratio | High-Activity Ratio |
|---|---|---|
| Mature Levain | 1 part | 1 part |
| Fresh Flour | 2 parts | 3 parts |
| Water | 2 parts | 3 parts |
A 300g target levain works best with a 1:2:2 ratio. You’ll need 60g mature levain, 120g flour, and 120g water. These measurements give your microorganisms enough food and help maintain steady fermentation rates.
Monitoring fermentation progress
Bakers must maintain precise temperature control during the second stage. The optimal fermentation activity happens between 78-80°F (25-26°C). Weight loss measurements help track the fermentation progress. A 2% reduction in flour weight signals proper dough maturation.
The second build takes 4-6 hours of fermentation time. Several factors can affect this duration:
- Ambient temperature conditions
- Flour composition
- Original levain strength
- Desired flavor profile
Signs of a healthy levain build
Your second-stage levain will show several vital characteristics that tell you the fermentation is going well.
Volume Indicators:
- The volume doubles within 4-6 hours
- Bubbles spread evenly throughout
- The surface shows a dome shape
Sensory Markers:
- A pleasant aroma with mild acidity
- Sweet undertones
- Smooth, creamy texture
You can check if your second build is ready with a float test, though many experienced bakers just look at it and smell it. A well-developed second-stage levain shows more activity than the original build, creating bubbles faster with quicker rise times.
The right temperature makes a big difference at this stage. Your levain needs steady warmth between 76-78°F (24-26°C) to balance yeast and bacteria. If temperatures move away from this range, fermentation slows down or produces too much acid.
Your levain needs space to develop quietly. Moving it around can harm its gluten structure and trap less gas. If your room temperature changes substantially, a proofing box or steady heat source helps keep temperatures stable.
The second stage needs closer attention than the original build because microbes work faster now. You should check how it’s developing every 2-3 hours, especially when you have warm conditions.
It is vital to move to the final stage at the right time. Use your second-stage levain at peak activity—usually when it doubles in size with lots of surface bubbles. This will give a strong final build that perfectly balances flavors and fermentation.
Stage 3: Final Levain Build and Dough Incorporation
A multi-stage levain method peaks during the final stage, which shapes your bread’s strength and character. The bread’s success depends on your careful cultivation and precise timing at this crucial point. Your attention to detail matters significantly.
Preparing the final stage levain
The final build needs precise timing and temperature control. Maintaining the levain at 24-26°C (75-78°F) ensures optimal microbial activity. A standard 1:2:2 (levain:water: flour) ratio works best for the final build, though bakers can adjust this based on their recipe’s needs.
Temperature is a vital factor that determines fermentation speed and flavor development:
| Temperature Range | Fermentation Speed | Flavor Development |
|---|---|---|
| 21-23°C (70-73°F) | Slower, 8-10 hours | More complex, acidic |
| 24-26°C (75-78°F) | Moderate, 5-7 hours | Balanced, sweet-sour |
| 27-29°C (80-84°F) | Faster, 3-4 hours | Milder, yeasty |
Integrating the levain into your bread dough
The timing becomes critical when incorporating the final levain into the main dough. Your levain’s readiness should show these essential indicators:
- Doubled in volume with a domed surface
- Pleasant, slightly sweet aroma
- Consistent bubble distribution throughout
- Passes the float test in room-temperature water
Bakers should dissolve the levain in the recipe’s water before adding flour to achieve optimal integration. This method will give a uniform distribution throughout the dough and create even fermentation. The water must be adjusted to reach the desired final dough temperature, typically between 24-26°C (75-78°F).
Adjusting fermentation times for optimal results
Your dough’s bulk fermentation needs close attention and adjustments based on your kitchen conditions. Temperature control becomes more vital as your dough develops. A well-fermented dough takes 4-6 hours at room temperature to develop, but several factors can change this timing:
- Ambient Temperature: Warmer conditions speed up fermentation; cooler temperatures slow it down
- Levain Percentage: Your dough ferments faster with more levain
- Flour Type: Whole grain flours speed up the fermentation process
- Hydration Level: Wetter doughs tend to ferment more quickly
You can use cold retardation techniques to extend your fermentation time. Putting your dough in the fridge at 3-4°C (37-39°F) slows fermentation and builds complex flavors. The dough shouldn’t stay in the fridge beyond 72 hours to keep the gluten structure at its best.
Your levain’s strength plays a significant role in your bread’s rise and crumb structure. A mature levain gives you enough lifting power and helps develop flavors through balanced acid production. Before moving forward, look for a 50% increase in your dough’s volume during bulk fermentation.
Temperature plays a vital role throughout the process. Your yeast’s metabolic efficiency depends on temperature, and it works best between 27 °C and 32°C (80-90°F). Slower fermentation at cooler temperatures often creates more complex flavors because of inefficient metabolic byproducts.
Adding butter or oils to your dough changes how fast it ferments. These ingredients slow down gluten development and change fermentation timing. You might need to adjust your levain percentage or fermentation temperature to get the desired results.
Your final stage’s success depends on steady environmental conditions. A proofing box or controlled space helps keep temperatures stable. Keep notes on your results and tweak future batches based on your observations. Each kitchen brings its own challenges to fermentation control.
Conclusion
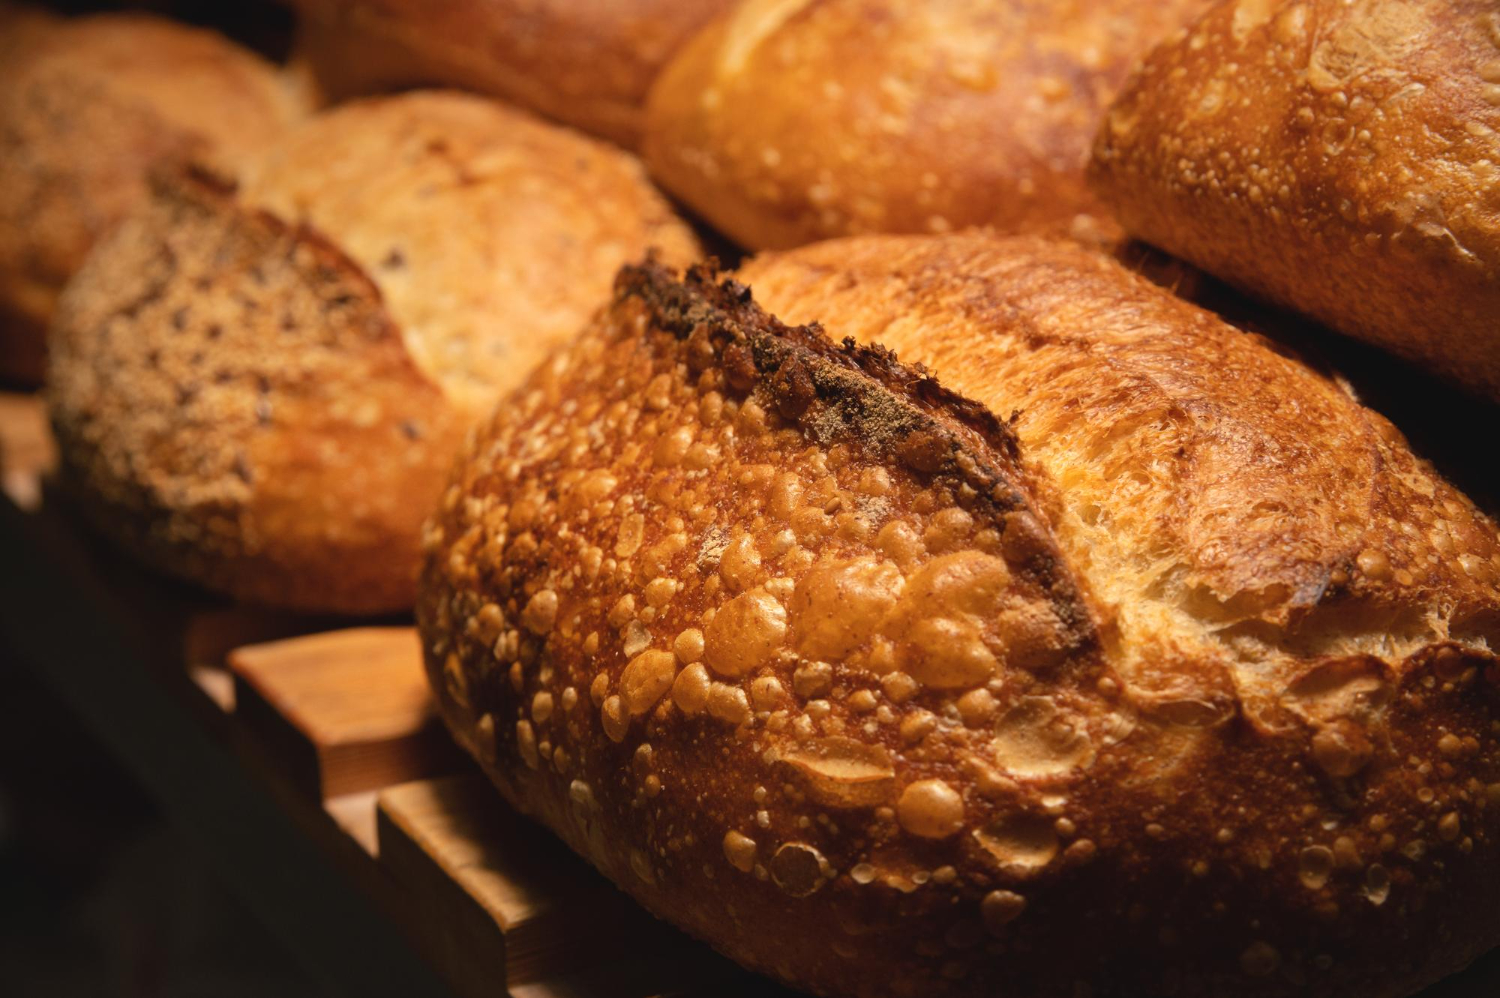
The multi-stage levain method requires careful attention to detail, precise temperature control, and a systematic progression through each building phase. Bakers who follow this methodical approach can control fermentation better and create bread with complex flavors and superior structure. Consistent, high-quality results that surpass traditional single-stage methods come from carefully managing ratios, timing, and environmental conditions throughout each stage.
Quality ingredients and proper technique work together to create a successful multi-stage levain. Each feeding stage allows you to influence your final bread’s characteristics. Bakers exploring this advanced technique can raise their bread and pizza game with an authentic artisanal sourdough starter from The Yeast We Can Do. Through professional expertise, dedicated practice, and careful observation, you can achieve remarkable results that showcase sourdough fermentation’s true potential.
FAQs
What is the typical duration for levain to rise?
Levain should be allowed to rise until it reaches its peak, which can vary between 8 and 16 hours, depending on the temperature of your environment. It’s important to use it when it’s at its peak before it deflates.
Is there a way to make levain rise faster?
Yes, you can accelerate the rising process of levain by adjusting the feeding ratio. For instance, using a 1:2:2 ratio (20g starter, 40g flour, 40g water) can significantly speed up the process, allowing the levain to be ready in just a few hours.
How much time does it take for levain to mature fully?
Levain typically matures in about 12 hours and nearly doubles in size at room temperature, which is ideally around 70°F.
What is the optimal ratio for preparing levain?
A common ratio for levain is 1:1:1, which means using equal parts of starter, flour, and water. This ratio generally allows the levain to be ready in about 4-5 hours.
Can I use just the starter instead of making levain for my recipe, and how much should I use if it proofreads for 8-10 hours?
While you can use just the starter, the amount and proofing time might need to be adjusted based on your recipe’s specific requirements. Typically, using just the starter involves a different preparation and proofing approach than using a levain.