How to Avoid Overfeeding Your Sourdough Starter: Common Mistakes
Home bakers often face challenges with maintaining their sourdough starter. Overfeeding sourdough starter stands out as one of the most common mistakes they make. This feeding error weakens fermentation and wastes flour. Your bread results suffer as a result.
The health of your starter and your baking success depend on proper feeding routines. You need to know the right feeding schedules and flour-to-water ratios. Environmental factors play a crucial role too. This piece shows you how to spot an overfed starter and feed it correctly. You’ll learn practical ways to bring an unhealthy culture back to life. These techniques will help you keep your starter vibrant and active while steering clear of common feeding mistakes.
Understanding Sourdough Starter Feeding Basics
The foundation of traditional sourdough baking starts with a sourdough starter – a live fermented culture made from flour and water. Natural yeasts and beneficial bacteria develop in this mixture from the surrounding environment. These microorganisms create a self-sustaining ecosystem that gives sourdough bread its unique flavor. The natural enzyme amylase breaks down starches into simple sugars that wild yeast can metabolize as flour and water combine.
The importance of proper feeding
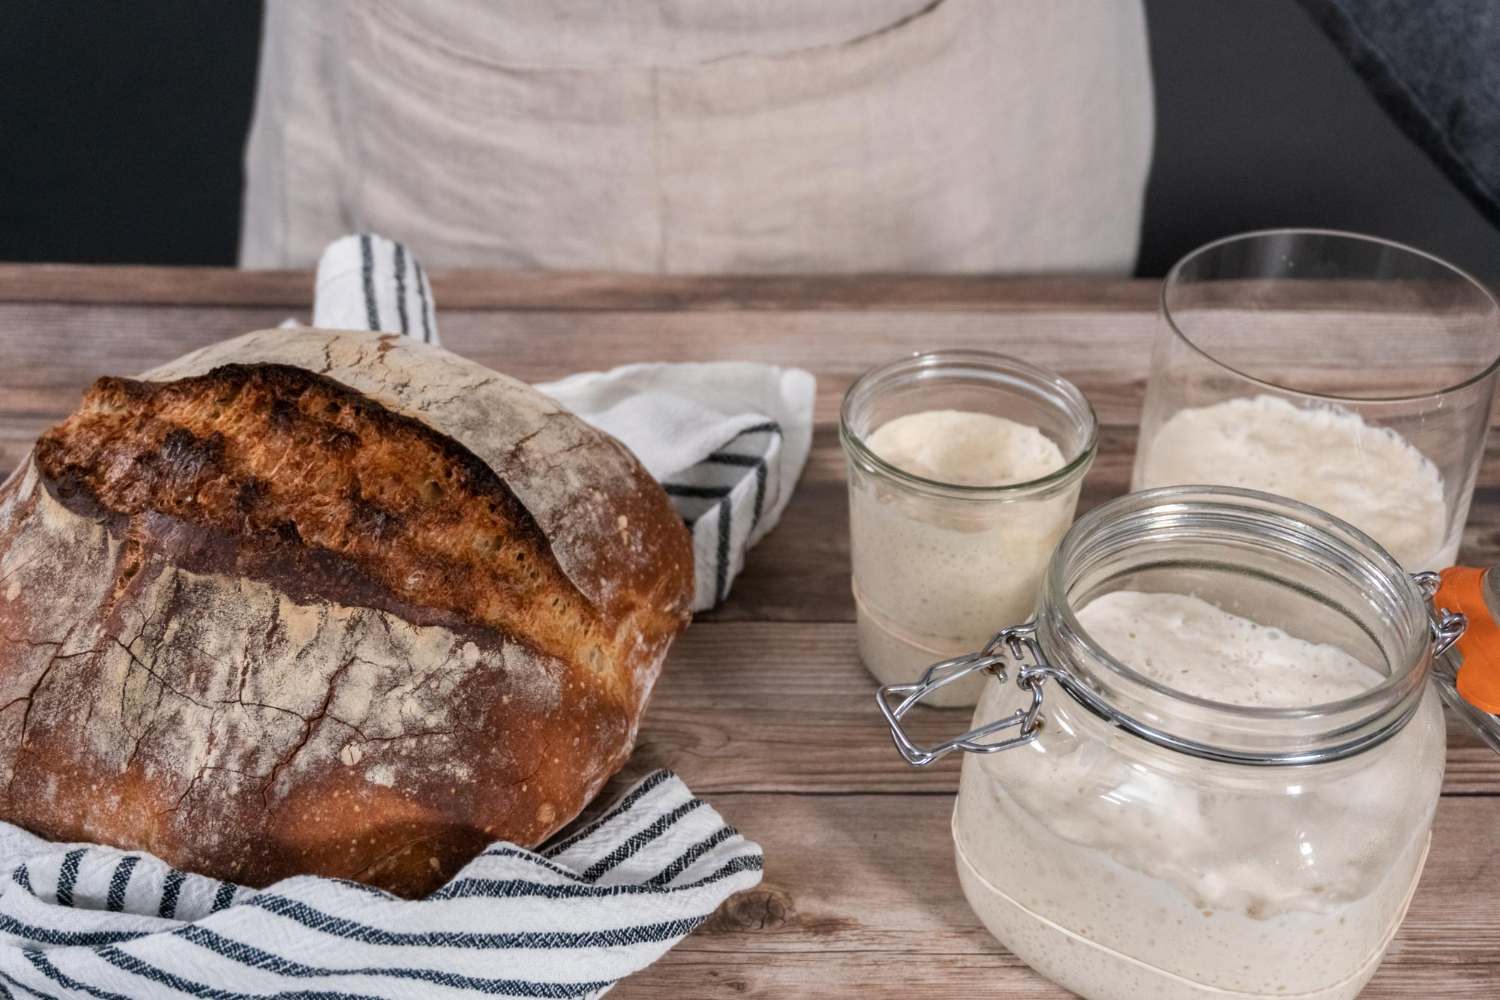
A sourdough starter needs regular “feeding” or refreshment with fresh flour and water. This feeding process gives the microorganisms essential nutrients that help them thrive and keep their leavening power. Most bakers use a 1:1:1 (starter:flour:water) feeding ratio, which people also call a 100% hydration starter. This balanced method will give a perfect fermentation environment and prevents the culture from becoming too acidic.
Temperature has a significant impact on how often you need to feed your starter. Bakers should feed their starter every 12-24 hours in warmer environments (70-75°F or 21-24°C) that stay at room temperature. The starter can go in the refrigerator if you bake less frequently, and it needs feeding just once per week. Your sourdough maintenance can adapt easily to different baking schedules with these flexible feeding options.
Signs of a healthy starter
A healthy sourdough starter shows several clear signs that indicate its readiness to bake:
- Physical signs:
- Doubles in volume within 4-6 hours after feeding
- Shows both small and large bubbles throughout
- Manages to keep a dome-shaped surface at peak activity
- Displays a spongy, mousse-like consistency
- Demonstrates a stretchy, elastic texture while remaining pourable
Your starter’s aroma should be pleasantly yeasty and free from sharp acetone or unpleasant odors. The starter reaches its peak when it passes the float test – a small amount should float in water, showing enough gas production to leaven properly.
Regular feeding creates a strong culture that produces consistent, quality bread. Your starter’s strength affects fermentation, flavor development, and your sourdough’s final texture. Bakers who understand these basics can avoid common mistakes like overfeeding, which weakens the culture and wastes ingredients.
Common Overfeeding Mistakes to Avoid
Bakers can avoid damaging their sourdough starter by learning about overfeeding problems. The starter’s delicate ecosystem needs the right amount of food. Too much feeding or incorrect methods will weaken your starter’s health.
Feeding too frequently
Bakers often think feeding their starter more often makes it stronger. But feeding a sourdough starter more than twice daily can weaken it instead. A mature starter needs feeding just once or twice per day at room temperature. The natural population of yeast and bacteria gets diluted with too much feeding. This disrupts the delicate balance that makes sourdough work.
Excessive starter feeding creates these problems:
- The microbial colony becomes weak
- Flour gets wasted
- The fermentation environment loses balance
- The starter’s rising power decreases
Using too much flour and water
Bakers make a serious mistake when they add excessive flour and water while feeding their starter. You should measure ingredients by weight rather than volume. Measuring cups create wrong proportions because water weighs more than flour.
Your starter suffers when you add too much flour and water:
- The starter becomes weak and diluted
- Excess food creates bad smells as it rots
- Acid levels rise too high
- The fermentation process slows down significantly
Inconsistent feeding ratios
Your starter’s health depends on consistent feeding ratios. Standard ratios like 1:1:1 or 1:2:2 (starter:flour:water) work best, but some bakers guess measurements or change ratios often. These inconsistent practices weaken the starter gradually.
Inconsistent ratios affect your starter in several ways. Higher feeding ratios (such as 1:5:5 or 1:10:10) slow down growth, and lower ratios speed up fermentation. Both approaches can work, but switching between ratios frequently disrupts your starter’s routine and leads to unpredictable results.
Bakers should limit beneficial overfeeding to twice per month at most. To overfeed intentionally, add 50% more flour and water (for example, 100g starter : 150g water : 150g flour). Let the starter process this extra food for 24 hours before the next feeding.
Temperature affects feeding consistency substantially. Your starter ferments faster in warmer environments, so you might need to adjust feeding schedules. The culture needs time to adapt, so make these changes gradually. Precise measurements and consistent timing create a reliable starter that bakes well.
Optimal Feeding Practices for a Healthy Starter
Sourdough starter maintenance becomes successful when bakers establish optimal feeding practices that arrange with their environment and baking routines. The starter runs on proper guidelines about timing, temperature, and flour choices that bakers must follow.
Determining the right feeding schedule
Room temperature and baking frequency drive the ideal feeding schedule. A starter kept at room temperature (between 24-28°C or 75-82°F) needs feeding once every 12-24 hours to stay active. Bakers who use their starter 3-4 times per week should stick to room temperature feeding schedules. But those who bake less often can store their starter in the refrigerator and feed it just once per week.
A 3-4 month old starter shows more flexibility in feeding schedules than younger cultures. The starter’s behavior tells you when to adjust feeding times. Your starter has found its healthy rhythm when it doubles consistently within 8-12 hours after each feeding.
Adjusting for temperature and environment
Temperature substantially affects starter activity and feeding requirements. Several environmental factors need attention:
- Optimal Temperature Range: 24-28°C (75-82°F)
- Warm Environment Solutions:
- Use cooler water for feeding
- Reduce the amount of mature starter carried over
- Feed more frequently
- Cold Environment Solutions:
- Feed with warm water (37-40°C/99-104F)
- Use a warm water bath
- Employ a yogurt maker or proofing box
Bakers achieve consistent results by maintaining stable temperatures with proofing boxes or warm spots in their kitchen. Avoid direct sunlight exposure that creates inconsistent temperatures and affects starter activity.
Choosing the right flour for feeding
Each type of flour brings unique benefits to starter maintenance. Let me share a complete guide to help you select the right flour:
| Flour Type | Characteristics | Best Use Case |
|---|---|---|
| All-Purpose | Balanced protein content, consistent results | Daily maintenance |
| Bread Flour | Higher protein, extra strength | Building starter strength |
| Whole Wheat | Rich in nutrients, faster fermentation | Boosting activity |
| Rye Flour | Highest enzyme activity, rapid fermentation | Reviving sluggish starters |
Your starter will stay healthy with any unbleached wheat flour, but many bakers get better results by combining different flours. The most successful mix combines 90% bread flour with 10% rye flour to create perfect balance between activity and flavor without too much sourness.
Temperature plays a crucial role in flour performance. Warmer weather requires less whole grain flour to avoid overactive fermentation. Cold conditions might need more whole grain flours to keep the activity levels up.
Bakers can achieve consistent results by preparing large batches of their preferred flour blend ahead of time. This method gives uniform feeding ratios and saves you from measuring multiple flours each time you feed. Remember to gradually transition over several feedings when switching flour types to keep your culture stable.
Troubleshooting an Overfed Starter
A baker needs to spot and fix an overfed sourdough starter through close attention and step-by-step solutions. At the time bakers see their starter becoming less active or unresponsive, they can bring back its strength by learning the right troubleshooting steps. This approach helps prevent feeding problems later.
Identifying signs of overfeeding
A sourdough starter shows several distinct characteristics that distinguish it from other common starter issues. The core team of bakers should look out for these indicators:
| Symptom | Description | Severity |
|---|---|---|
| Texture Changes | Becomes runny or overly liquid | Moderate |
| Activity Level | Minimal bubbling, weak rise | Severe |
| Aroma | Lacks yeasty smell, may develop unpleasant odor | Moderate |
| Consistency | Appears diluted, lacks structure | Moderate |
| Performance | Produces lackluster bread, poor rise | Severe |
These symptoms suggest that excessive feeding has diluted the natural population of yeast and bacteria. This makes the culture less potent for baking.
Steps to revive an overfed starter
Your overfed starter needs patience and consistent care to come back to life. This process helps restore the proper balance of microorganisms naturally.
First Look
- Keep only 50g and remove the rest
- Take a look at temperature conditions
- Give the container a good clean
Getting It Back
- Mix in 50g flour and 50g water (1:1:1 ratio)
- Keep temperature steady at 24-28°C (75-82°F)
- Let it rest 24 hours before the next feed
Keeping Track
- Look for signs of activity
- Watch the volume double
- Smell how the aroma changes
The starter might need a different flour type if you don’t see changes after two feedings. Adding 10% rye flour can kickstart a slow-moving starter quickly. Remember not to feed too often during this comeback phase. Your starter needs time to rebuild its culture properly.
Preventing future overfeeding issues
A healthy starter needs consistent feeding practices and a good understanding of environmental factors. Key prevention strategies include:
- Using precise measurements by weight rather than volume
- Following a consistent feeding schedule based on room temperature
- Monitoring starter activity before each feeding
- Adjusting feeding amounts based on how often you bake
Temperature plays a significant role in preventing overfeeding. The starter needs less frequent feeding in warmer conditions because fermentation happens faster. Cool temperatures slow fermentation down and allow longer gaps between feedings.
Your starter’s health depends on keeping detailed records of feeding schedules and behavior patterns. These records help you spot potential risks before they become serious problems. The starter’s appearance, smell, and activity level are great ways to get information about its health.
Refrigeration provides an excellent solution to prevent overfeeding over time. A mature starter needs feeding just once per week when kept in the refrigerator. This reduces excessive feeding risks while keeping the starter viable. Make sure your starter shows strong activity and gets a 1:1:1 ratio feed before refrigeration.
Bakers who understand how feeding frequency relates to environmental conditions can maintain optimal starter health. These guidelines and careful attention to your starter’s needs help avoid overfeeding. The result is a strong, active culture that produces excellent sourdough bread.
Conclusion
Sourdough starter maintenance just needs close attention to feeding practices, environment, and daily routines. Strong, viable cultures thrive with exact measurements, proper feeding times, and the right flour choice. These basics, along with watching your starter’s behavior, help you avoid overfeeding while keeping your starter healthy and ready to bake.
Bakers who become skilled at starter maintenance create exceptional bread with rich flavors and ideal textures. Your results will stay consistent when you monitor regularly, solve problems systematically, and stick to proper feeding methods. The Yeast We Can Do offers authentic artisanal sourdough starter that will revolutionize your baking – reach out to john@theyeastwecando.com for premium starter that makes perfect bread and pizza with signature crust and tangy flavor. Quality ingredients and proper feeding knowledge make shared success possible for home bakers who can create outstanding sourdough while their starters stay healthy and active.
FAQs
How can I tell if I’m overfeeding my sourdough starter?
You might be overfeeding your sourdough starter if you notice it’s not bubbling or rising, lacks a yeasty smell, appears runny, or results in sourdough bread that doesn’t rise well and has a gummy texture. Additionally, not using a kitchen scale to measure your flour and water can contribute to overfeeding.
What should I do if I’ve overfed my sourdough starter?
If your sourdough starter is overfed, it may become too diluted and watery. To remedy this, leave the starter out in a warm place overnight. The next morning, discard all but a tablespoon of the starter and feed it.
How can I correct an overactive sourdough starter?
To manage an overactive sourdough starter, try using water that is cooler than usual, but not cold. This can help slow down the growth rate of your starter.
What are the consequences of using too much starter in my sourdough?
Using an excessive amount of starter can cause the dough to ferment too quickly, which might prevent you from adequately strengthening the dough. This can lead to bread that spreads out sideways rather than rising upwards. Monitoring the dough closely during bulk fermentation is crucial to avoid over fermentation.