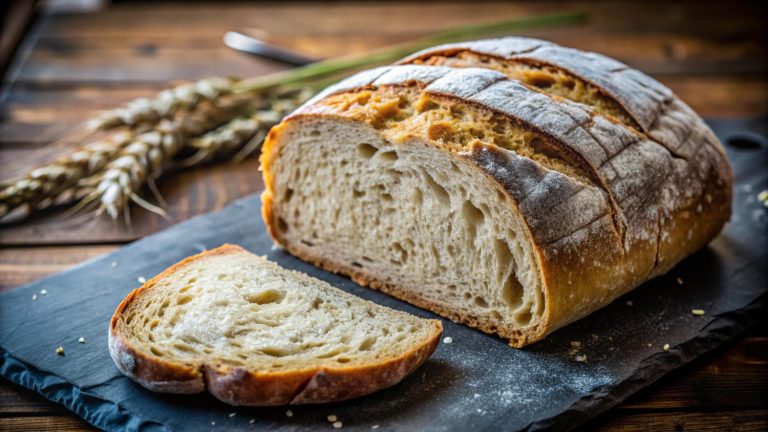
How to Fix Why Won’t My Sourdough Rise: A Troubleshooting Guide

Are you struggling with a sourdough that refuses to rise? We’ve all been there. It’s frustrating when our bread doesn’t turn out as expected, especially after putting in so much time and effort. Why won’t my sourdough rise? This is a common question among bakers, and we will tackle it head-on.
In this troubleshooting guide, we’ll explore the key factors affecting sourdough’s rise. We’ll cover everything from understanding fermentation to perfecting your flour and water balance. We’ll also dive into mastering stretch and fold techniques and optimizing your proofing and baking process. You’ll know how to solve your sourdough troubles and bake the perfect loaf by the end.
Understanding Sourdough Fermentation
Sourdough fermentation is a complex process crucial to creating a successful loaf. If you’re wondering why your sourdough won’t rise, understanding this process is key. Let’s dive into the science behind growing, factors affecting fermentation, and signs of proper fermentation.
The Science Behind Rising
Mixing flour and water creates an environment where wild yeast and lactic acid bacteria thrive. These microorganisms are the powerhouse behind sourdough fermentation. The yeast feeds on the sugars in the flour, producing carbon dioxide gas as a byproduct. This gas gets trapped in the gluten network, causing the dough to rise.
But it’s not just about the yeast. Lactic acid bacteria play a crucial role, too. They produce lactic and acetic acids, which contribute to the tangy flavor of sourdough and help create an environment for the yeast to flourish.
Factors Affecting Fermentation
Several factors can impact how well your sourdough ferments and rises. Temperature is perhaps the most critical. Warmer temperatures speed up fermentation, while cooler temperatures slow it down. If your sourdough starter is not growing after feeding, the room might be too cold.
The feeding ratio and schedule are also crucial. If you’re wondering why your sourdough starter won’t rise, it might be due to an improper feeding ratio. A typical ratio is 1:1:1 (starter:flour: water), which can vary depending on your specific starter and environment.
The type of flour used can also affect fermentation. Whole grain flours ferment faster than white flours due to their higher enzyme content. If your sourdough dough is not rising, you might need to adjust your flour choice or fermentation time.
Signs of Proper Fermentation
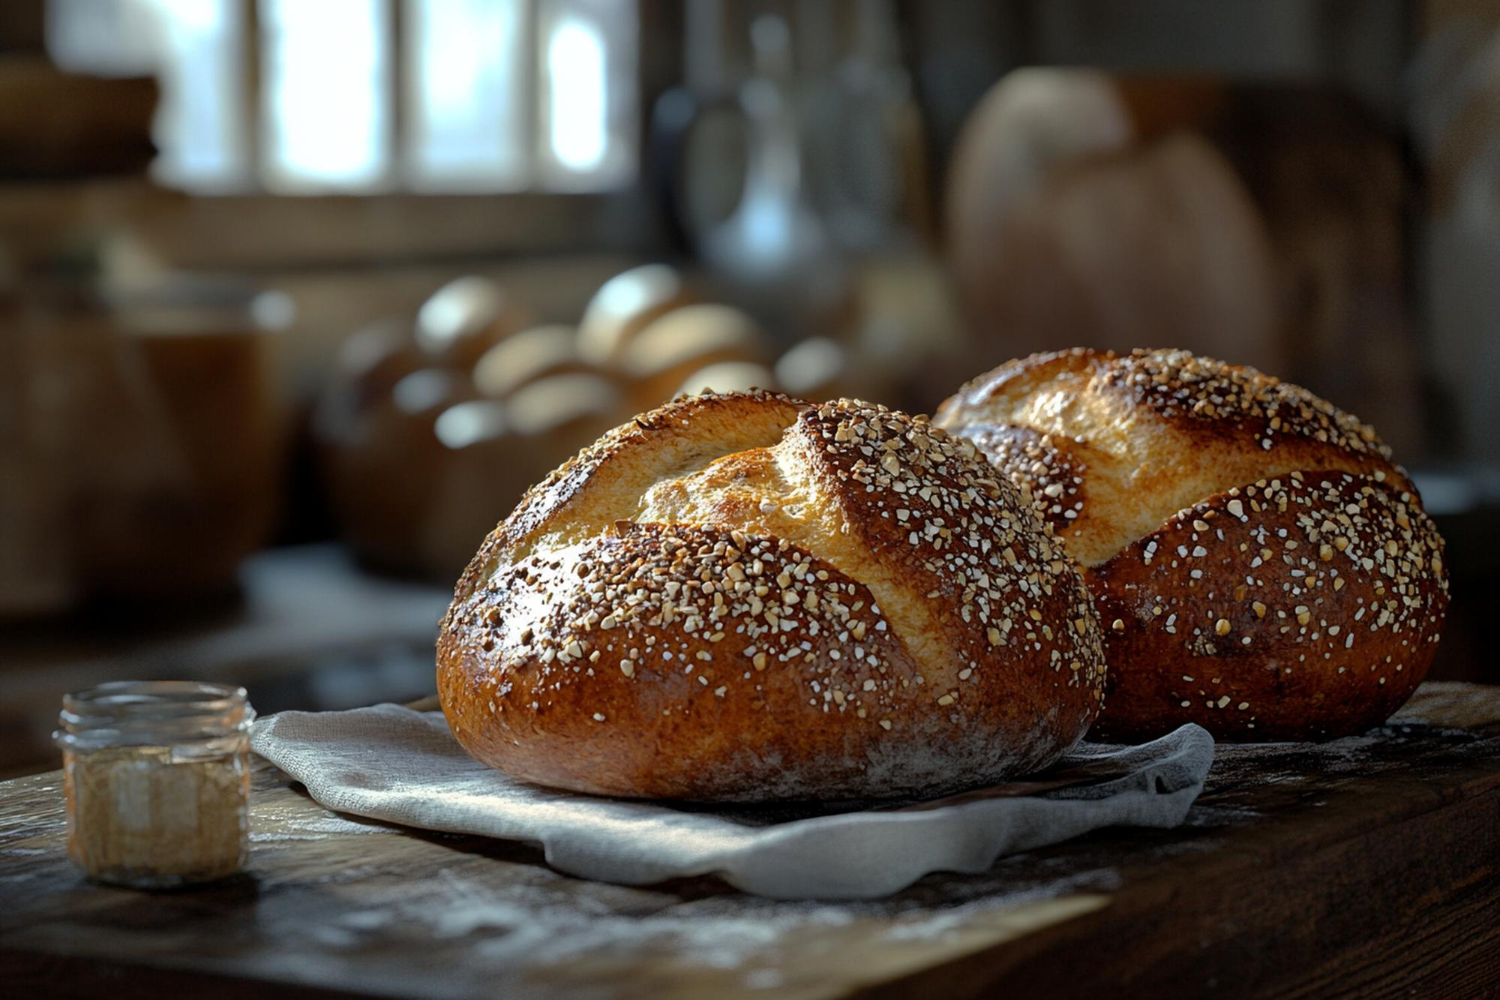
Knowing the signs of proper fermentation can help you troubleshoot if your sourdough is not rising. A well-fermented dough should roughly double in size during bulk fermentation. It should feel light and airy, with a slightly domed surface.
If you’re using a clear container, you should see large bubbles forming on the sides and bottom. The dough should also have a slightly sweet, fermented smell. If your sourdough bread is too dense, it might indicate under-fermentation.
Remember, sourdough fermentation is as much an art as a science. It takes practice and patience to get it right. Don’t get discouraged if you’re still struggling with why your sourdough is so dense or not rising. Keep experimenting with different variables, and you’ll soon master baking sourdough.
Perfecting Your Flour and Water Balance
When it comes to sourdough baking, getting the right balance of flour and water is crucial. If you’re wondering why my sourdough won’t rise, the answer might lie in this delicate balance. Let’s explore the key factors to help you achieve the perfect flour and water ratio for your sourdough.
Types of Flour to Use
The type of flour you use can significantly impact your sourdough’s rise and texture. For beginners, I recommend using either bread flour or all-purpose flour. These flours have a higher protein content (10-15%), are essential for gluten development, and have a good rise.
Whole wheat flour can add complex flavors to your bread, making the dough denser. This is because the bran in whole wheat flour can inhibit gluten formation. If you’re using whole wheat flour, consider mixing it with white flour to achieve a better balance.
Ancient grains like spelled, einkorn, or rye can add unique flavors to your sourdough for those looking to experiment. However, these flours behave differently from wheat flour and are best used with solid bread flour. For example, you might try substituting about 25% of your wheat flour with einkorn or spelled for a flavorful loaf that maintains a good structure.
Importance of Water Quality
Water quality plays a crucial role in sourdough baking. Your water’s mineral content and pH level can affect fermentation and gluten development. Ideally, you should use water with a pH just below 7 and a hardness between 100 and 150 PPM (parts per million).
If you’re using tap water, be aware that chlorine and chloramine, often used in water treatment, can kill the beneficial bacteria in your sourdough starter. This might be why your sourdough starter is not rising after feeding. To solve this issue, use filtered water or let your tap water sit out overnight to allow the chlorine to evaporate.
Adjusting Hydration Levels
Hydration refers to the ratio of water to flour in your dough. This ratio significantly affects your dough’s behavior and the final bread texture. If you’re wondering why your sourdough is so dense, it might be due to incorrect hydration.
For beginners, I recommend starting with a dough with a lower hydration, around 65-70%. This dough is easier to handle and less likely to spread during baking. As you gain experience, you can gradually increase the hydration to achieve a more open crumb structure.
To calculate hydration, use this simple formula: (Weight of Water / Weight of Flour) x 100. Remember to include the flour and water from your starter in this calculation.
If your dough feels too sticky or spreads too much, reduce the hydration slightly in your next bake. Conversely, if your bread is too dense, you might need to increase the hydration.
Remember, perfecting your flour and water balance is a journey of experimentation. Don’t get discouraged if your first few loaves aren’t perfect. With practice and careful observation, you’ll soon be baking beautiful, well-risen sourdough loaves.
Mastering the Stretch and Fold Technique
The stretch and fold technique is a crucial skill in sourdough baking. It’s beneficial if you’re wondering why your sourdough is not rising or why it’s so dense. This method can significantly improve your bread’s texture and rise. Let’s dive into the details of this technique.
Purpose of Stretching and Folding
Stretching and folding serve multiple purposes in sourdough baking. First and foremost, they strengthen the gluten network in your dough. This is essential for a good rise and structure in your final loaf. If your sourdough bread is too dense, implementing this technique can help.
Additionally, stretching and folding gently incorporate air into the dough. This air gets trapped in the gluten network, contributing to a loftier rise and a more open crumb structure. It’s a great way to troubleshoot if you’re wondering why your sourdough is not rising as expected.
Another benefit of this technique is that it helps equalize the dough temperature. This is particularly important for even fermentation, which can be a factor if your sourdough starter is not rising after feeding.
Proper Technique
To perform the stretch and fold technique:
- With slightly wet hands, grab a portion of the dough and stretch it upward.
- Fold this stretched portion over towards the center of the bowl.
- Rotate the bowl a quarter turn.
- Repeat this process until you’ve gone full circle, completing one set of four-folds.
When you start, the dough will feel loose and elastic. You’ll notice it becoming tighter as you continue, usually around the third or fourth fold. After a few sets, your dough should transform from flat and dense to plump and jiggly. This is a good sign that the technique is working effectively.
You can perform this technique on a countertop or directly in the bowl. The bowl method is often more convenient and helps contain the dough.
Frequency and Timing
The timing and frequency of stretch and folds can vary depending on your dough and schedule. Generally, the first set is done about 30 minutes into the bulk rise. After that, you might do up to four additional sets, spaced anywhere from 15 minutes to an hour apart.
For high-hydration doughs (wetter doughs), you can space the sets closer together, about 15-30 minutes apart. These doughs are more slack and can handle more frequent manipulation. If you’re troubleshooting why your sourdough dough is not rising, you might be dealing with a high-hydration dough that needs more frequent stretch and folds.
On the other hand, lower hydration doughs (drier, stiffer doughs) need more time to relax between sets, typically 30 minutes to an hour. If you stretch these doughs too soon, they won’t stretch properly.
Remember, not all doughs require stretch and folds. However, it’s an easy and effective technique to incorporate into your baking routine, especially if you’re figuring out why your sourdough starter is not doubling or your bread isn’t rising as expected.
With practice, you’ll start to notice improvements in the look, taste, and texture of your sourdough bread. Remember that your dough might look different from what you see in tutorials, and that’s okay. Every dough is unique, and part of the joy of sourdough baking is learning to read and respond to your specific dough’s needs.
Optimizing Proofing and Baking
Bulk Fermentation vs Final Proof
Understanding the difference between bulk fermentation and final proof is crucial when troubleshooting why your sourdough is not rising. Bulk fermentation occurs after mixing the dough and before shaping. During this stage, the dough ferments, developing flavor and strength. The final proof, on the other hand, happens after shaping and just before baking.
For optimal results, let your dough bulk ferment until it reaches 1.5 to 2 times its original size. This usually takes about 3.5 to 4 hours at 78°F (25°C). If your sourdough starter is not rising after feeding, it might be due to incorrect temperature or feeding ratio. Aim for a 1:1:1 (starter:flour: water) ratio and maintain a consistent temperature.
During the final proof, which typically lasts 1 to 4 hours at room temperature, the shaped dough continues to ferment and rise. If your sourdough dough is not rising during this stage, it could be due to under-fermentation during bulk or improper shaping.
Shaping for Better Rise
Proper shaping is critical to achieving a good rise in your sourdough bread. If your sourdough is so dense, it might be because of poor shaping technique. Start with a pre-shape to organize the dough into a loose ball. This step helps relax the gluten, making the final shaping easier.
When doing the final shape, focus on creating surface tension. This tension helps the dough hold its shape and rise upward instead of spreading outward. For a boule (round loaf), fold the edges of the dough towards the center, flip it over, and use your hands to rotate and tuck the edges underneath, creating a tight, smooth surface.
If you’re shaping a batard (oval loaf), fold the dough into an envelope shape, then roll it up tightly, sealing the seam. Place the shaped dough seam-side up in a proofing basket to encourage upward expansion during baking.
Scoring and Oven Spring
Scoring your sourdough bread is more than just decoration; it’s crucial for achieving a good oven spring. If your sourdough bread is too dense, proper scoring can help. Just before baking, use a sharp blade to cut about ¼ to ½ inch deep on the surface of the dough. This creates a weak point where the bread can expand during baking.
For optimal oven spring, ensure your oven and baking vessel are preheated to around 500°F (260°C). The high initial temperature creates steam from the dough’s moisture, which helps the bread rise and develop a crispy crust. If your sourdough is not growing in the oven, it could be due to insufficient steam. Consider using a Dutch oven or adding a tray of boiling water to your oven to create a steamy environment.
Remember, if your sourdough starter is not doubling or your bread isn’t rising as expected, it’s often a combination of factors. Pay attention to your feeding schedule, dough temperature, shaping technique, and baking environment. With practice and attention to detail, you’ll soon be baking beautifully risen sourdough loaves.
Conclusion
Mastering sourdough baking is a journey of patience and experimentation. By understanding the intricacies of fermentation, perfecting your flour and water balance, mastering stretch and fold techniques, and optimizing your proofing and baking process, you can overcome common challenges and create delicious, well-risen loaves. Remember, each sourdough starter is unique, and getting to know its quirks and preferences takes time.
As you continue your sourdough adventure, don’t be afraid to try new techniques and ingredients. The key is to observe your dough closely and adjust as needed. To take your baking to the next level, consider trying an authentic artisanal sourdough starter from The Yeast We Can Do – email john@theyeastwecando.com to get your hands on their premium starter. Happy baking, and may your future loaves rise to new heights!
FAQs
Q: What should I do if my sourdough doesn’t rise?
A: To rejuvenate a sourdough starter that isn’t rising, begin by keeping 25 grams of your existing starter. Feed it with 50 grams of flour and 50 grams of water. This should help your starter double in size within 12 to 24 hours. If you’re starting from scratch and your starter has never risen, it’s advisable to follow a reliable guide to establish an active starter.
Q: How can I encourage my sourdough starter to rise?
A: If your sourdough starter isn’t showing signs of activity, you might need to adjust the feeding ratio or ensure the environment is conducive for growth, typically warm and with sufficient humidity.
Q: What steps can I take if my dough fails to rise?
A: Increase the temperature to between 80–90 °F (27–32 °C) and maintain a humidity level of about 75%. This creates an ideal environment for yeast activity, which can help your dough rise. Consider using a proof box in your oven to achieve these conditions.
Q: Why isn’t my sourdough rising during the fermentation process?
A: If your sourdough isn’t rising during bulk fermentation, your sourdough starter may need strengthening. If the dough appears underproofed during preshaping or shaping, allow more bench rest time to develop properly.