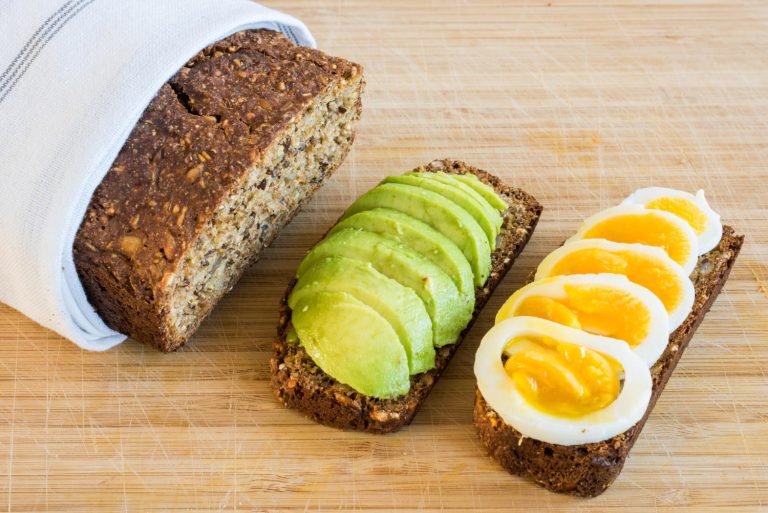
How to Master Wet Dough Handling Technique for Perfect Sourdough
Sticky, unmanageable bread dough challenges many home bakers who find it impossible to shape correctly. The wet dough handling technique is a vital skill that creates exceptional sourdough bread and distinguishes professional-quality loaves from amateur results. Skilled bakers can change challenging high-hydration dough into beautiful, open-crumbed bread with outstanding flavor and texture.
Bench scrapers and specialized techniques are the foundations of managing sticky sourdough dough effectively. Bakers will master proper stretching and folding methods that build dough strength throughout the bread-making process. These techniques help achieve the perfect balance of extensibility and elasticity needed to create outstanding sourdough bread.
Understanding Wet Dough Characteristics
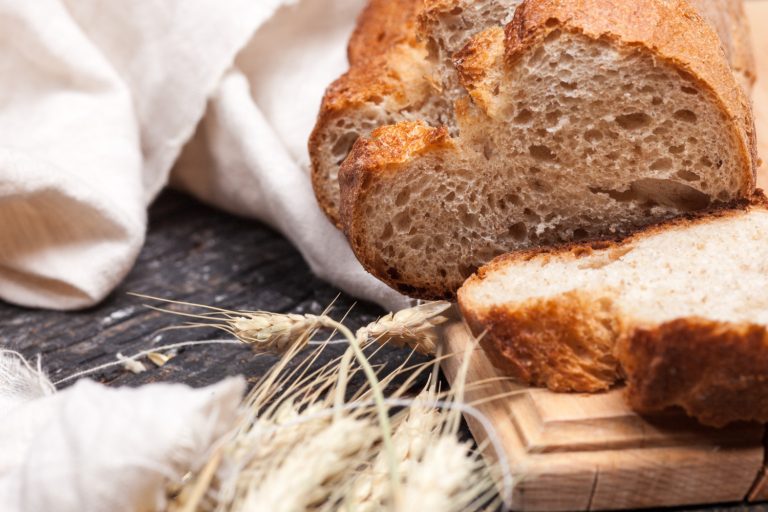
Sourdough bread’s special qualities come from the amount of water used compared to flour. High-hydration dough uses water that weighs 80% or more of the flour weight and creates unique properties that make baking both challenging and rewarding.
Why sourdough is wetter
Sourdough’s natural composition just needs more moisture than regular yeasted bread. The type of flour greatly affects water absorption. Whole grain and high-protein flours need extra water because of their fiber content and protein structure. The dough consistency changes based on humidity and temperature. Each baker has a unique experience based on their location.
Benefits of high hydration
Sourdough with higher hydration levels provides several key advantages:
- The bread develops an open, airy crumb structure with beautiful artisanal holes
- A delicate, crispy crust forms naturally
- The dough ferments faster, and ingredients blend better
- Less kneading effort is needed
- The dough becomes more elastic and stretchy in texture
Common challenges
Wet dough creates unique challenges that bakers must learn to address. A dough’s strength becomes significant—improper development can turn it into an unmanageable, sticky mass. Higher-hydration doughs ferment faster, which demands careful monitoring during bulk fermentation. Extra moisture makes shaping harder because the dough spreads instead of maintaining its shape.
Kitchen temperature plays a vital role when working with wet dough. Warm conditions can quickly reshape a workable dough into a slack, sticky mixture. The flour choice makes a substantial difference—lower-protein flours have trouble maintaining structure at higher hydration levels. Bread flours and whole wheat varieties handle increased moisture content better.
Essential Tools and Ingredients
The right tools and ingredients make handling wet sourdough a breeze in your kitchen. Professional bakers use specific equipment and materials that make working with high-hydration dough much more accessible.
Bench scraper
A bench scraper is a baker’s best friend when handling wet dough. This handy tool helps bakers minimize dough contact and creates proper tension during shaping. Because of its rigid edge, sticky residue on work surfaces becomes easy to clean up. The scraper’s wide blade provides excellent control during the significant shaping phase, resulting in professional results.
Dough whisk
Danish dough whisks feature a unique coiled design that makes them excellent tools for mixing heavy dough before kneading. Their flow-through wire construction blends ingredients entirely and requires much less effort than regular spoons or spatulas. The sturdy stainless steel head and comfortable handle work exceptionally well when you have high-hydration recipes to mix.
Rice flour
Rice flour stands out as the ideal non-stick agent bakers use to proof baskets and bannetons. This particular flour doesn’t absorb into wet dough like regular flour and creates a protective barrier that stops sticking. Bakers can gain several advantages from rice flour:
- The finished loaf shows stunning contrast
- The dough releases cleanly from proofing containers
- The non-stick properties work with high-hydration dough
- A blend with regular flour delivers optimal results
High protein flour
High-protein flour contains 12.7% to 14% protein, creating the perfect foundation for a successful wet dough. This flour builds strong gluten networks that hold more water effectively. Your sourdough will benefit significantly from this flour’s strength during long fermentation periods. The flour’s properties help achieve excellent rise and crumb structure. However, bakers need more water with high-protein flour to avoid harsh results.
Mastering the Stretch and Fold Technique
Modern artisan bread making’s life-blood is the stretch and fold technique that replaces traditional kneading methods for high-hydration doughs. Superior sourdough requires this gentle yet effective approach to develop gluten structure while preserving the delicate fermentation process.
Proper hand wetting
Bakers need to control how they wet their hands while handling the dough. Moisture prevents sticking, but too much water can disrupt the dough’s precise hydration levels. A light mist of water on the hands is enough – they should feel damp but not dripping. Expert bakers sometimes prefer using a thin coat of olive oil that protects water without adding moisture to the dough.
Gentle stretching motion
The primary stretch and fold process follows a simple pattern of four movements that align with cardinal directions:
- Reach under one side of the dough with dampened hands
- Gently stretch upward and let the dough’s weight create natural tension
- Fold the stretched portion back over the center
- Rotate the bowl 90 degrees and repeat
These movements need careful and gentle handling since rough treatment can damage the developing gluten structure. The dough becomes more cooperative with each subsequent fold, showing proper development.
Folding for strength
Dough strength builds up through multiple stretch sets and folds during bulk fermentation. Recipes typically suggest 4-6 sets with 15-30 minute breaks that let the dough rest between sessions. Bakers watch how their dough responds, and a well-developed dough shows more elasticity and better shape retention after each set.
The dough changes from a rough, shaggy mass into a smooth, unified structure. Each fold builds strength and helps balance the temperature while adding small air pockets that support proper fermentation. The number of required sets can change depending on the flour type, hydration level, and room conditions, so bakers must learn their dough’s unique visual and physical signals.
Shaping and Proofing Wet Dough
Professional bakers know that careful shaping and proofing make a wet dough a quality loaf. Success with high-hydration formulas demands patience and precision to achieve the best results.
Creating surface tension
Surface tension development is the foundation of proper loaf structure. Bakers create a taut outer skin during the final shaping process. The technique requires these steps:
- Flip the fermented dough gently onto a lightly floured surface
- Use the bench scraper to perform a pre-shape
- Let the dough rest for 30 minutes
- Create the final shape with careful folding motions
- Develop tension through gentle pulling motions
The dough’s taut surface maintains shape during proofing, delivering a better oven spring while baking.
Using bannetons effectively
Bannetons help support wet dough during the final proof. Your proofing baskets will give clean release and beautiful results with proper preparation:
- Use a sifter to dust rice flour well
- Add more flour where sticking commonly occurs
- Put your shaped dough with the seam facing up
- Use breathable material as cover
- Keep them in well-ventilated spots between uses
Expert bakers suggest mixing rice flour with whole wheat flour to work with sticky dough. The whole grain flour’s coarse texture provides more protection against sticking and preserves the dough’s structure.
Cold proofing tips
Cold proofing, also known as retarding, boosts flavor development and makes wet dough easier to handle. You can keep the dough in a refrigerator at 39°F (4°C) for 8-24 hours. This long fermentation creates deeper flavors.
A simple poke test tells you if your dough is ready – properly proofed dough bounces back slowly after a gentle press. You should watch how your dough develops in the fridge and adjust the time based on the flavor intensity you want.
Your next batch will turn out better if you cut the bulk fermentation time by 15-30 minutes when you notice over-proofed dough. A steady fridge temperature and proper dough covering helps prevent skin formation during the retarding process.
Conclusion
Becoming skilled at wet dough handling requires proper techniques, quality tools, and attention to detail. Each element plays a vital role in creating exceptional sourdough bread, from selecting high-protein flour to precise temperature control during fermentation. Professional-quality results come through proper stretching and folding, careful shaping methods, and controlled proofing environments that let the dough develop fully.
Skilled wet dough handling helps you create artisanal bread with unique flavor profiles and stunning visual appeal. Bakers who excel at these techniques find endless possibilities to craft unique, open-crumbed loaves that highlight their skill and dedication. Lift your bread and pizza game with an authentic artisanal sourdough starter from The Yeast We Can Do. Our small-batch starter helps you create exceptional bread and pizza with perfect tangy flavor and signature crust, whether you’re a passionate home baker or a restaurant owner wanting to add true sourdough’s unmistakable flavor and character to your menu. You can reshape your baking by emailing john@theyeastwecando.com
to get our premium sourdough starter.