How to Keep Your Sourdough Starter Warmer: A Baker’s Guide to Winter Success
Your sourdough starter’s fermentation might crawl to a snail’s pace during winter. Kitchen temperatures dropping to 20°C (68°F) can stretch what takes a few hours into more than 10 hours.
This challenge frustrates many bakers. The sweet spot for a healthy sourdough starter sits between 24°C and 28°C (75°F to 82°F). Creating this ideal environment during cold months feels like an uphill battle. The good news? Your starter can thrive without expensive equipment.
Our team’s passion for sourdough baking led us to test various methods that create perfect conditions for our wild yeast companions. Your starter can stay warm and active with our proven techniques, regardless of winter’s harsh conditions or inconsistent results.
Want to become skilled at controlling your sourdough’s temperature? Let’s explore these methods together!
Why Temperature Matters for Sourdough Starter
Temperature is a vital part of keeping your sourdough starter active and healthy. The way temperature affects your starter can make all the difference between a thriving culture and one that doesn’t perform well.
Understanding ideal temperature ranges
Sourdough starter fermentation works best between 24°C and 28°C (75°F to 82°F). Your beneficial bacteria and wild yeasts work together perfectly at these temperatures. This creates an ideal balance of activity and flavor development.
Your starter needs temperatures above 42°F (5.5°C) to stay healthy during long-term storage. Raymond Calvel and Frank Sugihara, who pioneered sourdough research, suggest keeping starters between 8-10°C (46.4-50°F) when storing them longer than 48 hours.
Room temperature (around 20°C/68°F) changes how your starter’s microorganisms behave. The lactobacilli create mild lactic acid at this temperature, which gives a gentler flavor. The starter becomes more predictable and active as temperatures rise to optimal levels.
How cold affects starter activity
Cold temperatures change your starter’s behavior completely. When temperatures drop below 70°F (21°C), fermentation slows down by a lot. Your starter becomes sluggish and less responsive. What usually takes a few hours might stretch to 8-10 hours or more.
Cold affects your starter in several ways:
Your yeast slows down and produces less gas
Different bacteria take over, which changes acid production
Everything ferments much slower
Refrigerated starters need extra care. Normal fridge temperatures (around 38°F/3°C) make your starter very sluggish. You’ll need to feed it multiple times to bring back its strength.
In spite of that, something interesting happens – while cold slows down yeast, some bacteria stay active and keep making acids. This can create more complex flavors over time, as long as temperatures don’t drop too low.
These temperature patterns help explain why starters often lose strength after staying cold too long. Good temperature control helps you keep your sourdough culture strong and flavorful, which leads to better baking results.
Simple Ways to Check Starter Temperature
Your sourdough starter’s temperature plays a vital role in getting consistent and successful fermentation. You can monitor your starter’s warmth through several reliable methods.
Using kitchen thermometers
A digital probe thermometer is the most accurate way to check your starter’s temperature. The ThermaPen ONE gives precise readings in seconds. You’ll get the best results by putting the probe about 1 inch deep into your starter’s center.
Simple refrigerator thermometers are a great way to get ambient temperature readings around your culture. These budget-friendly tools will give a steady temperature between 75-82°F (24-28°C) that your starter needs to stay active.
Reading visual temperature signs
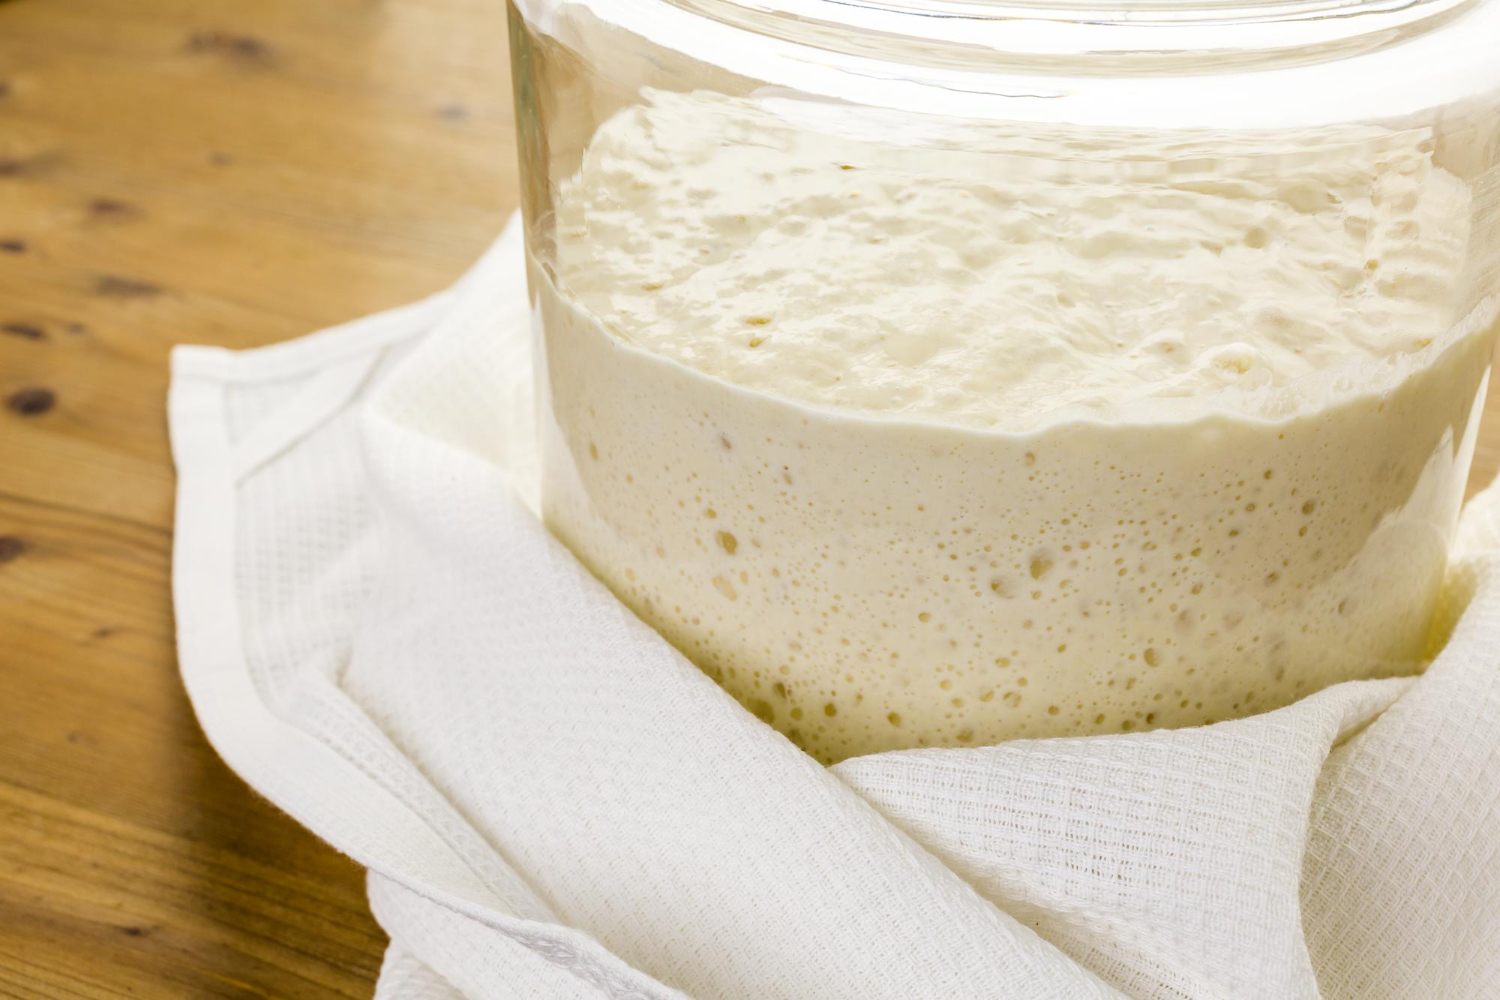
Your starter shows how warm it is through visible signs. A well-warmed starter usually doubles in size 4-6 hours after feeding. The starter might be too cold if it takes more than 8 hours to rise.
Look for these visual signs:
A dome shape on top at peak activity
Large, honeycomb bubbles you can see through the jar
A spongy, mousse-like texture at the right temperature
A stretchy, elastic feel that you can still pour
Digital monitoring options
New technology gives you sophisticated ways to track temperature. Bluetooth thermometers let you monitor your starter’s environment from your phone. These devices track temperature history, which helps during overnight fermentation.
Special equipment like the Sourdough Home keeps precise temperatures between 41°F to 122°F with both heating and cooling. This control gives you consistent fermentation whatever your kitchen conditions.
Stick-on digital thermometer strips work well if you want something simple. These strips detect temperatures between 64-93°F (18-34°C) and stick right onto your starter jar.
Note that the right temperature gives you predictable fermentation cycles. Regular temperature checks help you understand how your environment affects your starter’s behavior.
Best Spots to Keep Your Starter Warm
The right temperature spot for your sourdough starter can make a huge difference. You’ll see the change from a slow-moving culture to one that’s full of life and bubbles. Over the last several years of baking sourdough, I’ve found several warm spots that give our starters exactly what they need.
Kitchen counter warm zones
You need to understand heat patterns to find warm zones in your kitchen. We looked for areas that keep temperatures between 70-75°F (21-24°C). Stay away from direct sunlight because it can damage your starter’s wild yeast.
These spots on your counter naturally stay warm:
Upper shelves near the ceiling, since hot air rises
Corners away from drafty windows or doors
Areas that get heat from south-facing windows
Put your starter jar on a folded towel or cloth to work best. This helps when you have granite or quartz countertops. This simple trick keeps temperatures steady while the starter does its work.
Near appliance locations
Your household appliances get more and thus encourage more warmth that your sourdough starter loves. The best spots are:
Above the refrigerator: The compressor creates steady heat that rises, making it perfect at 75-82°F
Adjacent to the dishwasher: Heat from regular cycles helps the fermentation process
Near the water heater: The copper outlet pipe keeps temperatures just right for starter activity
Beside regularly used kitchen appliances: Coffee makers, microwaves, and other devices you use often create cozy warm spots
Wrap your starter jar in a tea cozy or wool sock to improve these spots. On top of that, a cardboard box near these heat sources creates a mini-environment that protects against temperature changes.
Note that each home has its own climate patterns. Watch how your starter behaves in these spots. Your starter will give you strong, consistent activity that makes great sourdough bread once you find its sweet spot.
Setting Up a Warming Station
A dedicated warming station for your sourdough starter can turn winter baking challenges into consistent success all year round. The right setup and equipment will help you maintain perfect fermentation temperatures whatever the season brings.
Simple equipment needed
To create a working sourdough starter warming station, you’ll need these key items:
A temperature-controlled device (from simple to advanced options):
Heating pad with adjustable settings
Seed raising mat that keeps 75-82°F (24-28°C)
Professional proofing box with precise controls
Insulation materials:
Glass dome or cloche that retains heat
Thermally-resistant container
Digital thermometer for precise readings
Power source:
Standard electrical outlet
USB adapter that works with modern warming devices
Step-by-step setup guide
Select Your Location Pick a draft-free spot away from direct heat sources. You’ll want an area with steady room temperatures and easy power access.
Install Temperature Control Put your warming device on a flat, stable surface. Make sure heating pads or mats can handle continuous operation.
Configure SettingsAdjust your temperature controller to 75-82°F (24-28°C) for the best fermentation. Simple warming mats work best when you start low and adjust based on how your starter responds.
Add Insulation LayerAn insulating material between your warming device and starter container helps spread heat evenly and stops hot spots from forming.
Position Monitoring Tools Put your thermometer where you can see it easily. Many modern devices come with built-in temperature displays and timers.
Test The Setup Let your station run for 24 hours before regular use and check temperatures often. You can fine-tune settings until you get steady readings in the ideal range.
A thermostat controller that keeps temperatures within 1°F precision can give you better control. These devices adjust heating elements automatically to maintain your target temperature, which means hands-free operation during fermentation.
Conclusion
Temperature control can be a game-changer for sourdough bakers who face winter challenges. Our hands-on experience shows that the right temperatures can turn sluggish starters into vibrant, active cultures that produce amazing bread.
You can choose a simple counter warm spot or build a dedicated warming station, but consistency is crucial. Your starter will thrive between 24-28°C (75-82°F) when you monitor temperatures regularly and create the right environment, even in the coldest months.
Every home has its unique warm zones. That special spot above your refrigerator or near the dishwasher could become your starter’s favorite winter retreat. A simple thermometer, careful observation, and a touch of creativity will help you create the perfect environment for your sourdough companion.
My experience shows that nothing matches the joy of watching a healthy starter bubble with life – a feeling that fellow sourdough enthusiasts understand deeply. These warming techniques will help your starter respond with new vigor and consistent performance, making each bake a success story.
FAQs
Q1. What’s the ideal temperature range for a sourdough starter? The optimal temperature for a sourdough starter is between 75°F and 82°F (24°C to 28°C). This range promotes active fermentation and balanced flavor development.
Q2. How can I keep my sourdough starter warm in a cold kitchen? You can keep your starter warm by placing it near appliances that generate heat, such as on top of the refrigerator or near the dishwasher. You can also create a warm environment using a heating pad on low setting or by wrapping the jar in a towel.
Q3. What are signs that my sourdough starter is too cold? If your starter takes longer than 8 hours to rise or shows minimal activity, it may be too cold. A properly warmed starter typically doubles within 4-6 hours of feeding.
Q4. Can I use household items to create a warm environment for my starter? Yes, you can create a DIY proofing box using a cooler or insulated container with a warm water bottle inside. Some bakers also use low-wattage incandescent bulbs or Christmas lights to generate gentle warmth.
Q5. How does temperature affect the flavor of my sourdough? Temperature influences the balance of microorganisms in your starter. Cooler temperatures can lead to slower fermentation and more complex flavors, while warmer temperatures promote faster activity but may result in a more sour taste if not monitored carefully.