How to Master Sourdough Scoring: A Beginner’s Guide
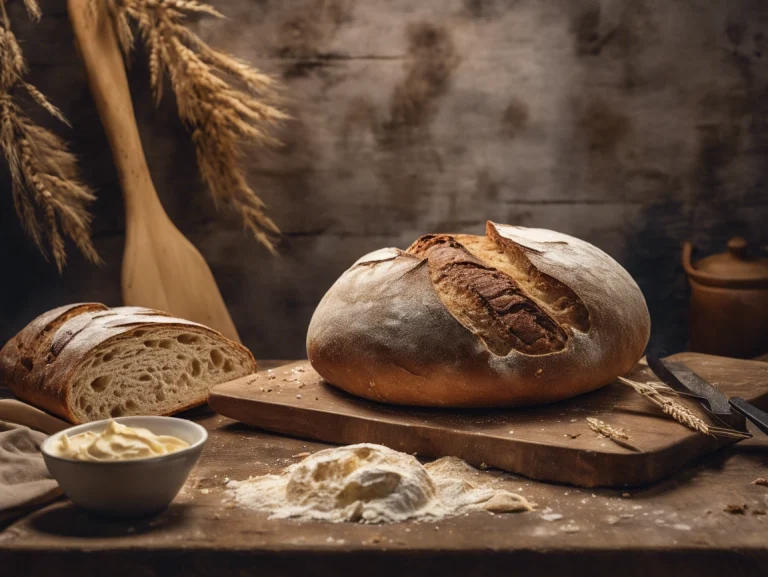
Artisan sourdough loaves feature distinctive patterns that blend beauty with purpose. Sourdough scoring goes beyond creating beautiful designs. These precise cuts guide the bread’s expansion while baking and lead to ideal rise, texture, and a crispy crust. Many bakers see scoring techniques as their final challenge to create professional-quality sourdough bread.
Our detailed guide walks through scoring techniques that beginners need. Readers will discover everything from simple preparation steps to advanced decorative patterns. The content teaches proper dough preparation, key scoring patterns, solutions to common problems, and ways to develop unique designs. Regular practice and proper scoring methods can help anyone turn simple bread into beautiful artisanal loaves.
Preparing Your Dough for Scoring
The perfect sourdough score starts well before you pick up the blade. Three significant elements create the foundation: fermentation, surface tension, and precise flouring.
Proper fermentation
Proper fermentation plays a vital role in scoring success. A beautiful scoring pattern needs the right fermentation. The dough must be proofed correctly – neither under nor over – to achieve the desired results. Bakers achieve optimal results when they cold-proof their dough at approximately 4°C (39°F). The cool temperature helps maintain the dough’s structure and allows smooth blade movement during scoring. The cold proofing process takes 8-12 hours, usually overnight, and produces dough that’s perfectly firm to score.
Creating surface tension
Bakers need surface tension to achieve clean, defined scores. The pre-shape phase requires minimal flour while focusing on a tight outer skin that maintains the dough’s structure. The dough needs a 30-minute rest after the original pre-shape before moving to the final shaping. A proper final shape creates balanced tension that supports scoring and allows the dough to rise naturally during proofing.
Flouring techniques
A perfect flouring technique produces beautiful contrast between white dusting and dark, baked crust. The best results come from this specialized flour mixture:
- 50% white rice flour (higher scorch temperature)
- 50% all-purpose flour (provides balanced coloring)
Your proofing basket needs gentle brushing to remove excess flour before scoring. A fine-mesh sieve helps apply a fresh, even layer afterward. Light dusting makes the difference – excessive flour can turn your clean canvas into a messy overlay. Maximum contrast seekers can opt for 100% white rice flour, though this choice might affect the crust’s final appearance.
Note that beginners should focus on lower hydration recipes as higher hydration doughs present scoring challenges. Proper fermentation combines with adequate surface tension and precise flouring to create ideal conditions for successful sourdough scoring.
Mastering Different Scoring Patterns
Becoming skilled at scoring patterns changes ordinary sourdough into visually stunning loaves that grab attention. Bakers can create designs from simple to intricate with proper technique and practice. These designs serve both functional and esthetic purposes effectively.
Simple patterns for round loaves
Round loaves, or boules, expand evenly with the right scoring patterns. These simple patterns work well:
- Single cross-cut (90-degree angle)
- Diamond crosshatch (30-degree intersecting lines)
- Simple spiral (using a turntable)
- Windowpane design (parallel lines forming squares)
Beginners should start with the single cross-cut pattern. This approach helps the dough expand predictably and creates an attractive loaf.
Decorative designs for batards
The oval shape of batards creates a perfect canvas to expand on scoring patterns. Bakers achieve the classic French cut by making diagonal slashes at a 75-degree angle that overlap slightly to create an elegant look. Creative bakers can showcase their artistic skills through wheat stalk designs or the distinctive saucisson pattern—a series of parallel diagonal cuts resembling sausage links.
Creating the coveted ‘ear’
A baker’s skill shows in creating the perfect “ear”—that coveted lifted crust that forms along the score line. The dough needs specific techniques to achieve this effect:
- Score at a 30-degree angle to the dough surface
- Make one confident slash from end to end
- Maintain consistent depth (approximately ½ inch)
- Score just before the loaf enters the oven
Pro tip: The dough can be placed in the freezer for 30 minutes before scoring to prevent deflation and make clean cuts, especially with detailed patterns that take time to execute.
Bakers should sketch their intended patterns on paper first. This practice helps visualize the design before working with actual dough. Note that high hydration doughs need quick, confident cuts, while lower hydration levels allow more intricate designs.
Troubleshooting Common Scoring Issues
Skilled bakers struggle with scoring their sourdough bread. A good grasp of common problems and their fixes leads to beautiful loaves consistently. The most frequent scoring challenges need specific solutions.
Dough sticking to the blade
Sticky dough on scoring blades signals temperature or fermentation problems are systemic. Scoring should happen right after taking the dough from the refrigerator because cold dough resists better. A proper bread lame or razor outperforms any knife, no matter how sharp. Pro tip: Clean the blade between cuts, especially for intricate patterns, to maintain optimal cutting performance.
Uneven or ragged cuts
Several factors cause ragged cuts in bread:
- Insufficient gluten development
- Poor shaping technique
- Incorrect blade angle
- Dull scoring tools
Bakers need a blade angle of approximately 22 degrees to achieve clean cuts. Swift and confident movements produce the best results. The blade will drag and create uneven cuts when bakers hesitate or score too slowly. A blade that consistently creates ragged cuts needs replacement.
Scoring too deep or shallow
The ideal scoring depth ranges from ¼ to ½ inch. This creates a “shelf” that lets steam escape properly during baking. Your loaf might collapse if you cut deeper than ½ inch because it weakens the dough’s structure. The bread could split in unexpected places if you don’t cut deep enough.
Decorative patterns need a mix of shallow cuts for looks and a deeper “utility” score. This main cut should be ¼ to ½ inch deep. It will give a controlled rise that preserves your decorative work. Important: The main score on batard-style loaves works best slightly off-center to help the bread expand evenly as it bakes.
Your dough’s response to scoring reveals a lot. The blade might meet too much resistance or the dough could collapse at the time of scoring. These signs point to under or over-fermentation. A well-fermented dough has the right surface tension that lets you make clean cuts and helps the bread keep its shape while baking.
Taking Your Scoring to the Next Level
Sourdough scoring becomes an artistic expression that lets bakers develop their unique style once they understand the simple techniques. Bakers gain confidence with fundamental methods and reshape their bread into edible art.
Experimenting with artistic designs
The art of bread scoring beautifully combines functionality with visual appeal. A baker’s first step should be sketching designs on paper. This practice helps create a clear vision of the final pattern and provides a useful reference during the scoring process. Several popular artistic patterns have emerged:
- Wheat stalks with curved lines
- Floral designs with shallow cuts
- Wave patterns
- Geometric shapes
- Leaf motifs
Bakers working on complex designs should keep decorative cuts shallow at 1mm depth. The design needs one deeper functional score that allows proper expansion as the bread bakes.
Using stencils and templates
Stencils are a great way to create consistent, professional-looking designs. Simple cardboard stencils work well with simple patterns, and experienced bakers often use specialized bread stencils. The process is straightforward:
- Dust the dough surface lightly with flour
- Place the stencil carefully on the loaf
- Move swiftly and confidently to trace the pattern
- Lift the stencil gently to preserve the design
Incorporating scoring into your signature style
A baker’s signature style emerges from understanding what works best for their comfort and skill level. You’ll find success by discovering techniques that feel natural and produce the results you want. Bakers should focus on:
- Experimenting with blade angles and cutting depths
- Combining different pattern elements
- Adapting simple designs to create unique variations
- Documenting successful patterns and techniques
Perfectly straight lines appeal to many bakers, but slight curves or asymmetrical patterns can define a distinctive style. You retain consistency in fermentation and dough preparation because even the most beautiful design needs proper dough structure to achieve optimal results.
Pro tip: Your blade stays sharp and precise when you clean it between cuts while creating detailed patterns. The dough benefits from 15-20 minutes of chilling before scoring if you’re attempting advanced designs.
Conclusion
Learning sourdough scoring starts with simple fundamentals and ends in artistic expression. Success just needs careful attention to dough preparation, proper fermentation, surface tension, and well-planned flouring methods. These core elements, plus knowledge of basic patterns and solutions to common problems, help bakers advance from simple cross-cuts to beautiful decorative designs that show their growing skills and creativity.
The art of scoring reshapes ordinary bread into stunning creations that showcase each baker’s style and passion for the craft. Quality results come through practice, testing different patterns, and steady improvement in technique. Bakers looking to improve their sourdough trip can raise their bread and pizza making with an authentic artisanal sourdough starter from The Yeast We Can Do. This starter works perfectly for passionate home bakers and restaurant owners who want that distinct tangy flavor and signature crust. Each scored loaf marks progress toward mastery and turns simple ingredients into edible art that pleases both eyes and taste buds.
FAQs
What are some tips to make scoring sourdough easier?
- To facilitate easier scoring of sourdough, consider using cold dough straight from the fridge, especially if it has undergone overnight proofing. Additionally, dusting the dough with all-purpose flour can enhance the visual contrast of your scoring design.
Why do I find it difficult to score my sourdough?
- Scoring can be challenging with very soft or room temperature dough. Ensure your blade is extremely sharp and attempt a swift, single stroke. If difficulties persist, placing the loaves in the freezer for about 20 minutes before scoring can help firm up the dough.
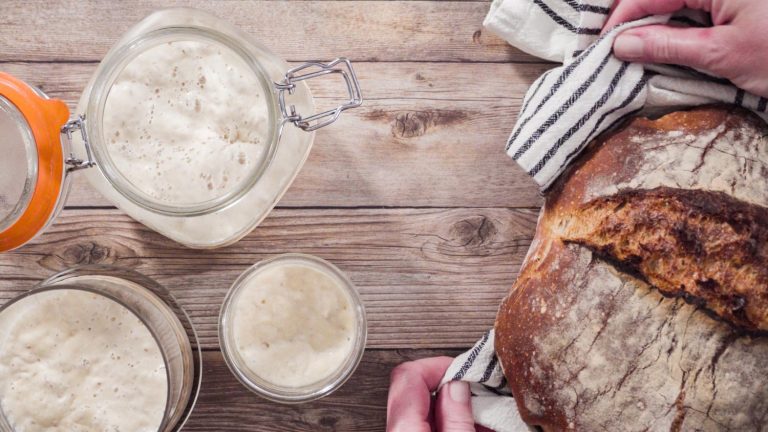
What conditions are ideal for a good sourdough starter?
- The optimal temperature range for a sourdough starter is between 75-80ºF (24-27ºC). In warmer conditions, the starter will ferment more quickly, requiring more frequent feedings and potentially resulting in a more acidic flavor.
Can you explain the 1 1 1 method for maintaining a sourdough starter?
- The 1 1 1 method for a sourdough starter refers to using equal parts of starter, water, and flour by weight. This ratio helps maintain a balanced and active sourdough starter.