Quick and Easy Sourdough Pop Tarts Recipe for Beginners
Those iconic 80s Pop-Tarts made breakfast feel like dessert.
Store-bought versions still line supermarket shelves, but we’ve found something even better. Our homemade sourdough pop tarts delightfully combine nostalgic flavors and artisanal baking.
You don’t need to be an expert baker to make these treats. This sourdough pop tart recipe turns simple ingredients into flaky, naturally fermented pastries that taste better than anything from a box. These treats are a perfect way to use that extra sourdough discard you’ve been wondering about.
We’ll guide you through making these homemade sourdough pop tarts, from mixing the dough to adding your favorite fillings. Ready to create something delicious? Let’s get baking!
Essential Tools and Ingredients for Beginner Bakers
Are you ready to make delicious homemade sourdough pop tarts? Let’s get your kitchen ready! To create these flaky treats, you’ll need a few simple tools.
Simple Kitchen Equipment You Already Have
Our sourdough pop tart recipe doesn’t need fancy equipment. Here are the tools you should gather:
- Kitchen scale (our most important tool!)
- Large mixing bowl
- Cheese grater or pastry cutter
- Pizza cutter or sharp knife
- Parchment paper
- Rolling pin
- Fork for crimping edges
Ingredient Substitutions and Alternatives
We want to make baking available to everyone, so let’s discuss ingredients. All-purpose flour creates the perfect tender crust, making it our top choice for these pop tarts. Cake flour can work if you’re out of all-purpose flour, but don’t use bread flour – it will make your crust too harsh.
Cold, unsalted butter gives the best results. You can also use salted butter—just skip the extra salt in the recipe.
The filling lets you unleash your creativity! Homemade jam tastes fantastic, but store-bought varieties work great, too. You can try Nutella, peanut butter, or any spread you love.
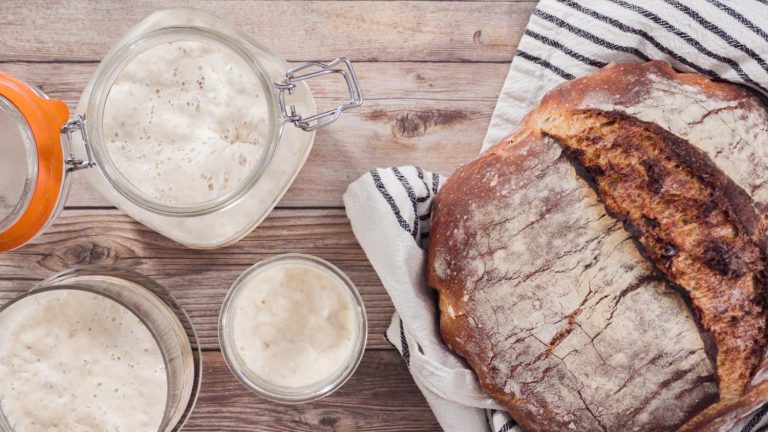
Understanding Your Sourdough Starter
Your sourdough starter makes these pop-tarts unique. We use sourdough discard that adds a subtle tang and creates beautiful flaky layers. Fresh discard or discard from the fridge works well.
Pro tip: Your discard’s age affects the pop tart’s flavor. Fresh discard gives a milder taste, while older discard adds more tang. New to sourdough? Don’t worry – we’ll help you work with your starter every step of the way.
Note that sourdough starter combines equal parts flour and water. If you don’t have a starter ready, mix 28 grams each of flour and water. Your pop tarts will still taste delicious without the signature sourdough flavor!
Preparing Your Workspace Like a Pro
Let’s set up our workspace before we tuck into making sourdough pop tarts. My countless baking sessions taught me that proper organization transforms a stressful experience into an enjoyable one.
Setting Up an Efficient Baking Station
A designated baking zone is vital to make perfect sourdough pop tarts. My process starts with clearing a spacious countertop that lets me spread out comfortably. The setup needs three distinct zones:
- Mixing Station: Where we’ll combine our ingredients
- Rolling Station: A clean, flour-dusted surface for shaping
- Assembly Station: Where we’ll fill and seal our pop tarts
Time-Saving Organization Tips
A competent organization saves time and reduces frustration. Here’s how I arrange my workspace to optimize efficiency:
- Keep frequently used items at arm’s reach
- Store measuring tools together in a dedicated container
- Place ingredients in order of use
- Position your mixing bowl near the counter’s edge
- Keep a clean, damp cloth nearby for quick cleanups
Measuring Ingredients Correctly
Precision matters with sourdough pop tarts. My foolproof process for accurate measuring includes the following:
- Start Clean: Clean, dry measuring tools are essential
- Use the Right Tools: Dry measuring cups for flour, liquid measures for wet ingredients
- Spoon and Level: Spoon flour into the measuring cup and level off – never scoop directly
- Check at Eye Level: Place the measuring cup on a flat surface and check at eye level
- Weigh When Possible: A kitchen scale gives the best results – 1 cup of flour should weigh 125 grams
Note that temperature plays a key role! Cold butter and room temperature sourdough starter makes a huge difference in achieving perfectly flaky layers in your homemade pop tarts.
Pro Tip: I freeze the butter for about 15 minutes before grating it. This technique creates the beautiful, flaky layers we want in our pop tarts.
Making the Perfect Pop-Tart Dough
The best part of making sourdough pop tarts is creating that perfect, flaky dough! After countless hours in my kitchen, I can’t wait to share what I’ve learned.
Simple Mixing Techniques
Great sourdough pop tarts depend on proper dough handling. Here are two methods that work great every time:
- Food Processor Method
- Add flour and salt and pulse to combine
- Add cold butter cubes
- Pulse until butter forms large crumbles
- Add sourdough discard
- Pulse until dough forms a ball
- Stop when no dry spots remain
My favorite trick to make those lovely, flaky layers by hand involves grating cold butter with a cheese grater. Mix everything with a wooden spoon until combined, and don’t overwork the dough.
Ordinary Dough Mistakes to Avoid
Let me save you some trouble by sharing my mistakes. Overworking the dough is the biggest problem you’ll face. Too much mixing leads to overdeveloped gluten, which results in tough, chewy pop tarts instead of light, flaky ones.
Keeping butter cold is vital to the process. My kitchen gets pretty warm, so I often chill my tools and flour before starting.
Visual Cues for Perfect Consistency
The dough gives clear signals when it’s ready. Here’s what you should look for:
- A slightly marbled appearance with visible butter pieces
- It should hold together without being sticky when pressed
- A smooth but not elastic surface
- Small butter flecks throughout
Resting the dough works like magic—it helps the flour hydrate and makes rolling easier. I wrap my dough tightly in plastic and keep it in the fridge for at least an hour. You can leave it there for up to 48 hours if you want a stronger sourdough flavor.
Roll your dough to about 3 millimeters thick. I’ve found that this thickness creates perfect pop-tarts. Thinner dough breaks easily, while thicker dough won’t bake evenly.
Pro tip: If your dough feels dry, add ice-cold water one teaspoon at a time. A light dusting of flour helps fix sticky dough until you get the perfect consistency.
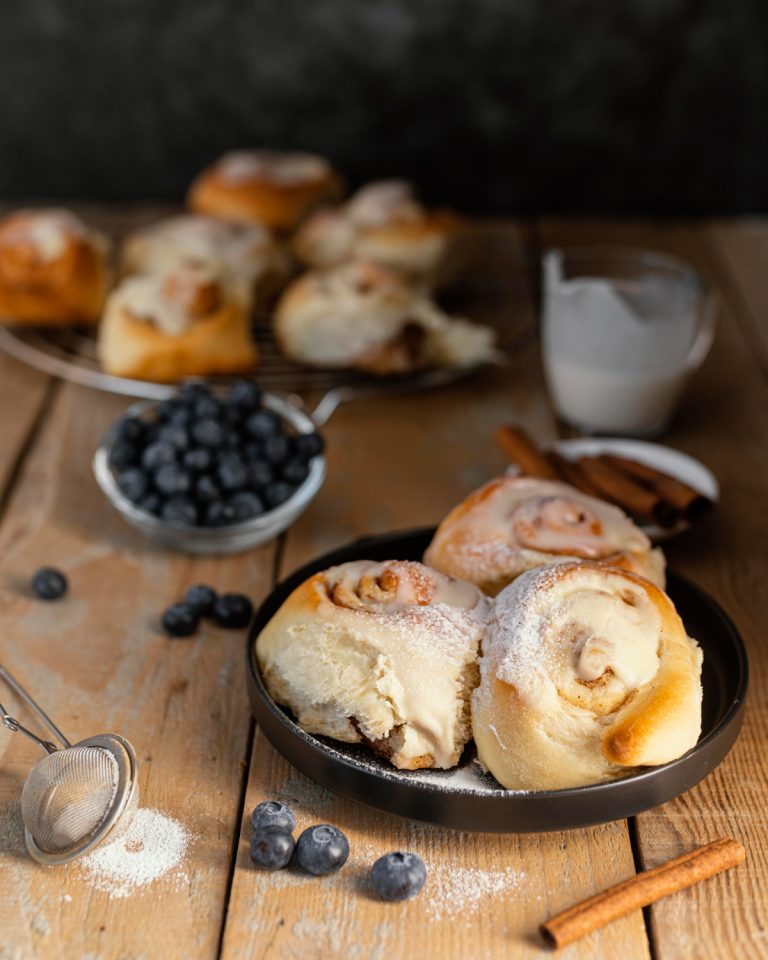
Filling and Shaping Made Simple
Experimenting with fillings is the fun part of making homemade sourdough pop tarts. I’ve tried countless combinations and can’t wait to share my favorite filling techniques.
Easy Filling Options for Beginners
Simple fillings help build your confidence when starting. These are my go-to favorites:
- Classic fruit jams (strawberry, blueberry, raspberry)
- Nutella or chocolate spread
- Brown sugar cinnamon mix
- Apple butter
- Cookie butter
- Homemade fruit preserves
Pro tip: Store-bought jams work great, but warming them slightly makes spreading easier and protects your dough from tearing.
Step-by-Step Assembly Guide
My testing has led to this perfect assembly process:
- Roll out your chilled dough to 1/8-inch thickness
- Cut into equal-sized rectangles (3×4 inches works best)
- Place 1½ to 2 tablespoons of filling in the center
- Leave a ¼-inch border around the edges
- Brush edges with egg wash (this ensures perfect sealing)
- Place the top rectangle over the filling
- Press edges gently with fingers
- Transfer to a parchment-lined baking sheet
Note that too much filling creates messy pop-tart explosions – I learned this lesson the hard way!
Sealing Techniques That Work
Perfect sourdough pop tarts depend on proper sealing. Years of practice have taught me these reliable techniques:
Egg wash makes the best “glue”—mix one large egg with two teaspoons of milk for the ideal consistency.
My “double-seal method” never fails:
- First seal: Press firmly with your fingers to join the top and bottom
- Second seal: Crimp with a fork all around the edges
- Final check: Look for gaps or air pockets
Important: A 20-30 minute chill after assembly prevents leaks and maintains those beautiful flaky layers we worked so hard to create.
Baker’s Secret: Small fork holes in each pop tart’s top let steam escape and prevent surprise filling eruptions during baking.
Baking and Decorating Basics
Let’s finish our sourdough pop-tart adventure! After baking hundreds of these treats, I can’t wait to share my tested methods to achieve that perfect golden finish.
Temperature and Timing Guidelines
My experiments show 350°F (177°C) works best for sourdough pop tarts. Here’s what I do:
- Give your oven a good 15-minute preheat
- Place pop tarts on a parchment-lined baking sheet
- Bake for 25-30 minutes until golden brown
- Move them to a cooling rack right away
- Let them cool before adding glaze
Pro tip: Your baking sheet needs to be rotated halfway through to brown evenly. The golden color tells you they’re ready.
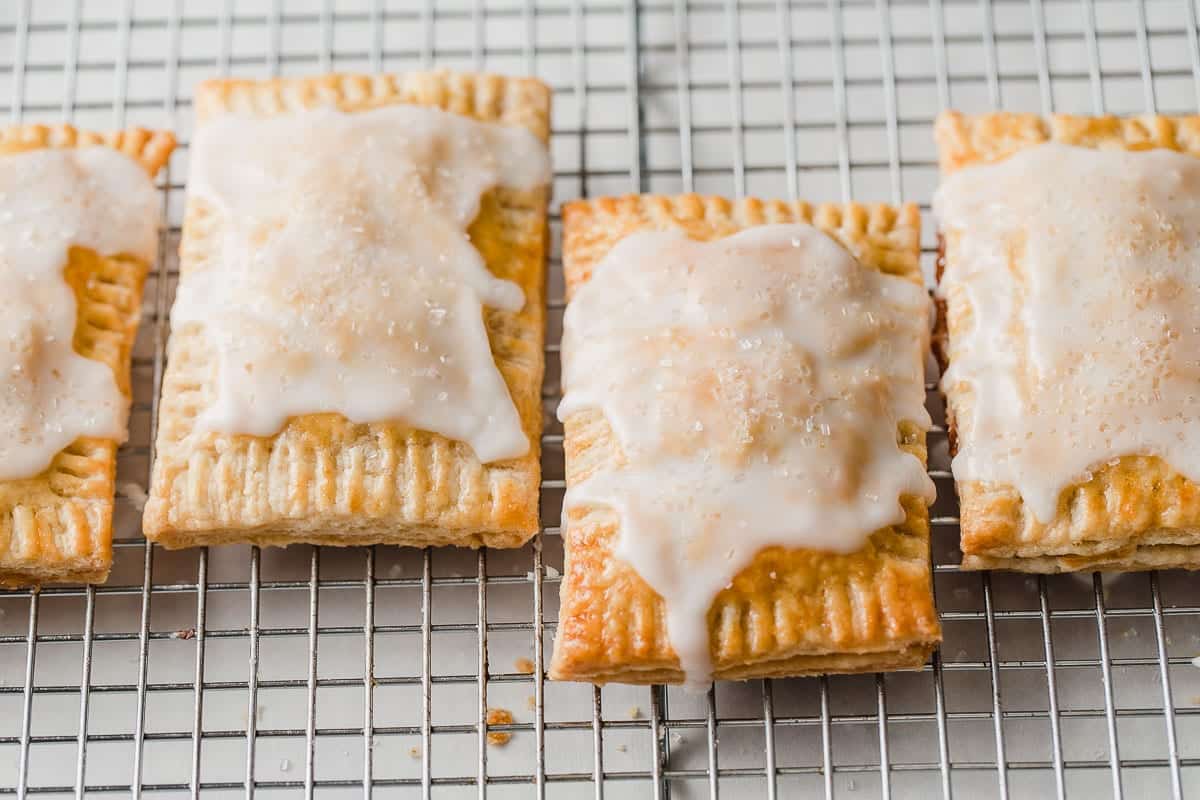
Simple Glazing Methods
It would be best if you had patience with glazing. Cool pop tarts are a must – I learned about melted messes the hard way!
My simple glaze mix:
- ½ cup powdered sugar
- One teaspoon water (add more if needed)
The Nutella glaze steals the show:
- ¼ cup Nutella
- One tablespoon milk
- Powdered sugar to thicken
A spoon or offset spatula works great for glazing. Start from the center and work outward. Your glaze should hold shape but spread quickly.
Basic Decoration Ideas
This is where creativity takes over! Simple touches make the most significant impact. These are my favorites:
- Coarse sugar crystals on wet glaze
- Festive sprinkles
- Contrasting glaze drizzles
- Fork-made patterns
Storage Secret: These treats stay fresh for 2-3 days in an airtight container at room temperature. You can freeze them unglazed for up to 4 months and pop them in the toaster later.
Important Tip: Leave a small uncoated rim around the edges. This stops drips and makes handling easier. The glaze needs 30-60 minutes to set before stacking or storing.
Proper drying time is essential for professional results. Wait 3 hours or until the glaze feels dry before stacking. This prevents smears and sticking, making these treats perfect for gifting or storing.
Baker’s Note: Humid kitchens need extra drying time. A small fan helps speed things up while keeping that glossy finish.
Conclusion
Baking sourdough pop tarts has become my favorite weekend morning kitchen activity. We’ve covered everything you need to make these delightful treats – from essential tools and proper workspace setup to becoming skilled at creating the perfect dough and learning about creative filling options.
I’ve learned that practice makes perfect with these homemade treats. Each batch teaches something new. Sometimes, it’s about getting flakier layers or finding an exciting flavor combination. Cold ingredients, gentle dough handling, and patience will make your baking experience enjoyable.
Are you ready to begin a journey into sourdough baking? You can lift your bread and pizza-making skills with an authentic artisanal sourdough starter from The Yeast We Can Do. Our small-batch starter helps passionate home bakers, and restaurant owners create exceptional bread and pizza with perfect tangy flavor and signature crust. Reshape your baking scene today. Email john@theyeastwecando.com to get our premium sourdough starter.
Store-bought pop tarts might be quicker, but homemade ones are worth the extra time. Your kitchen’s aroma will be unique, and your family will notice the difference. Happy baking!
FAQs
No FAQs are available for this article at the moment. Please check back later for updates.