How to Shape Batard: The Ultimate Guide to Perfecting Your Loaf
Proper bread shaping is a vital skill that sets professional bakers apart from amateurs, and becoming skilled at shaping batard is one of the most valuable techniques. This elegant, oval-shaped loaf just needs precise handling and attention to detail. Bread enthusiasts can raise their baking skills through this challenging yet rewarding process.
This guide explains batard shaping, from proper bulk fermentation to final proof. You will learn the correct stretch and fold techniques, the best proofing basket choices, and specific scoring patterns that create excellent oven springs. Whether you work with traditional bread dough or sourdough batard, these proven methods ensure consistent, professional results.
What is a Batard?
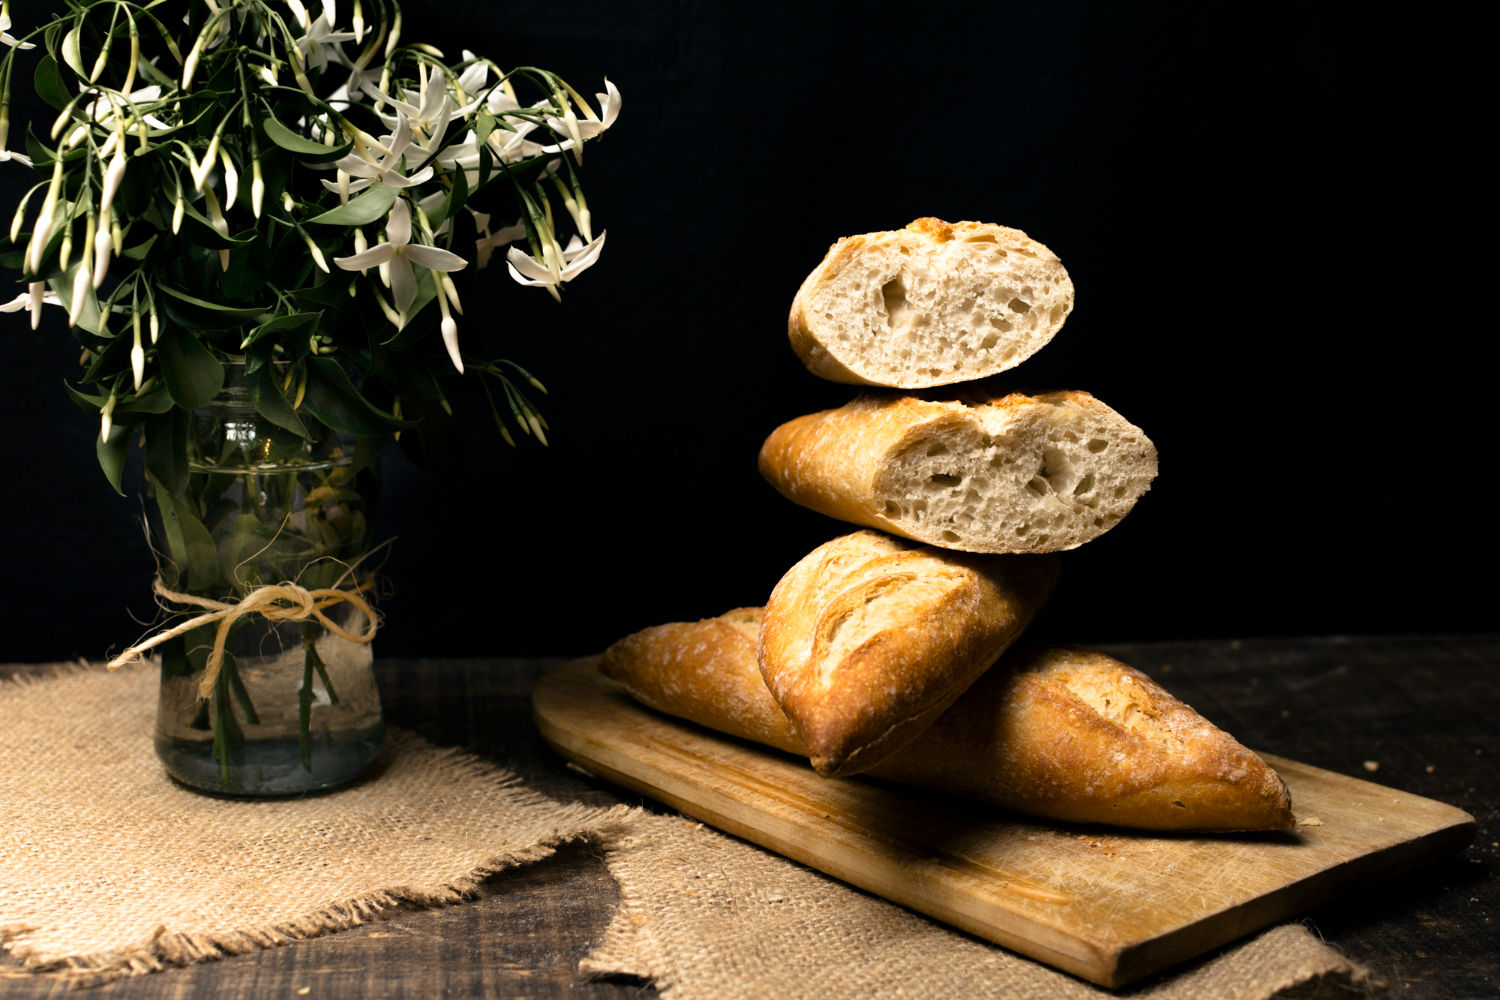
The batard is a unique bread shape that bridges the gap between a traditional round boule and a long baguette. This oval-shaped loaf spans 6-12 inches (15-30 cm) and has beautifully tapered ends that give it a torpedo-like look.
Definition and characteristics
Bakers need specific equipment and techniques to shape a proper batard. A rattan-made oval banneton (proofing basket) supports the dough during its vital proofing stage and helps maintain the loaf’s shape. The batard’s identity comes from its sturdy crust, tender crumb structure, and narrow ends that create an appealing look.
Difference from other bread shapes
The batard differs from other traditional bread shapes in many ways:
| Bread Type | Shape Characteristics | Typical Length |
|---|---|---|
| Batard | Oval with tapered ends | 6-12 inches |
| Baguette | Long and cylindrical | 24-30 inches |
| Boule | Round and spherical | N/A |
| Ficelle | Thin and string-like | 24-30 inches |
Benefits of batard shape
Bakers prefer the batard shape because it provides several practical advantages:
- Creates a more open interior structure compared to round loaves
- Produces uniform slices ideal for sandwiches
- Allows for expressive scoring patterns
- Preserves interior airiness due to gentler shaping requirements
The batard’s elegant form combines traditional bread shapes’ best features and offers unique benefits in texture and versatility. Because of its shorter length, home bakers find it easier to handle than a baguette. The oval shape creates an airy crumb structure that is beautiful and delicious.
Preparing Your Dough for Shaping
The perfect batard shape starts well before the final loaf formation. Optimal dough strength and proper fermentation and handling techniques are the foundations of this process. A baker’s expertise shows only when we are willing to ask if the dough has developed enough to shape.
Proper fermentation and strength
A dough’s strength shows how well it maintains its shape during shaping. Bakers should watch these essential indicators during bulk fermentation:
| Characteristic | Optimal State |
|---|---|
| Texture | Smooth and elastic |
| Surface | Slight dome retention |
| Volume | 50-70% increase |
| Feel | Fuller and lighter |
| Elasticity | Springs back slowly |
Pre-shaping techniques
Pre-shaping reshapes the scene by turning unstructured dough into a well-laid-out form that makes final shaping easier. The process needs:
- Turn the dough gently onto a lightly floured surface
- Shape the dough into a rough round from its original form
- Build surface tension without too much degassing
- Work the dough toward yourself to retain control
- Keep flour contact with the dough’s surface minimal
Resting period
The bench rest between pre-shaping and final shaping is vital in creating the perfect batard. At this time, the gluten structure relaxes, making the dough easier to handle for final shaping. Bakers should watch their dough’s behavior instead of following strict timings, though 20-30 minutes usually works best.
Important Note: Your dough might need more pre-shaping if it spreads too quickly during rest. The dough is ready for its final batard shape when it spreads slowly and maintains its form well.
Temperature is one of the most important factors at this stage. Many bakers prefer a quick 30-minute refrigeration to firm up their dough. This helps them shape it better without affecting its structure. This method works mainly when you have high-hydration dough or warm kitchen conditions.
Step-by-Step Batard Shaping Technique
Mastering the art of shaping a batard requires precision and attention to detail. The technique varies depending on the dough’s strength and hydration level, with specific approaches for solid and slack doughs.
Creating the initial rectangle
A baker begins by lightly dusting the work surface and the pre-shaped dough. Using a bench scraper, they flip the dough onto the floured surface. The dough should be positioned lengthwise for optimal shaping, creating a long rectangle. This orientation facilitates the subsequent folding steps and helps achieve the characteristic batard shape.
Folding and rolling method
The folding technique varies based on dough strength:
Strong Dough Method:
- Fold the left side to the middle
- Repeat with right side
- Roll down gently but firmly
- Maintain cylinder shape throughout
Slack Dough Method:
- Fold the bottom third up
- Bring sides into the center
- Create an envelope-like package
- Perform three gentle stitches
Building tension in the dough
Proper tension development is crucial for achieving optimal oven springs. Bakers should use their thumbs to push into the dough at the base, creating tension while rolling. This motion should be gentle yet firm, avoiding excessive degassing that could compromise the final structure.
| Aspect | Strong Dough | Slack Dough |
|---|---|---|
| Handling | Direct, fewer folds | More folds, gentle |
| Tension | Natural development | Requires stitching |
| Rolling | Firm, continuous | Light, progressive |
Sealing the seam
The final step involves sealing the seam properly to maintain the loaf’s structure. Bakers should pinch the ends closed to prevent spreading during proofing. The shaped batard is then transferred to a proofing basket with the seam facing upward, allowing space on the sides for the dough to relax and fill the basket during proofing.
Important: After final shaping, the dough should maintain its shape on the counter, indicating sufficient strength development. If it spreads excessively, additional tension may be needed through gentle reshaping.
Proofing and Baking Your Batard
Perfect batard creation depends on proofing conditions and baking techniques in the final stages. Your success depends on the right equipment and proper environmental control.
Choosing the right proofing basket
Bakers need a 14-inch long proofing basket (banneton) to handle a standard 900g dough piece. This size helps the dough relax outward toward both ends during the final proof and creates the characteristic batard shape. The basket requires proper preparation with the following:
| Preparation Step | Purpose |
|---|---|
| Light flour dusting | Prevents sticking |
| Cloth liner (optional) | Additional protection for wet doughs |
| Rice flour coating | Improves release properties |
Proper proofing time and temperature
Proofing duration changes depending on your environment and how you make your dough. Bakers typically choose between two methods:
- Room temperature proof (1-4 hours at warm temperature)
- Cold retardation (8-24 hours at 7°C/45°F)
To achieve the best results, your dough should display clear signs of proper fermentation. Look for slight bulging from the basket, and test the dough’s readiness with the poke test—the properly fermented dough will slowly spring back when you make indentations.
Scoring patterns for batards
Scoring patterns on traditional batards improve the bread’s appearance and the oven spring. These patterns work best:
Single Score: A clean diagonal cut at 65 degrees along the loaf’s length
French Cut: Multiple overlapping cuts at 75 degrees
Leaf Pattern: Symmetrical cuts create a leaf-like design
Baking tips for optimal oven spring
The perfect oven spring depends on precise temperature control and steam management. The original baking temperature should range between 425-450°F (218 and 232°C). Bakers should avoid excessive heat, which could set the crust too quickly.
Steam management plays a significant role during the first 15-20 minutes of baking. The baker must maintain a steamy environment until the loaf has fully sprung. This environment can be achieved through:
- Dutch oven with lid
- Steam injection systems
- Water pans in the oven
Careful monitoring of crust development ensures proper steam retention. This prevents premature crust formation and allows the batard to reach its maximum expansion potential.
Conclusion
Batard shaping requires proper technique at each significant stage. You’ll achieve outstanding results by building optimal dough strength through careful fermentation, precise shaping movements, and keeping adequate tension during forming. Your loaves will look consistently beautiful with professional-quality results when you pay attention to proofing conditions, scoring patterns, and managing steam while baking.
Quality ingredients, proper tools, and technical skills combine to create professional-level bread. Bakers who become skilled at these fundamental techniques can create exceptional artisanal breads that match professional bakery standards. Raise your bread and pizza game with an authentic artisanal sourdough starter from The Yeast We Can Do. Our small-batch starter will help you create exceptional bread and pizza with perfect tangy flavor and signature crust, whether you’re a passionate home baker or a restaurant owner who wants to add true sourdough’s unmistakable flavor and character to your menu. Each well-shaped and properly baked batard brings you closer to mastering the baker’s craft, delighting both the baker and those lucky enough to enjoy the results.
