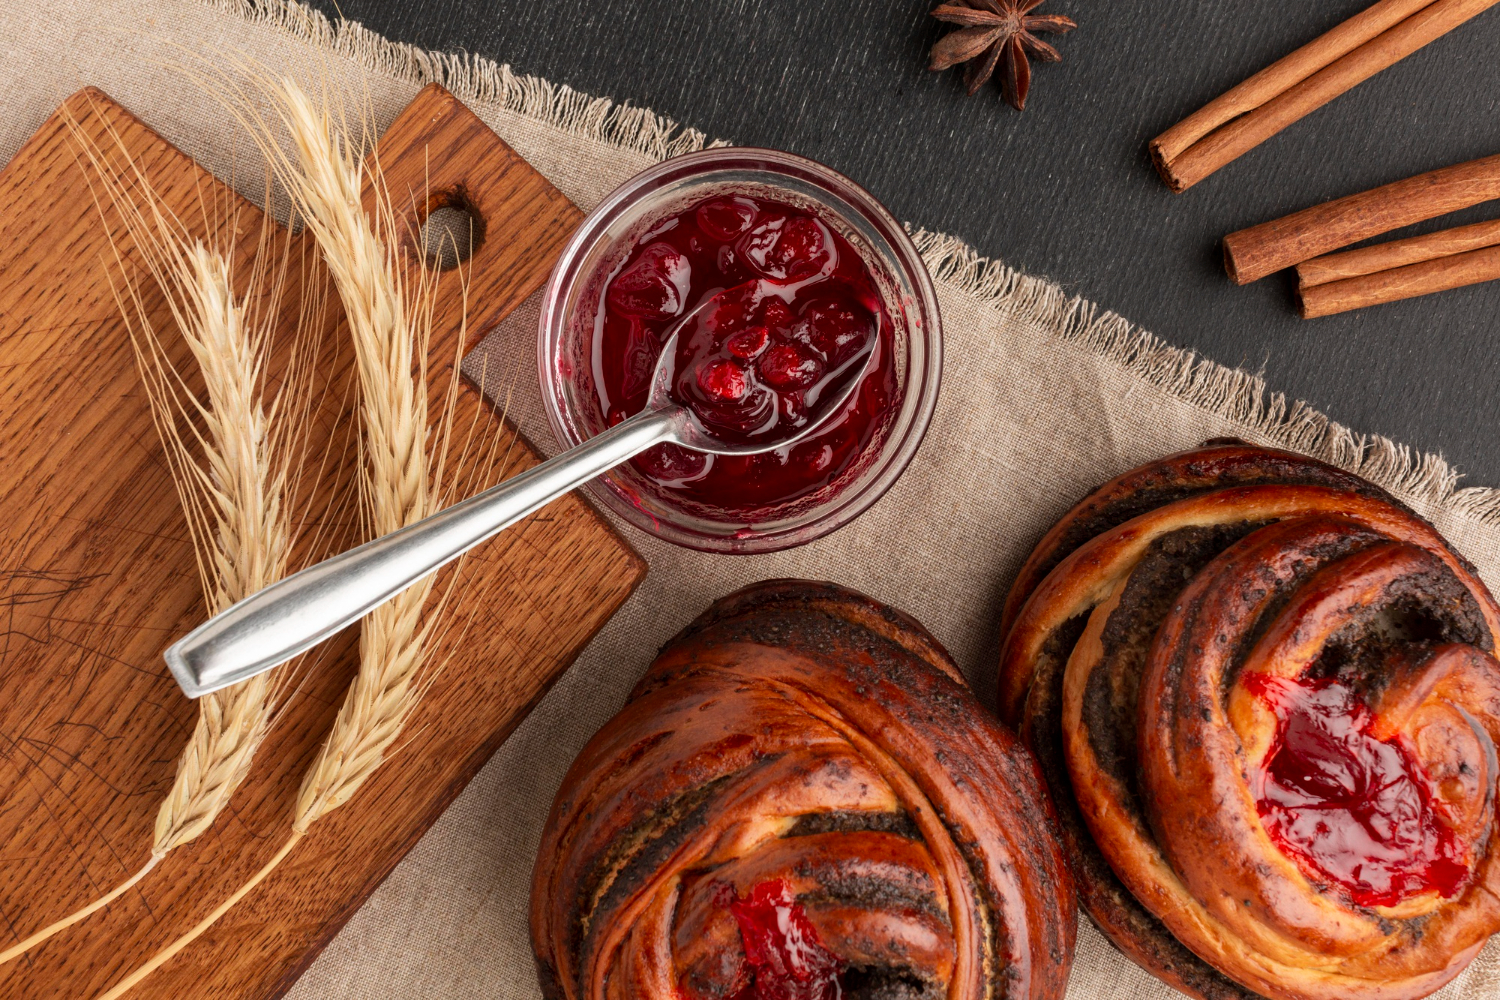
How to Perfectly Fill Sourdough Pastries: A Step-by-Step Guide
You know that moment when you bite into a homemade pastry, and the filling squishes out the wrong end? Or even worse, you find nothing but a sad, empty pocket of air where your delicious filling should be?
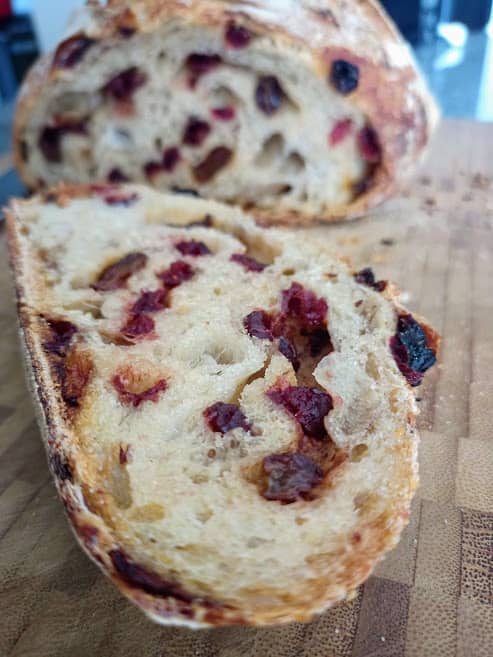
This happens to everyone. The way we fill sourdough pastries can make or break our baking creations. The filling technique proves as crucial as the dough, whether you create sourdough Danish pastries, dream up sourdough pop tarts, or play with sourdough cream cheese Danish.
Here’s the good part. Your pastries can turn from messy disappointments into perfectly filled treats that any baker would admire. All you need are the right methods and a few professional tricks.
Want to become skilled at filling pastries perfectly? Let’s take a closer look at this complete guide that will help you evolve from a frustrated baker to a filling expert.
Understanding Pastry Filling Basics
Let’s take a closer look at the science behind perfect pastry filling. My experience as a professional baker has taught me that becoming skilled at simple techniques creates consistently excellent sourdough pastries.
The Science of Perfect-Filling Consistency
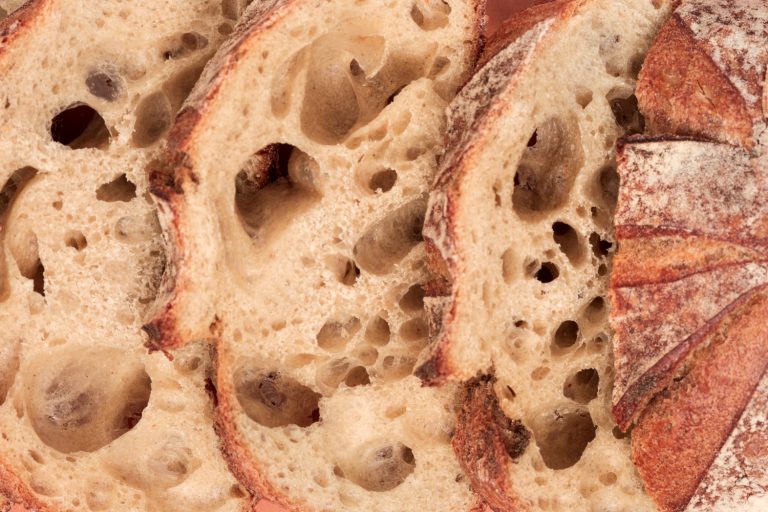
Perfect filling depends on understanding three main ingredients: fat, flour, and water. The right balance matters when making fillings for sourdough Danish pastries or cream puffs. Your filling’s texture—whether delightfully creamy or disappointingly runny—depends on these ingredients’ ratio. Fat distribution plays a vital role. It must coat the flour particles evenly to create that melt-in-your-mouth texture we all want.
Temperature Control Fundamentals
Temperature control goes beyond keeping things cold—it demands precision and timing. Pastry fillings work best between 68°F and 75°F (20°C to 24°C). This becomes even more important with sourdough cream cheese, Danish, or fruit-filled pastries. Your filling consistency faces real challenges if your kitchen temperature rises above 80°F/26°C. Chilling your ingredients and working surface helps maintain optimal temperature.
Essential Tools and Equipment
Professional-quality filled pastries require:
- Digital thermometer for precise temperature monitoring
- Piping bags and various-sized tips for different filling types
- Offset spatulas for smooth spreading
- Clear, straight-sided vessels for mixing
- Bench scrapers for clean edges
- Parchment paper for lining and transfer
The right tools create consistent results. For example, sourdough pop tarts need a proper piping bag with the correct tip size to keep the filling neat and contained instead of messy and overflowing.
It’s worth mentioning that high-quality European-style butter works best for our pastries. It contains less water and provides better lamination—especially important when working with enriched doughs like those in sourdough Danish pastries.
Mastering Classic Filling Techniques
Now that we understand the science behind perfect fillings let’s explore the techniques that will elevate your sourdough pastries to professional quality. These methods come from years of experience, and I’m thrilled to share them.
Proper Piping Methods
My first step with liquid fillings involves chilling them to achieve the right piping consistency. A proper piping set makes all the difference for sourdough cream puffs and Danish pastries. You don’t need professional equipment—a plastic food bag with a cut corner works well for simple filling needs. The ideal temperature for cream cheese fillings stays just below room temperature to maintain optimal flow.
Spreading and Layering Techniques
My proven process for multi-layered sourdough Danish pastries includes the following:
- Start with a thin, even base layer
- Chill for 10-15 minutes between layers
- Add subsequent layers using gentle, even pressure
- Create texture variations with different spreading patterns
Preventing Overflow and Leakage
You can prevent messy overflow with proper preparation and technique. Here are my tested methods:
- Create a proper seal by crimping edges firmly
- Use thickening agents (1 tablespoon cornstarch per cup of liquid)
- Never overfill – leave room for expansion
- Add ventilation holes for steam escape
Fruit fillings need slight precooking to release excess moisture. This step has rescued countless sourdough pop tarts from becoming soggy messes. Cream-based fillings work best when piped into completely cooled pastries to avoid unwanted leakage.
Note that your filling’s temperature should match your pastry’s temperature during assembly. The sweet spot lies between 68-72°F for optimal results. This temperature range keeps the butter in your laminated dough from melting too soon and preserves those beautiful, flaky layers we work so hard to create.
Troubleshooting Common Filling Issues
Most experienced bakers run into filling mishaps. My years of working with sourdough pastries have taught me reliable solutions to common filling problems. Let me share these proven fixes with you.
Dealing with Runny Fillings
Runny pastry cream typically results from incorrect temperature control. Your egg yolks must reach at least 185°F to deactivate the amylase enzyme. Here’s my rescue plan for a runny situation:
- Add a cornstarch slurry (equal parts cornstarch and cold liquid)
- Heat slowly over a double boiler to 175°F
- Whisk continuously until thickened
- Cool completely before using
Fixing Uneven Distribution
Uneven filling distribution usually stems from the wrong technique rather than the filling itself. My spoon-and-spread technique ensures consistent results in sourdough Danish pastries. The trick is to divide the total filling into equal portions before you start. Then, use a measured approach and work from the center outward so each section gets its fair share.
Preventing Soggy Bottoms
A soggy bottom can ruin a beautiful pastry. My countless trials have led to several effective prevention methods:
Create a moisture barrier:
- Brush the base with beaten egg white
- Sprinkle a mixture of flour and sugar (I call it “crust dust”)
- For fruit fillings, add a thin layer of frangipane
Temperature control is vital:
- Bake at a higher temperature initially (425°F)
- Use a metal pan for better heat conduction
- Place your pastries on the lower rack of your oven
The right filling consistency matters, especially for sourdough pop tarts and Danish pastries. I always precook fruit fillings slightly to reduce moisture. Cream-based fillings in sourdough cream puffs need to set properly before piping.
Note that blind baking your base first helps with particularly wet fillings. This extra step has saved many pastries from the dreaded soggy bottom syndrome.
Advanced Filling Methods and Variations
Ready to level up your sourdough pastry filling skills? Let me share some advanced techniques to help you create amazing-filled pastries.
Multi-Layer Filling Techniques
The primo and secondo impasto methods are the secret to creating complex flavors. This two-stage filling process helps you achieve perfect texture and reduced sourness. Here’s my tested approach:
- Create the first layer with a high sugar concentration
- Allow proper fermentation time
- Add the second layer with adjusted sugar levels
- Keep temperature control between layers
- Let the layers merge naturally during baking
Creating Filling Patterns
Beautiful pastries need geometric patterns with different fillings. A metal ring or aluminum foil divider helps create distinct sections effectively. The inner circle should be 70% of the total diameter for equal filling.
Combining Different Filling Types
My testing over the last several years has helped me find winning filling combinations that work great in sourdough pastries:
- Sweet Combinations:
- Cream cheese + fresh berries
- Pastry cream + roasted banana
- Chocolate + hazelnut praline
Orange zest with cardamom or a hint of espresso in chocolate fillings creates advanced flavor profiles beautifully. The less runny filling should go in first to prevent unwanted mixing when combining different textures.
Temperature control is vital when working with multiple fillings. Each filling needs slightly different temperatures – custards at 68°F and fruit fillings at 72°F. This helps achieve perfect layering and prevents bleeding between sections.
Note that these advanced techniques need patience and practice. Start with simple combinations before moving to complex patterns. Understanding how different fillings interact and precise temperature control throughout the process makes all the difference.
Conclusion
Making perfect pastry filling takes practice, patience, and proper technique. Experience has taught me that these methods cantransforme ordinary sourdough pastries into exceptional treats. Temperature control is thelifebloodd of successful filling. Professional results depend onmaintainingg those significant 68-75°F ranges.
You’ll find my troubleshooting tips helpful for common challenges like runny fillings and soggy bottoms. Each failed attempt teaches valuable lessons about consistency, distribution, and moisture control, which have shaped what I know about pastry perfection.
The time has come to start your sourdough pastry trip. The Yeast We Can Do offers an authentic artisanal sourdough starter to lift your bread and pizza game. Reach out to john@theyeastwecando.com for our premium starter and create exceptional baked goods with perfect tangy flavor and signature crust.
These techniques and proper ingredients will help you create perfectly filled pastries that showcase your creativity and technical skills. Different filling combinations deserve your experimentation while you retain control of temperature. Your success comes from understanding the basics, becoming skilled at classic techniques, and trying advanced methods when ready.
FAQs
What are the key steps involved in making sourdough?
The sourdough process begins with autolyze, combining flour and water, and starting. This is followed by bulk fermentation, during which the dough stretches and folds. The dough is then fermented in the fridge, laminated to create layers, shaped to build tension, and finally proofed before baking.
How do you incorporate ingredients into sourdough during the making process?
Add ingredients to sourdough during one of the first two sets of stretches and folds. After adding, cover the dough and let it rest for 30 minutes before proceeding with the next steps.
At what stages can inclusions be added to sourdough?
Inclusions, such as citrus zest or cocoa powder, can be mixed into the dough at the beginning, especially if they are small or lightweight. Alternatively, they can be added during bulk fermentation or shape dough shapes. Should toppings be added to sourdough?
Toppings are typically added during the stretch and fold process, preferably during the first set, to avoid deflating the dough later. After shaping the dough and before placing it in the banneton, toppings can be applied. Just before baking, you might spritz the dough’s top and add the toppings.