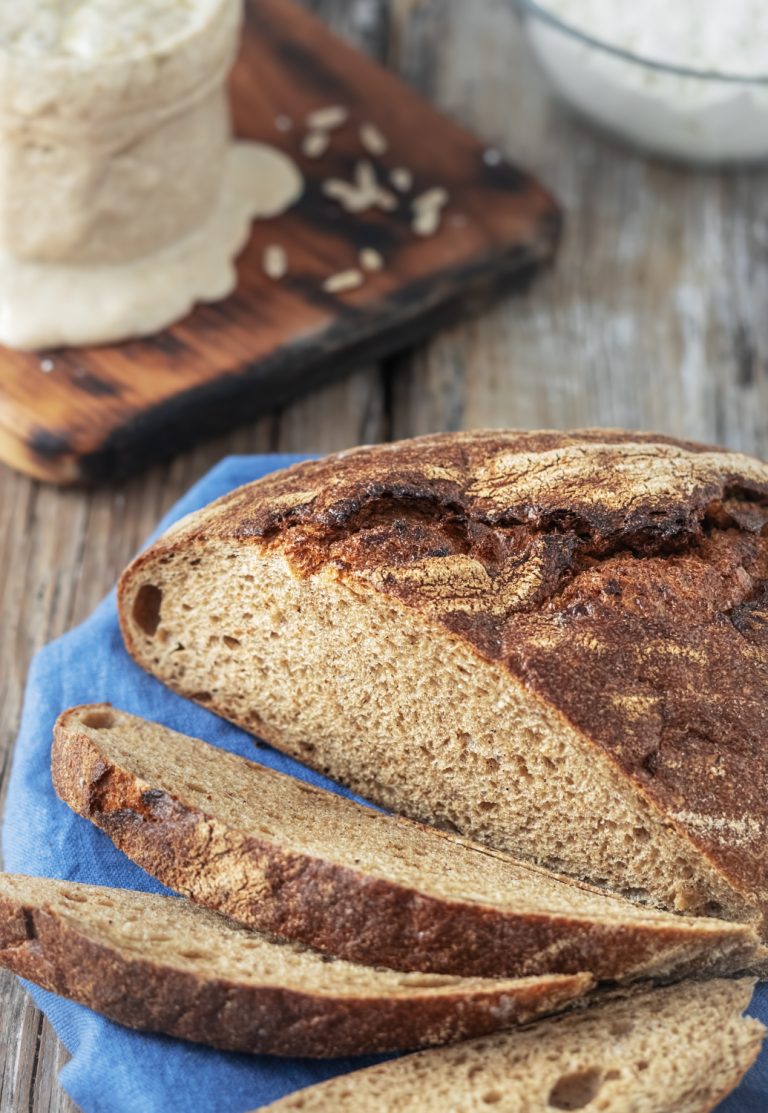
How to Achieve Perfect Sourdough Gluten Development: A Step-by-Step Guide
Gluten development is the lifeblood of exceptional sourdough bread making. This vital process shapes your bread’s texture, structure, and quality. Professional bakers know that becoming skilled at sourdough gluten development transforms ordinary bread into artisanal creations with perfect crumb structure and impressive rise.
Creating ideal gluten development requires a variety of techniques and testing methods. This piece covers the stretch and fold technique, bulk fermentation timing, and the windowpane test that evaluates dough strength. You’ll discover how protein content influences gluten formation, learn various handling methods, and grasp enzyme activity’s role during the autolyze phase. These steps lead to consistently successful sourdough bread with optimal structure and texture.
Understanding Gluten in Sourdough
Successful sourdough bread-making depends on the complex interaction between wheat flour’s proteins. Gluten develops as two wheat proteins, glutenin, and gliadin, mixed with water. These proteins build an intricate network of chains that gives sourdough dough its characteristic elasticity and strength.
What is gluten?
Nature creates its own architectural framework through gluten in breadmaking. The magic happens as flour and water combine, causing glutenin and gliadin proteins to interlock like Velcro. These proteins create a complex mesh of strands that bind everything together. This remarkable protein network gives dough its structure and support. The dough becomes elastic and stretches like a balloon that expands while holding its shape, trapping gas bubbles during fermentation.
Why is gluten development important?
Quality sourdough bread needs a strong gluten network as its foundation. Your dough will tear easily without proper gluten formation and lack the strength to:
- Trap and maintain fermentation gasses
- Keep its shape while proofing
- Create an open, airy crumb structure
- Rise properly during baking
- Stay upright after baking
Factors Affecting Gluten Development
These elements shape how gluten develops in sourdough bread:
| Factor | Impact on Gluten |
|---|---|
| Flour Type | Higher protein content (12-14%) creates stronger gluten networks |
| Hydration | Higher hydration allows faster gluten development but requires careful handling |
| Fermentation Time | Longer fermentation gradually breaks down gluten while developing flavor |
| Temperature | Affects enzyme activity and protein behavior |
| Mixing Method | Mechanical action influences gluten strength and development speed |
The flour’s protein content is a vital part of gluten formation. Bread flour contains a higher protein percentage (12-14%) and produces stronger gluten networks than all-purpose flour (10-12%). The fermentation process activates natural enzymes that break down these protein structures. This creates a balance between development and degradation.
Hydration levels significantly affect gluten formation in sourdough. Doughs with higher water content develop gluten faster but become harder to handle. Water helps proteins line up and form bonds. It also activates enzymes needed for proper fermentation.
Fermentation changes gluten development through enzyme activity. Beneficial bacteria and wild yeast create flavor compounds that change the protein structure. Bakers must watch this process closely to balance flavor development with structural integrity.
The Stretch and Fold Technique
The stretch and fold technique is the lifeblood of developing gluten strength in sourdough bread making. Bakers use this gentle technique, which works perfectly to strengthen dough structure without aggressive kneading. This method also helps incorporate air and equalize dough temperature during bulk fermentation.
Step-by-step instructions
You can perform this technique in a bowl or on a countertop by following these simple steps:
- Original Setup: Start with slightly wet fingertips when you approach the dough in its container
- First Stretch: Take a small portion of the dough and stretch it upward gently
- First Fold: The stretched portion should be folded toward the center
- Rotation: Turn the bowl or dough a quarter way around
- Repeat Process: The stretching and folding should continue in all four directions
- Complete Set: The process ends after you complete all four folds
Tips for stretching and folding that work
These indicators will help you master this technique:
- Your dough starts loose and elastic with the first fold and becomes tighter by the third or fourth fold
- The dough changes from flat and dense to plump and jiggly after 2-4 complete sets
- Doughs with higher hydration need gentle handling but build strength faster
- Your fingers should be wet to prevent sticking, but you should avoid extra water
Recommended frequency and duration
Several factors influence when and how often to perform stretch and fold sets:
| Dough Type | Rest Period Between Sets | Total Sets |
|---|---|---|
| High Hydration | 15-30 minutes | 3-4 sets |
| Low Hydration | 30-60 minutes | 2-3 sets |
| Standard Mix | 30 minutes | 3 sets |
Bakers should start their first set 30 minutes after bulk fermentation begins. Baker’s Note: The dough’s strength determines how many sets you need – stronger doughs might need fewer sets, while weaker ones benefit from extra attention. Watch how your dough responds and adjust your approach based on the increased tension and structure after each set.
The best results come from checking the dough’s strength before each set. A firm and elastic dough might need fewer sets. However, slack or weak dough benefits from extra sets spaced 10-15 minutes apart to build strength. This adaptable technique helps bakers handle dough conditions and create consistent results with various recipes and environments.
The Slap and Fold Method
Bakers who just need rapid gluten development can use the slap-and-fold method to reshape the scene of the dough structure in minutes instead of hours. This French technique delivers exceptional results for medium to high hydration doughs, though it requires more physical effort than gentle folding methods.
Detailed walkthrough of the technique
The slap-and-fold method follows a specific set of movements:
- Original Position: Place the dough on an unfloured work surface
- Grip Formation: Your left-hand goes over and right hand under the dough at the right third
- Lifting Motion: Lift the dough to face level and let it hang
- Slapping Action: The bottom third needs a firm slap against the bench
- Folding Motion: The top part coils over as your hands release with a “jazz hands” movement
- Repeat Cycle: Keep this rhythm going steadily
Your dough changes through several phases during this process. The texture starts smooth and looser, developing into a robust and cohesive mass. You should plan to work the dough this way for 3-6 minutes. The time depends on your dough’s hydration and the strength you want to achieve.
Common mistakes to avoid
Several mistakes can prevent the slap-and-fold technique from working correctly:
| Common Error | Effect | Solution |
|---|---|---|
| Insufficient Speed | Dough sticks too much | Maintain a steady, quick rhythm |
| Incorrect Release | No proper coiling | Use the “jazz hands” release technique |
| Over-flouring | Prevents proper development | Keep work surface clean and dry |
| Inadequate Rest | Dough tears or resists | Allow 20-30 minute rest periods |
Critical Note: If your dough shows signs of tearing or too much resistance, it needs rest. The rest allows the gluten to relax and become more extensible before you continue.
The right time to use slap and fold
This technique works best under these specific conditions:
- Hydration Levels: Best results come from doughs with 68-75% hydration
- Flour Types: Wheat-based doughs give better results than those with high rye content
- Time Constraints: Perfect for quick strength development
- Temperature Considerations: Room temperature (68-72°F) yields the best outcome
The technique really stands out with the following:
- Doughs that need substantial strength development
- Recipes that have limited bulk fermentation time
- Cases where you can’t use mechanical mixing or prefer not to
The dough temperature needs careful monitoring throughout this energetic process. Mechanical action can substantially heat your dough. Air is naturally incorporated as you work, which helps control the temperature and builds a stronger gluten network.
Most bakers combine slap and fold with other strengthening methods to achieve the best results. They often start with one or two vigorous slap-and-fold sessions and switch to gentler stretches and folds during bulk fermentation. This combined approach takes advantage of quick strength development while preserving the benefits of slower, gentler fermentation.
Testing Gluten Development
Bakers need to become skilled at testing gluten development in sourdough baking. This essential skill will give the dough perfect strength and structure, leading to better bread quality with predictable results.
The windowpane test
Bakers consider the windowpane test their gold standard for evaluating gluten development in sourdough dough. This simple test helps bakers see the strength and how far they can stretch their dough’s gluten network.
The windowpane test steps are:
- Take a small portion of dough (golf ball size)
- Flatten it gently between fingers
- Let it rest for 2-3 minutes
- Stretch the dough outward with care
- Look at how the membrane forms
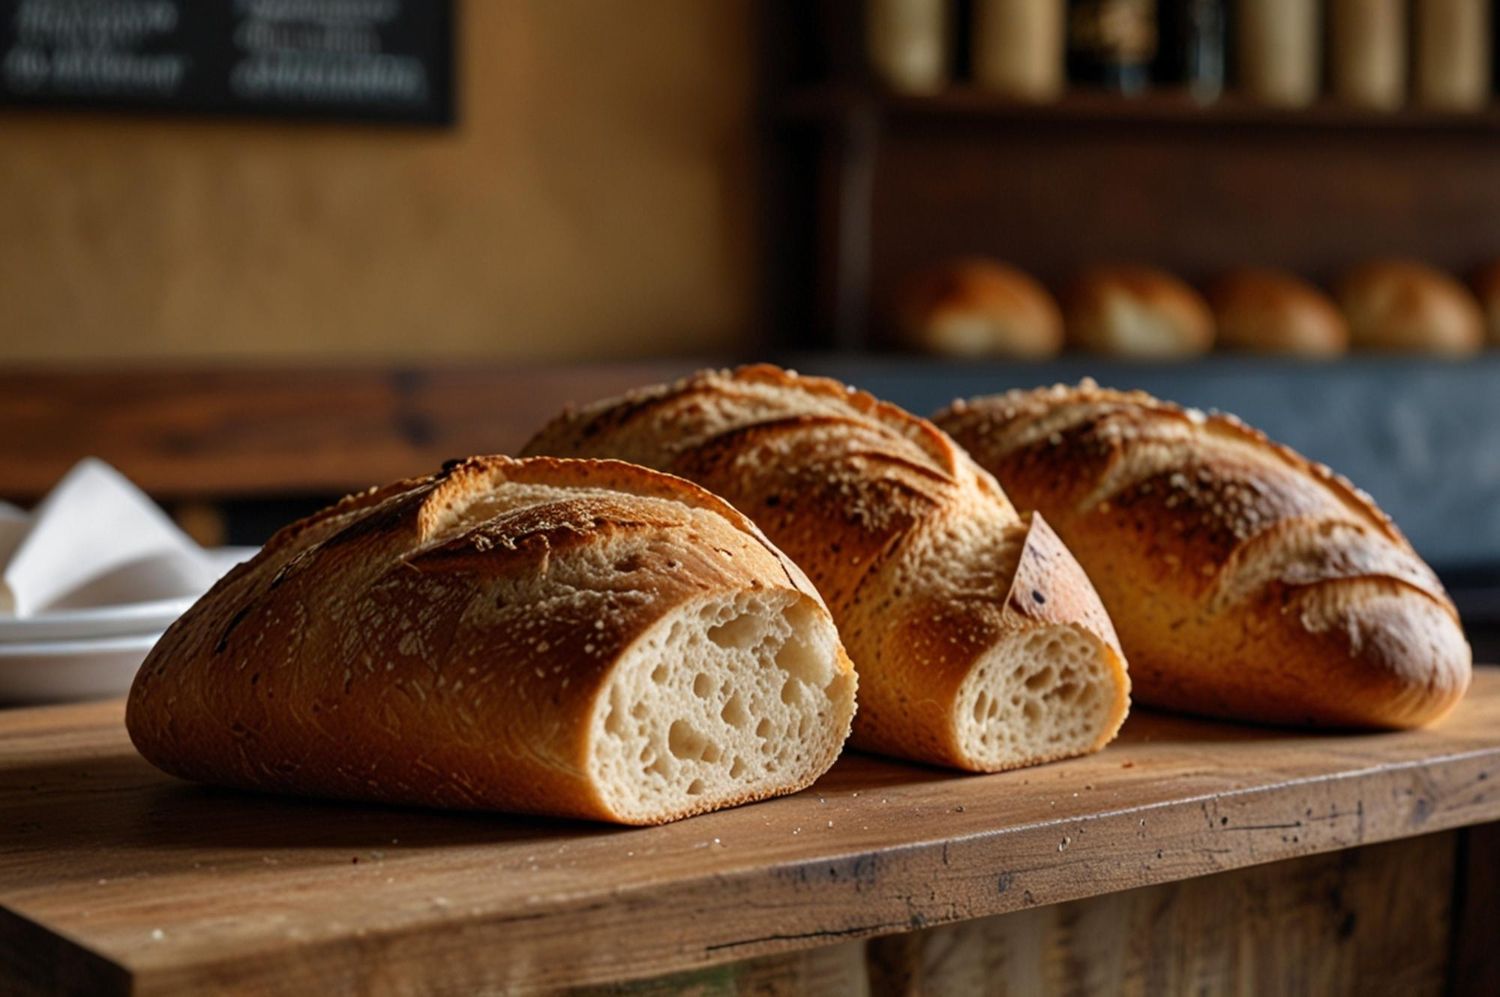
The test succeeds when you can stretch the dough into a thin, see-through membrane that light passes through without breaking. The membrane’s transparency and resistance explain your dough’s development stage.
Visual and tactile cues
The windowpane test works great, but you can also learn about gluten development through these visual and tactile signs:
| Indicator | Under-developed properly | y Developed |
|---|---|---|
| Surface Texture | Rough, shaggy | Smooth, silky |
| Elasticity | Tears easily | Springs back slowly |
| Bowl Adhesion | Sticks persistently | Cleans the bowl |
| Shape Retention | Spreads quickly | Holds dome shape |
| Gas Retention | Visible escape | Traps gas effectively |
Physical characteristics during bulk fermentation explained the dough’s progress:
- The dough feels slightly stretchy and maintains its shape
- Surface tension builds up steadily
- The top forms a gentle round shape as it rises
- The edges pull away cleanly from the bowl
Adjusting techniques based on results
Test results help bakers modify their approach to achieve optimal gluten development. The key factors need attention at the time adjustments become necessary:
For Weak Gluten Development:
- Increase the number of stretch and fold sets
- Extend autolyze duration
- Adjust hydration levels
- Think about extra slap-and-fold sessions
- Lengthen rest periods between folds
For Excessive Gluten Development:
- Reduce mechanical handling
- Shorten mixing duration
- Increase rest periods
- Adjust water temperature
- Monitor bulk fermentation time
Testing timing is vital when working with different dough types. Enriched doughs need testing before adding fats and sugars, and whole grain doughs might never achieve white flour’s windowpane quality because of bran interference.
Temperature is one of the most important factors in gluten formation and testing. Warmer doughs (75-80°F) develop faster but need careful monitoring, while cooler temperatures (65-70°F) give you longer working times and more controlled development.
High-hydration doughs need extra attention during the assessment. These doughs work better with the following:
- More frequent testing during the early stages
- Careful observation of dough strength
- Adjusted handling techniques based on development
- Modified folding intensity and frequency
Time works as a powerful tool in gluten development. Extended fermentation periods naturally strengthen the gluten network through enzyme activity, but too much fermentation can break it down. Regular testing helps maintain this delicate balance throughout the process.
Gluten development’s impact on final bread quality shows up in several ways:
- Proper oven spring
- Crumb structure uniformity
- Crust formation
- Overall loaf volume
- Score expansion during baking
Bakers who understand these indicators can make better decisions about dough handling and fermentation processes, which leads to consistent and successful sourdough bread production.
Conclusion
Sourdough gluten development just requires understanding several connected elements. These include protein content, hydration levels, handling techniques, and fermentation timing. Each part helps create the perfect gluten network. Proper testing methods help bakers get consistent, professional results. Bakers can build skills to make exceptional sourdough bread by paying attention to visual and tactile signs and using proven strengthening techniques.
You can make professional-quality sourdough once you learn these basic principles and practice different handling methods. The key to success lies in staying patient, watching the process closely, and being willing to adjust techniques based on the behavior and conditions around you. You can lift your bread and pizza skills with an authentic artisanal sourdough starter from The Yeast We Can Do. Our small-batch starter will help create exceptional bread and pizza with that perfect tangy flavor and signature crust, whether you’re a passionate home baker or a restaurant owner who wants to add true sourdough’s unique flavor and character to your menu (email john@theyeastwecando.com). Every baker can achieve that perfect structure, texture, and flavor mix that makes outstanding sourdough bread with the right knowledge and quality ingredients.
FAQs
What are the most effective techniques to enhance gluten development in sourdough?
To improve gluten development in sourdough, you can employ several techniques that help build a strong gluten network capable of trapping CO2 gas. These include stretch and fold, coil fold, lamination, wrapping, hand knee, slap and fold, pulling the dough around the bowl, and using a stand mixer or machine for kneading.
How can I maximize gluten development in my dough?
Mixing and kneading batters and doughs is key to maximizing gluten development. This process encourages the gluten strands to connect and form a robust network, enhancing the dough’s strength.
What factors contribute to the formation of gluten?
Gluten formation is primarily influenced by glutenin and gliadin proteins in wheat and related grains like barley and rye. The proteins form gluten when these grains are milled into flour and mixed with water. The more you mix the dough, the more gluten develops.
How long should sourdough ferment to effectively break down gluten?
The fermentation duration significantly affects gluten breakdown in sourdough. Longer fermentation periods allow more time for the breakdown of problematic gluten proteins. While a 12-hour ferment might still cause IBS symptoms in some individuals, extending the fermentation to 24 hours can make the bread more tolerable.
What are the best practices for building dough strength during bulk fermentation in sourdough?
Building dough strength during bulk fermentation can be achieved through various methods. While some bakers recommend a long autolyze period, others suggest limiting it to 20-30 minutes. Additionally, opinions vary between mixing the dough vigorously and kneading extensively versus gentle handling to avoid over-mixing. Each method impacts the development of gluten and the overall strength of the dough.