The Ultimate Guide to Crafting New York Sourdough Pizza at Home
A typical New Yorker spends over $23,000 on pizza during their lifetime. That’s quite a slice of their budget!
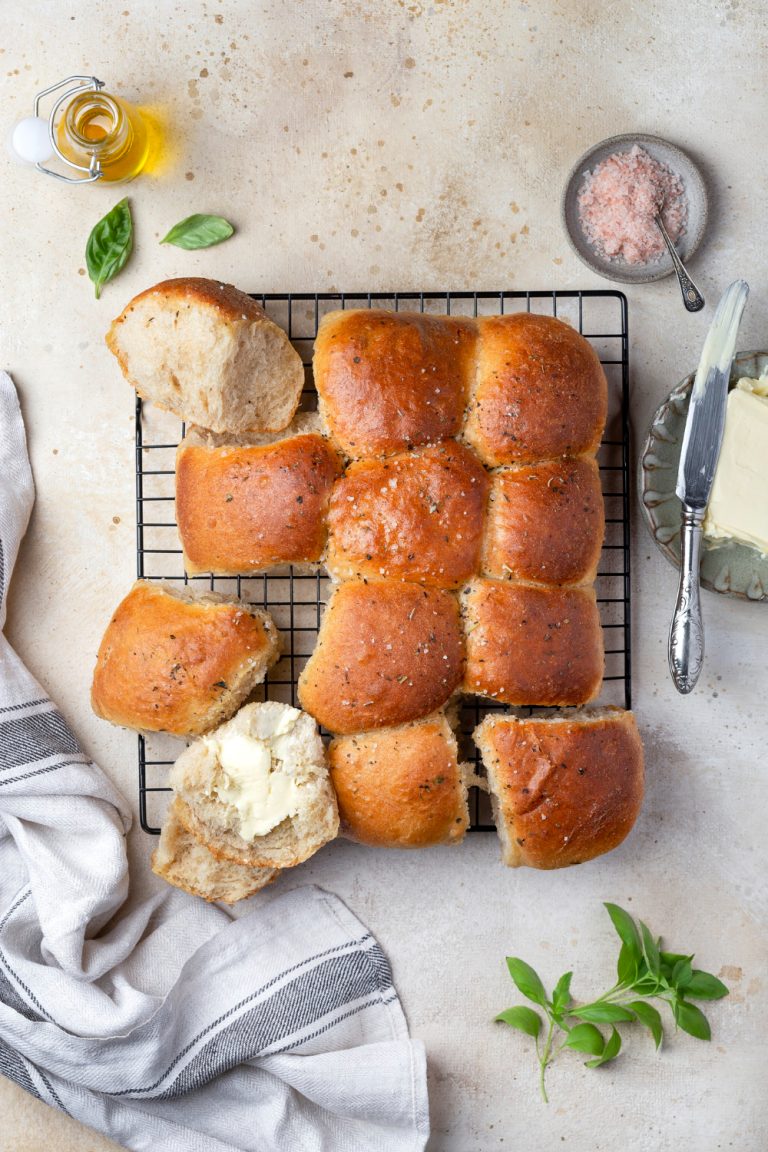
The magic of a perfect NY slice captivates us all. Each bite delivers a crispy-chewy crust, subtle tang, and distinctive fold-keeping toppings in place. Pizza prices now exceed $30 per pie, making homemade New York sourdough pizza rewarding and economical.
Many people think authentic NY-style pizza requires a commercial oven. We shared this belief until extensive testing revealed otherwise. The sourdough process, combined with specific techniques, transforms essential ingredients into exceptional pizza.
Want to become skilled at making New York sourdough pizza in your kitchen? Our guide covers everything from starter creation to achieving that sought-after charred crust. It’s time to create some pizza magic!
Understanding NY Sourdough Pizza Fundamentals
Let’s look at what makes a New York sourdough pizza truly special. After perfecting this craft over the last several years, I found that understanding the basics is vital to achieving that perfect slice at home.
Critical Characteristics of Authentic NY Pizza
NY-style pizza stands out with its distinctive personality. The crust should be:
- Thinner than Neapolitan but thicker than a cracker
- Crispy enough to hold its shape when folded
- Slightly chewy with an airy cornicione (rim)
- Sturdy yet tender, with a satisfying bite
The Role of Sourdough in NY-Style Pizza
Sourdough brings something magical to NY-style pizza. Natural fermentation creates an incredible depth of flavor that commercial yeast cannot match. You get improved digestibility, a tender texture, and that subtle tang that makes each bite interesting.
The organic acids from fermentation enhance flavor and strengthen the dough’s structure, making it easier to achieve that perfect stretch. My recipe uses a 10-20% sourdough starter, which provides enough leavening power while keeping the classic NY texture.
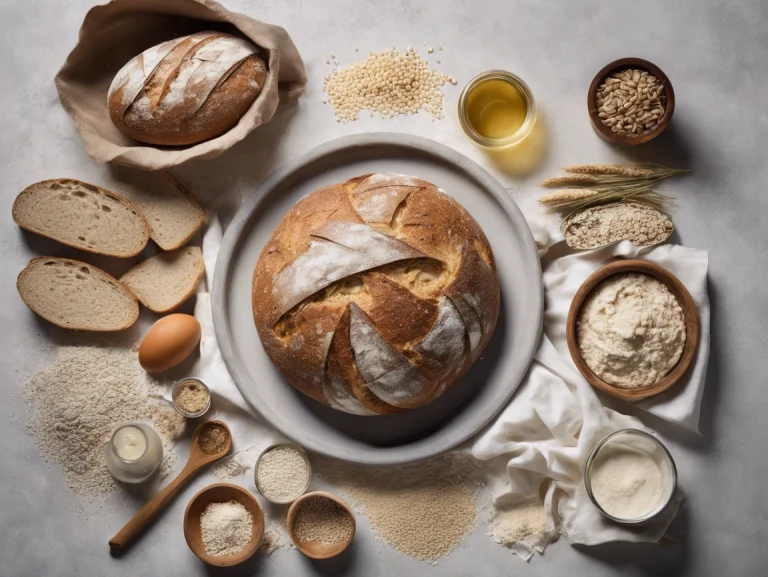
Essential Equipment and Ingredients
You need these items to create authentic NY sourdough pizza at home:
| Essential Items | Purpose |
|---|---|
| Baking Steel/Stone | It will give a proper heat distribution |
| Active Sourdough Starter | Natural leavening agent |
| High-Protein Flour | It provides structure and chew |
| Pizza Peel | For the easy transfer to the oven |
Your choice of flour is significant. I prefer bread flour or tipo 00 flour because it perfectly balances strength and tenderness. Your oven should reach at least 500°F (260°C), though higher temperatures will produce even better results.
Mastering the Perfect NY Pizza Dough
Making the perfect NY pizza dough requires balancing science and artistry. My testing over the last several years has shown that success depends on three significant elements: precise hydration, controlled fermentation, and proper gluten development.
Optimal Hydration Ratios for NY Style
The sweet spot for NY-style sourdough pizza ranges between 58-65% hydration. My preferred ratio is 64% hydration because it perfectly balances workability and texture. These measurements have worked best for me:
| Flour Weight | Water Amount | Hydration % | Best For |
|---|---|---|---|
| 500g | 300g | 60% | Beginner friendly |
| 500g | 320g | 64% | Ideal balance |
| 500g | 325g | 65% | Advanced stretching |
Fermentation and Temperature Control
NY sourdough pizza’s magic happens during fermentation. The dough needs to stay at 23°C (73°F) during the original mixing, followed by cold fermentation:
- 24 hours minimum in the refrigerator
- 48 hours for optimal flavor development
- Up to 72 hours for maximum complexity
- Remove dough 1-2 hours before shaping
Developing Proper Gluten Structure
Proper gluten development creates that signature NY chew. The process needs strategic kneading and resting periods. The dough requires 5-7 minutes of initial kneading, followed by 2-3 stretch-and-fold sessions during the first few hours of fermentation.
Windowpane testing helps check gluten development – the dough should stretch thin enough to see the light through without tearing. Adding olive oil at the end of mixing improves the gluten network and creates that beautiful golden-brown crust.
Note that high-protein bread flour (13-14% protein) forms the foundation of our dough. The careful balance of these three elements creates that distinctive NY sourdough texture we want.
Advanced Shaping and Stretching Techniques
Making our NY sourdough pizza requires the proper technique to transform good results into exceptional ones. We’ve already fine-tuned our dough’s hydration and fermentation, so let’s focus on the significant stretching phase.
Hand-Tossing vs. Traditional Methods
Hand-forming creates the most authentic NY-style crust naturally. The machine-pressed dough might seem more straightforward, but hand-tossing serves a purpose beyond just showing off. The spinning motion shapes the dough into our desired round form, and the airflow helps dry the surface to create that perfect crispy exterior. This gentle stretching keeps those valuable air pockets we built during fermentation, giving us a lighter, airier texture that a rolling pin can’t match.
Achieving the Ideal Thickness
The authentic NY-style pizza needs specific thickness measurements:
| Style Variation | Thickness Factor | Best For |
|---|---|---|
| Classic Street | 0.10-0.105 | Traditional NY slice |
| Elite Style | 0.075-0.09 | Thin-crust enthusiasts |
| Hybrid | 0.085 | Perfect balance |
The dough’s thickness should stay consistent throughout the pizza, except at the edges. The dough might need 5-10 minutes of rest if it resists stretching. Fighting with stubborn dough only creates tears and uneven spots.
Edge Crust Formation
The perfect edge crust (cornicione) requires a gentle approach. My technique starts by pressing fingertips about half an inch from the edge to create a natural boundary. This method preserves the rim’s air pockets while letting us stretch the center evenly. These edges need protection during shaping—they may look thin at first but will puff up beautifully in the oven.
Our sourdough responds best to gentle, patient movements. The dough should feel like a willing dance partner, not an opponent. A quick pause to let the dough relax works better than risking tears in your carefully crafted crust.
Professional-Level Baking Methods
Once you become skilled at dough preparation and shaping, baking is the final challenge. My home kitchen experiments have taught me that professional-level results depend on precisely controlling three vital elements.
Temperature and Timing Precision
The perfect NY sourdough pizza crust requires excellent temperature control. Baking steel or stone preheated to 500°F (260°C) for at least 45 minutes will give you the ideal foundation. My proven timing sequence looks like this:
| Baking Phase | Temperature | Duration |
|---|---|---|
| Original Bake | 500°F | 3-4 minutes |
| Mid-Bake | 500°F | 2-3 minutes |
| Final Char | Broiler | 1-2 minutes |
Steam Control and Ventilation
Steam management is vital for that signature NY-style crust. Moisture control during baking is the difference between a soggy bottom and that coveted crispy texture. My baking steel creates the initial steam burst, but careful ventilation makes all the difference.
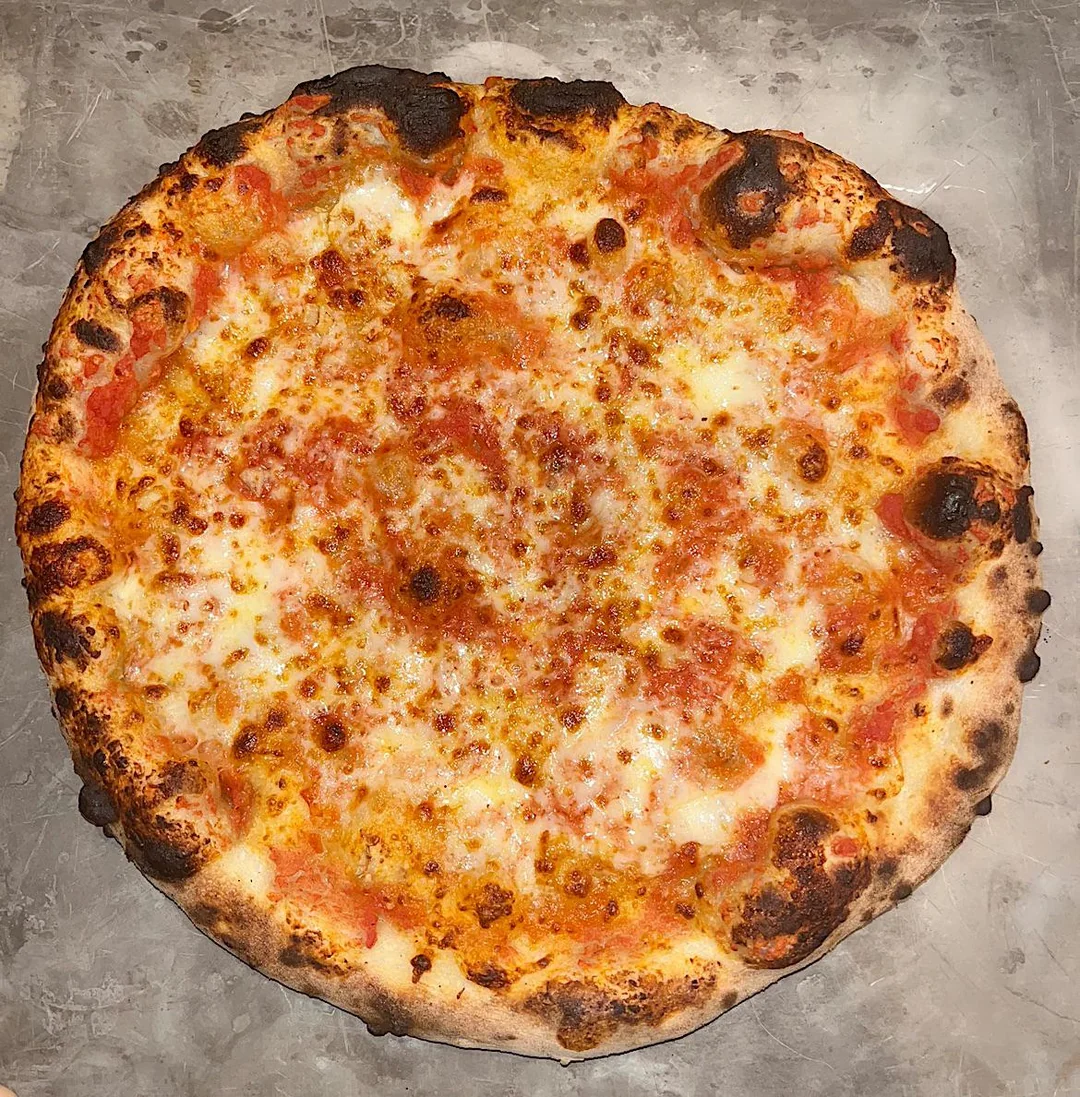
Achieving the Perfect Char
An authentic NY sourdough pizza’s distinctive feature is its char pattern. You can achieve this through a two-step process:
- Position the rack 6-8 inches below the broiler
- Switch to broiler mode for the final 60-90 seconds
Oversee the pizza during this final stage as those beautiful char spots develop quickly. The pizza needs to be rotated every 30 seconds to brown evenly and avoid burnt spots. Your goal is the “leopard pattern”—small, dark spots scattered across a golden-brown crust.
With these techniques, your home oven can match professional results. Keep an eye on the crust’s bottom throughout baking—it should develop a beautiful speckled pattern without burning. Move the pizza to a higher rack if the bottom cooks too quickly. If it needs more heat, lower it closer to the baking steel.
Conclusion
Initially, creating authentic New York sourdough pizza at home can seem intimidating. But with proper techniques and patience, you can achieve great results. The right hydration control, strategic fermentation, and careful shaping will help you create pizzas that rival your neighborhood pizzeria.
Over the last several years, testing has shown that success depends on perfecting each vital element. This includes developing the proper gluten structure and achieving that signature char pattern. Note that temperature control and precise timing separate good pizzas from exceptional ones.
Your bread and pizza making will reach new heights with an authentic artisanal sourdough starter from The Yeast We Can Do. Our small-batch starter creates exceptional bread and pizza with perfect tangy flavor and signature crust. This product serves passionate home bakers and restaurant owners who want to add true sourdough character to their menu. You can revolutionize your baking today. Email john@theyeastwecando.com to get our premium sourdough starter.
Consistent practice of these techniques will help you become skilled at NY sourdough pizza making. Perfect your process after mastering the simple steps. Soon, you’ll create professional-quality pies from your home oven. Your path to pizza perfection begins now – it’s time to start baking!