How to Make No-Knead Sourdough: A Beginner’s Guide
You don’t need complex techniques or constant kneading to make delicious sourdough bread at home. Learn how to make no knead sourdough.The no-knead sourdough method has transformed home baking. This simple approach delivers the characteristic tangy flavor and crispy crust that sourdough lovers crave. Time and natural fermentation work together to develop gluten structure, which eliminates the need for long kneading sessions.
This detailed guide shows you how to create perfect no-knead sourdough bread with a dutch oven. You’ll discover the basic ingredients and equipment like bannetons and baking stones needed for great results. The guide explains vital techniques such as stretch and fold methods and proper shaping techniques. You’ll master proofing timing and scoring methods that lead to consistent, professional results. Clear instructions help you achieve the perfect crust through steam baking methods and proper cooling steps.
Gathering Your Ingredients and Equipment
Success in making no-knead sourdough bread starts with the right ingredients and equipment. Your careful preparation of these elements will give a smooth baking process that flows naturally from start to finish.
Essential ingredients
No-knead sourdough needs just four simple ingredients:
| Ingredient | Quantity | Notes |
|---|---|---|
| Bread Flour | 425g | 12% protein content or higher |
| Water | 250g | Filtered recommended |
| Active Sourdough Starter | 200g | Must be ripe and active |
| Salt | 12g | Unrefined sea salt preferred |
You can experiment with flour combinations and add up to 10% whole wheat flour to enhance flavor and nutrition. New bakers should stick to 100% bread flour to learn the technique properly.
Required tools and equipment
These tools will help you make perfect no-knead sourdough bread:
- Digital scale (measuring in 1-gram increments)
- Large mixing bowl or container
- Dutch oven or similar baking vessel
- Bench scraper for dough handling
- Parchment paper
- Clean kitchen towels
- Simple instant-read thermometer
The digital scale plays a significant role because volume measurements often create inconsistent results. The Dutch oven creates an ideal environment that gives you the signature crispy crust and proper oven spring.
Optional items for better results
These extra tools can improve your bread-making process and final results by a lot.
A banneton (proofing basket) gives perfect support during the final proof. It helps keep the loaf’s shape and creates beautiful flour rings on your finished bread. You’ll find a straight-sided container useful to track fermentation progress with better accuracy.
Want professional-looking results? A bread lame lets you score the dough perfectly. Rice flour is a great way to dust proofing baskets because it prevents sticking better than regular flour. A clear mixing bowl lets you watch your dough develop during bulk fermentation easily.
Your bread’s fermentation depends heavily on temperature control. A dedicated proofing area or proofer helps maintain ideal temperatures between 75°F and 85°F consistently. This setup ensures reliable fermentation times every time you bake.
Mixing and Fermenting the Dough
Artisanal bread making starts with proper mixing and fermentation techniques. This significant step creates a foundation to develop complex flavors and perfect texture in no-knead sourdough bread.
Combining ingredients
The mixing process begins when you combine the measured ingredients in a specific order. Add water to the mixing bowl and blend in the active sourdough starter until it disperses completely. The flour and salt go in next. A dough whisk or your wet hands will help you mix everything until all dry flour disappears – this takes about 5 minutes. Your original dough will look shaggy with some irregular texture, which is exactly what you want in no-knead sourdough bread.
Bulk fermentation process
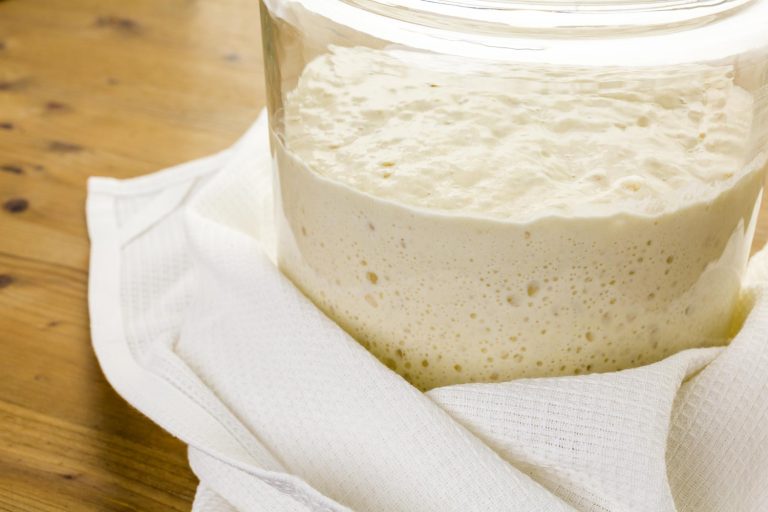
The magic of bread making unfolds during bulk fermentation. This process takes 4-5 hours at 78-80°F (26-27°C). Natural fermentation helps the dough develop strength and creates distinct flavors. Bakers can track the progress through several visual indicators:
- Increased volume (30-40% growth)
- Bubbles forming around edges
- Domed surface
- Smoother texture development
Temperature is significant to determine fermentation timing:
| Temperature | Fermentation Duration |
|---|---|
| 75°F (24°C) | 5-6 hours |
| 78°F (26°C) | 4-5 hours |
| 82°F (28°C) | 3-4 hours |
Stretch and fold technique
Traditional kneading isn’t necessary because the stretch and fold technique helps develop gluten structure naturally. This method has four simple steps that you perform at 30-minute intervals during the first 2 hours of bulk fermentation:
- With wet hands, grab one side of the dough and stretch it upward
- Fold the stretched portion over to the center
- Rotate the bowl 90 degrees
- Repeat the process until you’ve completed all four sides
Each set makes the dough progressively stronger and more elastic. The dough’s original texture might feel loose and shaggy, but it develops a smoother, more hosted structure as fermentation continues. This development happens through the combination of stretch and fold technique and the natural fermentation process.
Bakers should perform 3-4 sets of stretch and folds during the first two hours of bulk fermentation to get the best results. The dough needs to rest undisturbed after the final set for the remaining fermentation period. The dough continues to strengthen and develop flavor through natural enzymes and beneficial bacteria during this time.
The bulk fermentation phase ends when the dough has increased in volume by approximately 30-40% and shows a domed surface with bubbles visible around the edges. The dough becomes ready for the next stage of the bread-making process at this point.
Shaping and Proofing the Loaf
Proper shaping and proofing changes a well-fermented dough into a professional-quality loaf. The final bread’s appearance, texture, and quality depend on this crucial phase. The process starts after bulk fermentation completes and the dough develops properly.
Pre-shaping the dough
The baker should gently move the dough to a lightly floured work surface once bulk fermentation completes. A proper pre-shape builds the foundation for the dough’s final structure and shape. The baker needs a bench scraper to create a loose round shape through a series of gentle folds. The dough requires minimal deflation during this process. The shaped dough needs 20-30 minutes to rest, which allows its gluten to relax before the final shaping begins.
Final shaping techniques
Your relaxed dough needs final shaping to build tension that creates proper oven spring. A classic boule (round loaf) requires these steps:
- Gently flattening the dough
- Creating a letter fold from top to bottom
- Rolling the dough into a tight package
- Using the bench scraper to build surface tension
The shaped dough needs proper support as it proofs. A banneton or proofing basket with rice flour dust provides ideal support and creates attractive rings on your finished loaf. A bowl lined with a well-floured kitchen towel works well if you don’t have a banneton.
Proofing methods and timing
Bakers have two main options: room temperature proofing or cold retardation in the refrigerator. These methods each bring their own advantages:
| Proofing Method | Duration | Temperature | Benefits |
|---|---|---|---|
| Room Temperature | 2-4 hours | 75-80°F | Faster turnaround |
| Cold Retardation | 8-16 hours | 38-42°F | Better flavor |
The dough develops several vital characteristics that show it’s ready during proofing:
- Visible increase in size (50-100% larger)
- Gentle bounce-back when poked
- Surface feels alive and soft
- Dough maintains shape while expanding
The poke test helps bakers determine if proofing is complete. A properly proofed dough should slowly spring back halfway and leave a slight indentation when pressed with a floured finger. More time is needed if the dough springs back right away. The dough has overproofed if the indentation stays unchanged.
Temperature affects proofing time substantially. Fermentation speeds up in warmer conditions and slows down in cooler temperatures. Bakers should keep a stable proofing environment to get consistent results. A proofing box or turned-off oven with the light on creates ideal conditions.
Bakers can score cold-proofed dough straight from the refrigerator before baking. Room-temperature dough becomes easier to score after 30-60 minutes of chilling. This final step readies the dough for its time in the hot oven, where proper shaping and proofing create excellent oven spring and crumb structure.
Baking Your No-Knead Sourdough
A well-proofed dough turns into a golden-crusted masterpiece during the final baking stage. The secret lies in precise baking techniques and temperature management.
Preheating the oven and baking vessel
Bakers still debate between cold-start and preheated Dutch oven methods, but preheating will give a more reliable result. Your oven should reach 500°F (260°C) with the Dutch oven inside. Let it heat for 45-60 minutes. This step creates even heat distribution and generates proper steam.
| Baking Phase | Temperature | Duration |
|---|---|---|
| Original (lid on) | 450°F | 20-30 minutes |
| Final (lid off) | 450°F | 15-25 minutes |
| Target internal temp | 210°F | – |
Scoring the dough
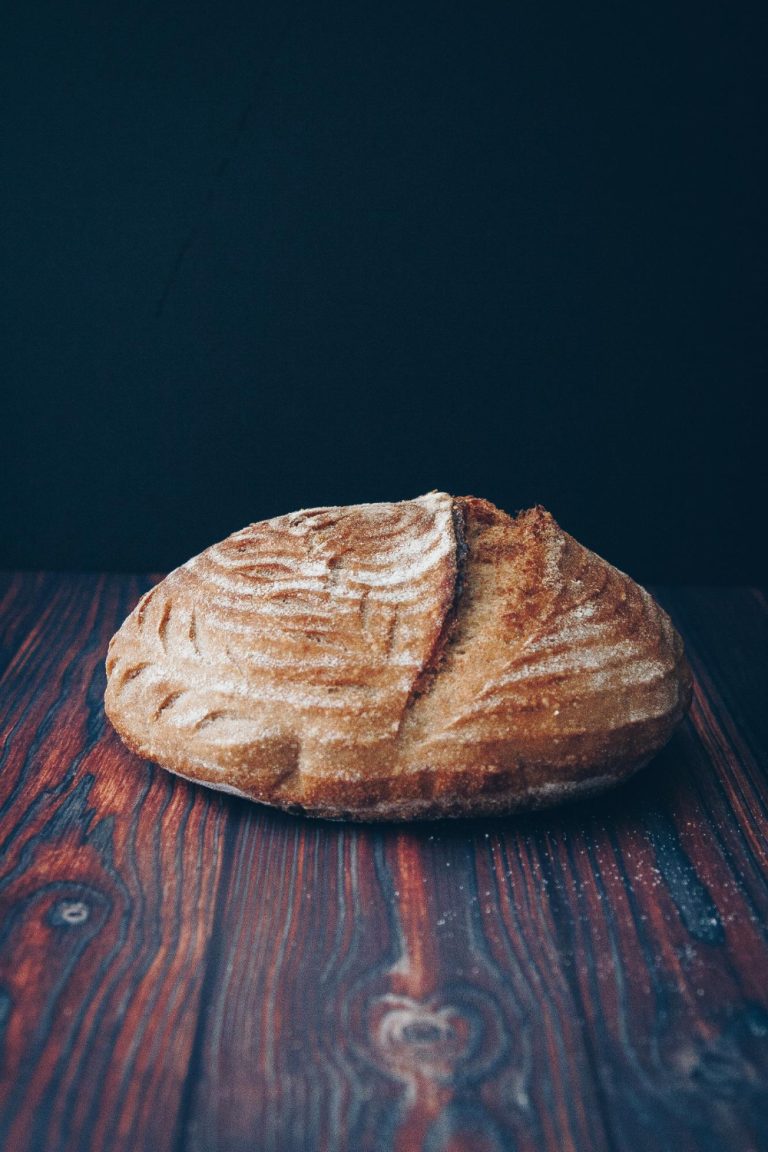
Scoring enhances both function and beauty in no-knead sourdough bread. The baker must score the dough right before it goes into the hot Dutch oven. Successful scoring requires these key steps:
- A sharp blade or bread lame held at a 45-degree angle
- Quick, confident cuts about ¼ to ½ inch deep
- Cold dough provides cleaner scoring results
- The blade needs moisture between cuts to score smoothly
Baking with steam
Steam plays a significant role to develop the signature crunchy crust and promote optimal oven spring. The Dutch oven method creates an ideal steamy environment naturally and traps moisture that the dough releases during the original baking phase.
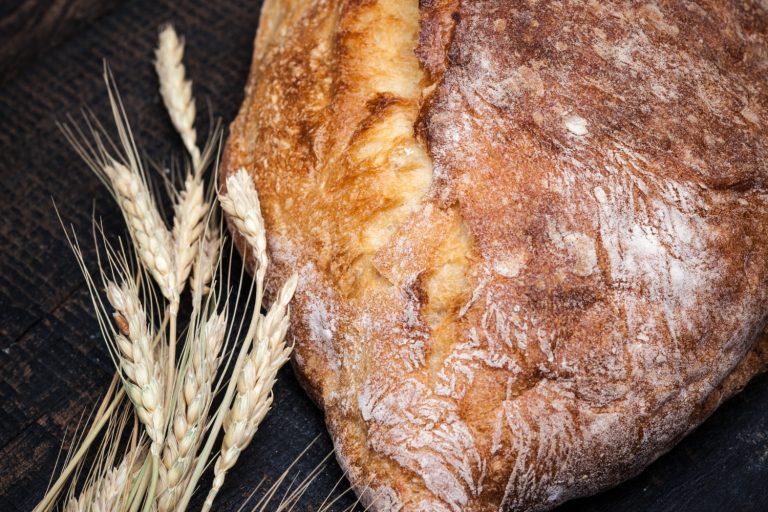
The Dutch oven’s lid stays on for 20-30 minutes of baking time to create a moisture-sealed environment. Steam prevents the crust from forming too quickly and allows maximum oven spring with proper loaf expansion. The remaining baking time creates the characteristic golden-brown crust after lid removal.
Bakers without a Dutch oven can try these alternative steam methods:
Lava Rock Method
- Place lava rocks in a cast-iron pan
- Position on bottom oven rack
- Add boiling water when loading bread
- Place a preheated cast-iron pan below the baking surface
- Add ice cubes when loading the bread
- Close oven door quickly to trap steam
Cooling and storing the bread
The baking process continues after you take the bread out of the oven. Proper cooling affects everything in the bread’s final quality. Your bread needs time to complete its internal cooking process and set its crumb structure. This waiting period helps develop better flavors and prevents moisture from condensing inside. The crust also reaches its perfect texture during this time.
You might feel tempted to cut into warm bread right away. This common mistake leads to gummy texture and makes the bread go stale faster. Let your loaf cool completely on a wire rack. A minimum cooling time of 1-2 hours works well, but 4-12 hours will give a much better flavor.
Your completely cooled bread needs proper storage. Wrap it in a clean kitchen towel or place it in a bread box at room temperature. Stored this way, the bread stays fresh for 2-3 days. Plastic bags are not recommended because they make the crust soft and create perfect conditions for mold. The bread can last up to three months in the freezer if you slice it and store it in an airtight container.
Temperature control plays a crucial role in baking success. Check your bread’s internal temperature with an instant-read thermometer – it should reach 210°F (99°C) before coming out of the oven. This step prevents both underbaking and burnt crusts that come from leaving bread in too long.
Conclusion
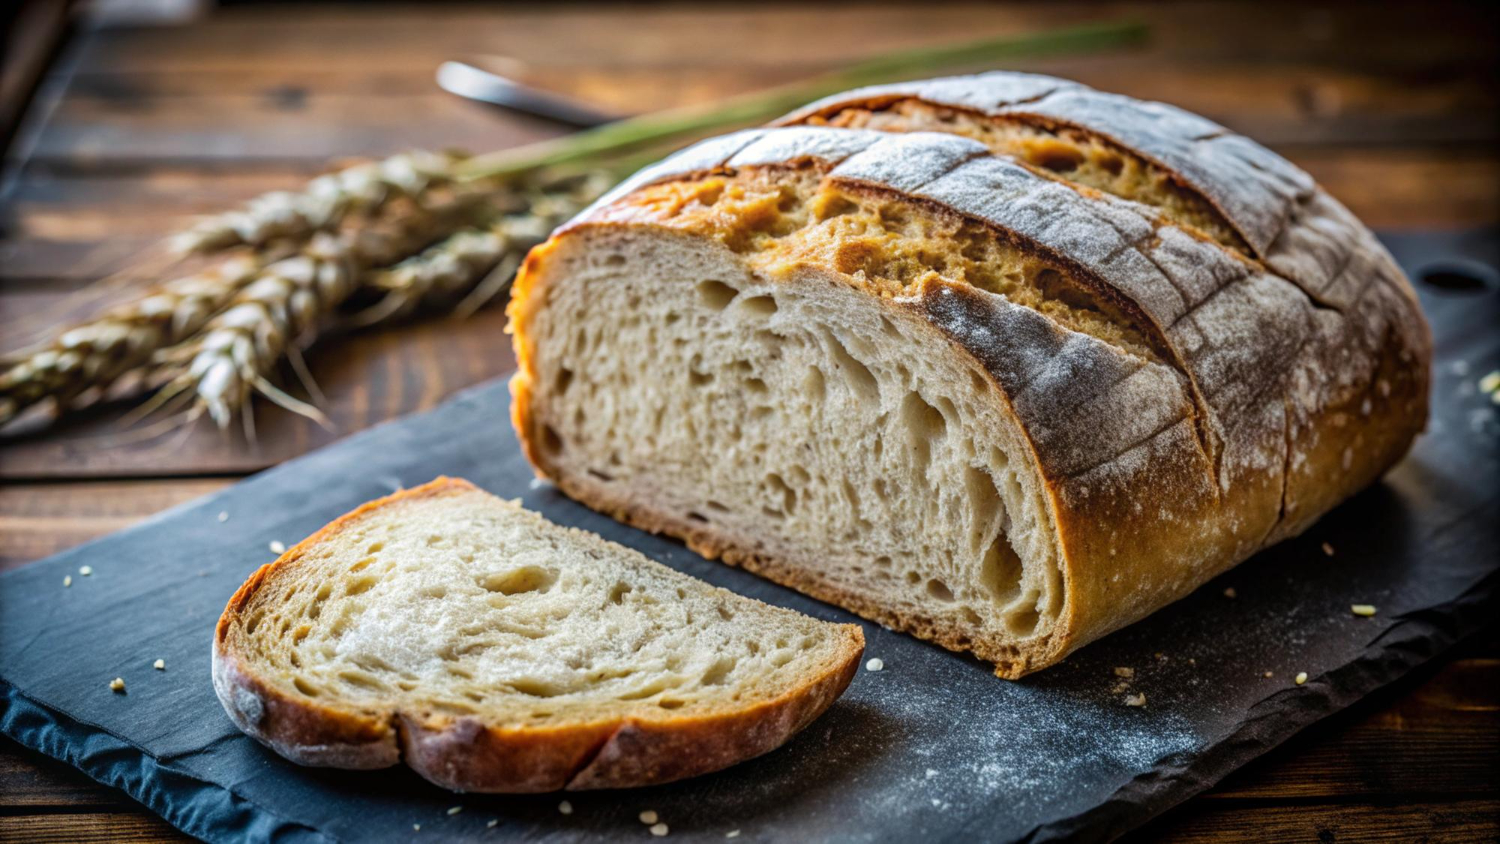
No-knead sourdough bread proves that amazing artisanal results don’t need professional training or complex techniques. Patient attention to temperature, time, and proper technique creates bread with crackling crust, open crumb structure, and deep flavor development. The bread’s success comes from understanding core principles: precise measurements, proper fermentation monitoring, careful shaping, and controlled baking environments.
Home bakers who grasp these fundamentals can create bakery-quality bread that matches professional offerings. Quality ingredients distinguish good bread from exceptional results. You can raise your bread and pizza game with an authentic artisanal sourdough starter from The Yeast We Can Do. Each loaf builds confidence and skill. Kitchen counters become artisanal bakeries where flour, water, salt, and natural fermentation create something truly remarkable.
FAQs
Currently, there are no frequently asked questions available related to the article “How to Make No-Knead Sourdough: A Beginner’s Guide.” Please refer to the article for detailed information on making no-knead sourdough bread, including steps on gathering ingredients, mixing and fermenting the dough, shaping and proofing the loaf, and baking techniques.


