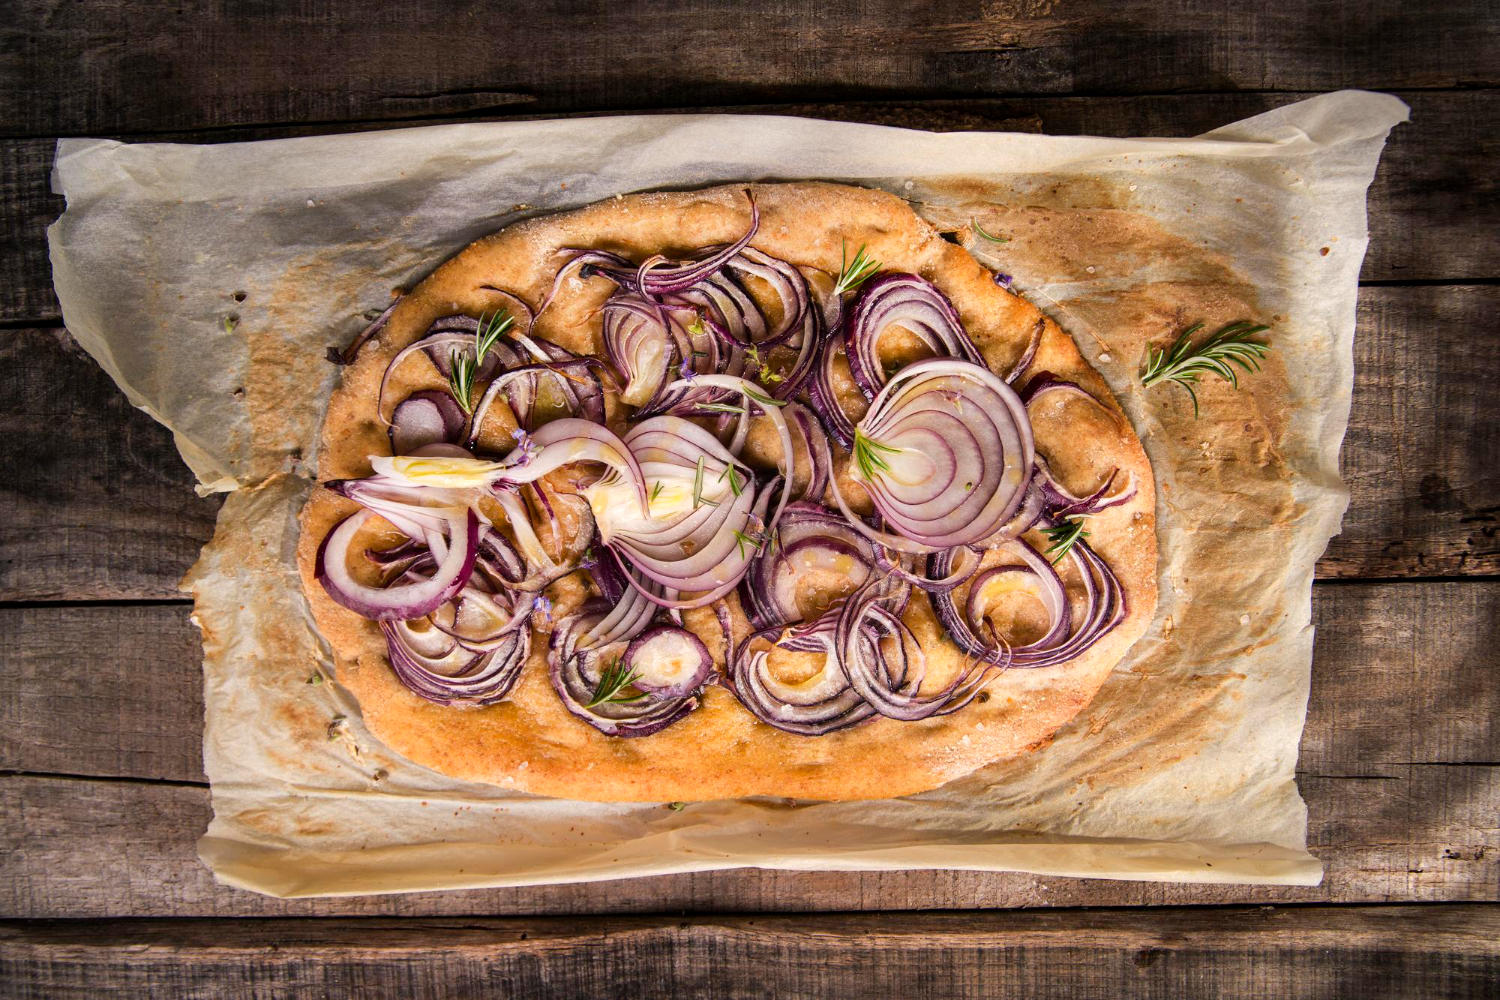
How to Achieve a Crispy Sourdough Pizza Crust: A Step-by-Step Guide
Surprisingly, 93% of home bakers fail to create the perfect restaurant-style crispy pizza crust on their first attempt.
Most of us know the frustration. We spend countless hours caring for our sourdough starter, yet the pizza crust turns out too chewy, too soft, or ends up with a soggy middle. Creating a crispy sourdough pizza crust seems like a secret skill that only professional pizzaiolos possess. The reality shows it combines science, technique, and proper tools.
Our team tested and perfected the sourdough pizza dough recipe extensively. We discovered the secret behind achieving that coveted crispy crust. This step-by-step piece will help you become skilled at creating the perfect crispy sourdough pizza crust in your home kitchen. The guide serves both newcomers to sourdough pizza making and experienced bakers looking to enhance their recipes.
Your pizza game will never be the same!
Understanding Pizza Crust Science
I love the science behind a crispy sourdough pizza crust, and understanding it will change your pizza-making experience. Let’s examine the vital elements that make or break your perfect crust.
Role of Hydration in Crust Texture
Hydration is the lifeblood of pizza dough texture. Our sourdough pizza crust recipe shows that hydration is the water-to-flour ratio in percentage form. Here’s what different hydration levels can do:
| Hydration Level | Crust Characteristics |
|---|---|
| 50-60% | Dense, easier to handle, crispier crust |
| 60-65% | Balanced texture, ideal for beginners |
| 65-70% | Airier texture, more challenging to handle |
Effect of Protein Content
The flour’s protein content forms the foundation of our sourdough pizza crust. Higher protein content (12-14%) works best with longer fermentation, making it perfect for our sourdough process. Protein-rich flour gives you:
- Better gluten development
- Stronger dough structure
- Better texture retention
- Improved crust elasticity
Temperature and Enzyme Activity
Temperature is a game-changer in creating the perfect crispy sourdough pizza crust. Enzyme activity doubles with every 10°C increase in temperature (between 7 °C and 30°C). Cold fermentation (around four °C) makes enzyme activity 3-12 times slower than room-temperature fermentation.
Our sourdough starter’s active cultures break down proteins differently at various temperatures, changing texture and flavor. The best results come from keeping the dough at room temperature (around 78°F) during the first fermentation. We then cold-fermented it to build those complex sourdough flavors we all love.
Water temperature matters just as much. Cold water (around 60°F) works best when mixing with a machine because it balances out friction heat. Lukewarm water (90-95°F) is better for hand kneading. This careful temperature control helps enzymes and yeast perform well, giving you that perfect crispy crust you want.
Essential Equipment Setup
The perfect crispy sourdough pizza crust starts with a pcorrectlyset up kitchen. Our testing over the last several years shows that the right equipment makes all the difference between good and exceptional results.
Choosing the Right Baking Surface
We tested many baking surfaces and found exciting details about the leading contenders:
| Surface Type | Heat Conductivity | Preheating Time | Preheating |
|---|---|---|---|
| preheating | Excellent | 30 minutes | Ultra-crispy crust |
| Cordierite Stone | Good | 60 minutes | Balanced crust |
| Cast Iron | Very Good | 45 minutes | Versatile use |
Baking steel works best for our sourdough pizza crust, especially when you have multiple pizzas to bake. It conducts heat efficiently and maintains a consistent temperature. Beginners might want to start with a cordierite stone, which offers excellent value and reliable results.
Temperature Monitoring Tools
Temperature monitoring is vital to achieving that perfect crispy sourdough pizza crust. Our essential toolkit includes:
- Infrared thermometer (measures surface temperature)
- Oven thermometer (verifies actual oven temperature)
- Digital probe thermometer (checks internal crust temperature)
Home ovens can be nowhere near their displayed temperature, often off by 25-50 degrees. These tools are a great way to get consistent results.
Ventilation Considerations
The ideal baking environment depends heavily on proper ventilation. To optimize heat circulation, your oven rack should sit two spaces below the broiler. We found these ventilation tricks work best for the crispiest results:
- Leave a 2-inch gap around your baking surface for proper airflow
- Position the rack in the upper third of the oven
- Keep the oven door closed during preheating
Bakinpreheatingheatings have enough clearance between the surface and oven walls. This setup lets moisture escape effectively and prevents a soggy crust – a common issue with sourdough pizza.
Note that poor ventilation can trap steam and compromise your crust’s texture. Your oven’s convection setting helps create even heat distribution and better remove moisture.
Mastering Dough Hydration
We found that becoming skilled at dough hydration helps create the perfect sourdough pizza crust. Our extensive testing led to a reliable method to achieve the ideal water-to-flour balance.
Calculating Water-to-Flour Ratio
Precise measurements are vital in making our sourdough pizza. This simple formula works every time:
Hydration % = (Water Weight ÷ Flour Weight) × 100
Our classic sourdough pizza recipe uses these proportions:
| Ingredient | Weight | Percentage |
|---|---|---|
| Flour | 500g | 100% |
| Water | 375g | 75% |
The 75% hydration creates a perfect balance between a crispy crust and proper fermentation moisture. A kitchen scale is essential—measuring cups cannot provide the accuracy needed for consistent results.
Adjusting for Climate Conditions
Environmental factors substantially affect dough hydration. Here’s how we adjust our base recipe:
- Humid Climate: We reduce water by 5-10% (around 335g for 500g flour)
- Dry Climate: We increase water by 5% (around 400g for 500g flour)
- High Altitude: We add 2-3% more water to compensate for faster evaporation
Bulk fermentation takes 6-8 hours in summer and 10-12 hours in winter. Based on these seasonal changes, the hydration needs to be adjusted.
Signs of Proper Hydration
Our experience has helped us identify reliable indicators of properly hydrated sourdough pizza dough:
Visual Cues:
- The dough should be slightly tacky but not sticky
- The surface appears smooth with a subtle sheen
- Tiny air bubbles are visible under the surface
Texture Tests:
- Dough stretches without tearing
- Holds its shape after gentle stretching
- Springs back slowly when poked
Water works better than flour for handling high-hydration doughs (70% and above). This prevents accidental lowering of hydration levels with extra flour during kneading.
The dough’s rise needs careful monitoring. Bulk fermentation usually ends when the volume increases by 50-75%. If over-fermentation becomes a concern, you can refrigerate the dough and continue the process the next day.
Perfecting the Baking Process
The perfect crispy sourdough pizza crust comes from becoming skilled at temperature control and timing. Our extensive testing has led to a reliable baking process that always delivers exceptional results
Pre-heating StraPreheatingThe preheat technique is used to achieve that coveted crispy crust. Here’s our tested preheating metho-preheating
| Spreheating | perature | Minimum Preheat Time |
|---|---|---|
| BakPreheatel | 5Preheat | minutes |
| Pizza Stone | 475°F | 45 minutes |
| Cast Iron | 450°F | 30 minutes |
The baking surface works best on the top rack with a full hour of preheating. Thispreheatingvpreheatingstribution builds maximum mass to create that perfect crispy bottom.
Temperature Management Techniques
Our unique temperature management approach revolutionizes ordinary sourdough pizza. The process includes:
Initial Heating Phase
- Preheat oven to PPreheatpreheat setting
- preheat the broiler for 5 minutes before launching the pizza
- Return to bake mode at 500°F just before placing the pizza
Active Baking Phase
- Monitor bottom crust browning at the 2-minute mark
- Rotate the pizza 180 degrees for even cooking
- Adjust rack position if needed for optimal heat distribution
Timing Your Bake
Our test bakes have refined our timing strategy. The sourdough pizza crust follows these key timing checkpoints:
- Initial Bake: 2 minutes at high heat
- First Check: Rotate pizza after an initial 2 minutes
- Final Phase: 2-3 additional minutes until desired brownness
Our par-baking technique works great for thicker crusts. Thin crusts need an 8-minute par-bake at 450°F, while thicker ones require 12-14 minutes. After adding toppings, the final bake takes 10-15 minutes on the upper rack.
The strategic use of the broiler helps create the perfect balance between a crispy exterior and a chewy interior. Alternating between bake and broil modes maintains intense heat for proper crust development and ensures even cooking.
Note that these times serve as guidelines. Visual cues like bubble formation and edge coloration tell the real story. Golden-brown spots on the crust and bubbling cheese signal that your sourdough pizza is on its way to perfection.
Troubleshooting Common Issues
Pizza makers at all skill levels face challenges with sourdough pizza crust. Here are practical solutions to common problems that can affect your pizza-making.
Dealing with Soggy Centers
Soggy centers usually result from poor moisture control. The best solution is a par-bake technique. JBakethe bare crust at 515°F for 60-90 seconds before adding toppings. This creates a barrier that stops the middle from getting soggy.
These proven strategies help curb moisture problems:
- Use room temperature sauce because cold sauce creates steam
- Add sauce right before baking to keep the dough crisp
- Use fewer wet toppings or cook high-moisture ingredients first
- Keep proper dough temperature between 15-21°C before baking
Preventing Burnt Edges
Our test bakes have shown the quickest way to get evenly cooked crusts without burnt edges. Success depends on proper rotation and temperature control. Here’s our detailed approach:
| Time | Action | Temperature |
|---|---|---|
| 0-60 seconds | Original bake | 515°F |
| 60 seconds | First rotation | 515°F |
| 90 seconds | Check edges | Adjust if needed |
| 120 seconds | Final rotation | Lower if browning too fast |
In high-temperature ovens, leave several inches between the pie’s edge and the flame. A long-handled turning peel helps rotate pizzas every 15-20 seconds, saving many crusts from burning.
Fixing Texture Problems
Texture problems usually come from these four sources:
- Signs: Dense crust, lack of airiness
- Solution: Let the dough double in size with visible bubbles
Overproofed Dough
- Signs: Wrinkled surface, collapsed structure
- Solution: Cut back proofing time or temperature
- Signs: Uneven bake, dense center
- Solution: Let the oven preheat fully (preheating hopreheatroper Stretching
- Signs: Thick center, inconsistent texture
- Solution: Focus on even stretching, especially in the center
A doughy layer under the sauce improves with a longer baking time. Add 60-90 seconds while slightly lowering oven temperature. Gummy layers caused by too much diastatic action need shorter fermentation time and better temperature control.
Sticky dough works better with less water. In humid conditions, try 335 grams for 500 grams of flour (70% hydration). The crust stays airy but becomes easier to handle.
Here’s a reliable fix for stubborn texture issues:
- Tough dough needs 30-60 minutes of covered rest
- Sticky dough improves with gradual flour addition during kneading
- Tearing dough requires a windowpane test to check for gluten
- Dry dough needs light surface moisture and rebelling
You can prevent most texture problems by keeping the dough at 75°F and using a healthy starter. The float test helps before starting your pizza-making.
Conclusion
A perfect crispy sourdough pizza crneedseeds attention to detail and practice. We’ve shared our hard-earned knowledge about proper hydration levels, temperature control, and equipment setup. These elements work together to produce restaurant-quality results. Our extensive testing shows that success comes from understanding the science and becoming skilled at practical techniques.
Home bakers often struggle with their first few attempts. Our troubleshooting guide and proven strategies will help you overcome common challenges like soggy centers and burnt edges. Note that each variable – from your starter’s health to your oven’s quirks – plays a vital role in the final product.
You can raise your bread and pizza game with an authentic artisanal sourdough starter from The Yeast We Can Do. Our small-batch starter helps create exceptional bread and pizza with that perfect tangy flavor and signature crust. This applies whether you’re a passionate home baker or a restaurant owner who wants to add true sourdough’s unmistakable flavor and character to your menu. You can revolutionize your baking today. Email john@theyeastwecando.com to get your hands on our premium sourdough starter.
Your experience of becoming skilled at sourdough pizza continues beyond this point. Keep experimenting with different hydration levels, temperatures, and techniques. Watch how your dough behaves, learn from each bake, and adjust. You’ll soon create pizzas consistently with that coveted crispy crust that makes homemade sourdough special.
FAQs
Q: How can I ensure my sourdough pizza crust turns out crispy?
A: To achieve a crispy sourdough crust, remove the lid or steam source from your oven about twenty minutes before the baking is complete. This allows the crust to dry out and brown properly. Maintain oven temperatures between 225 to 250 degrees Celsius for the best results.
Q: What’s the best way to achieve a crispy crust on a pizza?
A: For a crispy pizza crust, especially in a pan pizza, generously coat the bottom of the pan with olive oil before placing the dough. This prevents the dough from sticking and enhances the caramelization of the crust, giving it a delightful crunch.
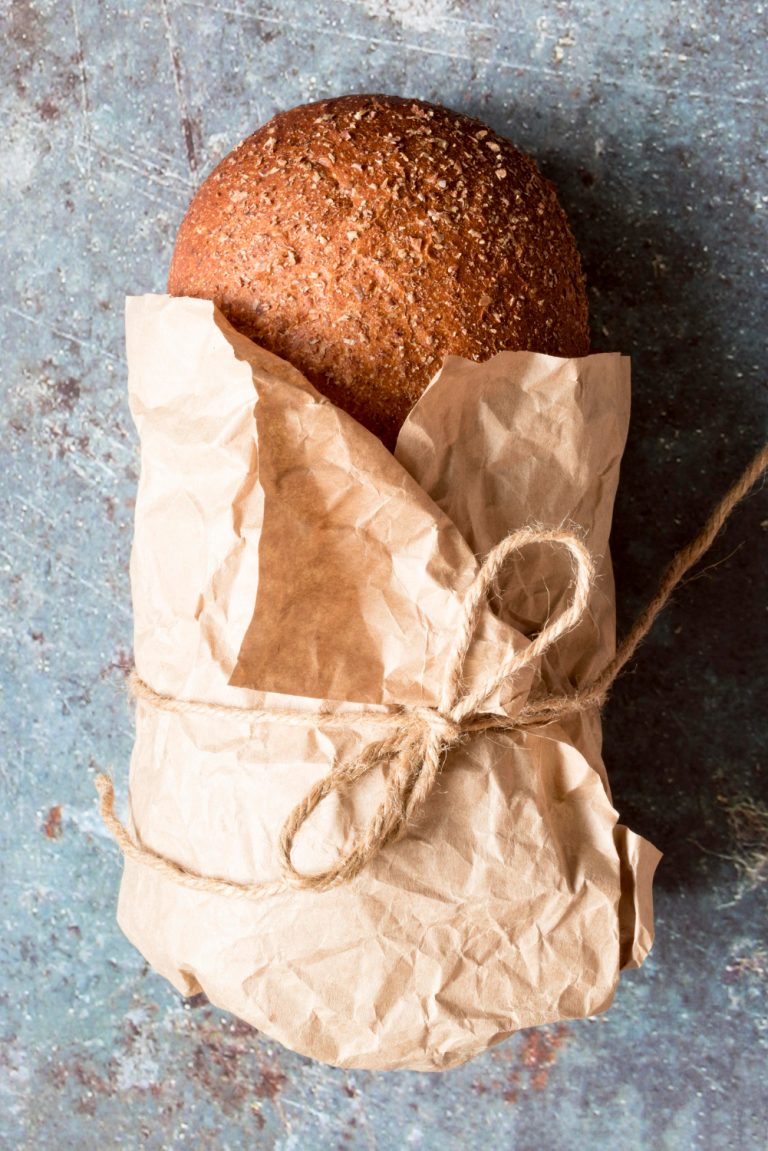
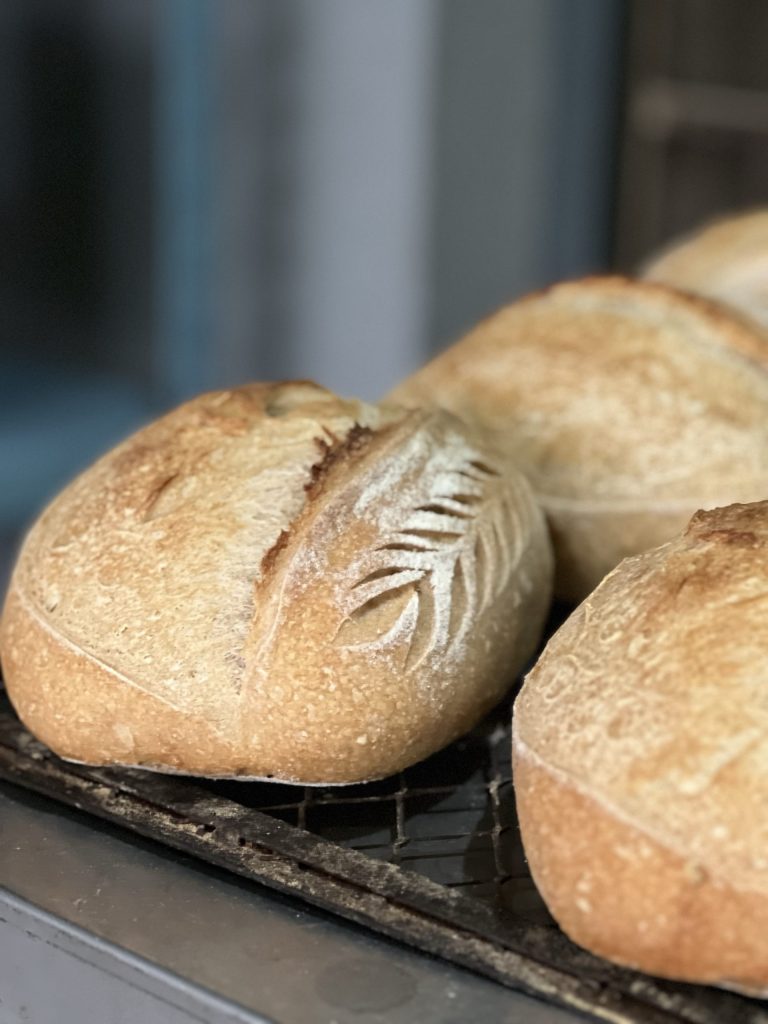
Q: How can I get a crispy crust on homemade bread?
A: To get a crispy crust on homemade bread, shape the dough properly, pre-heat it through, mand steam vent, use a Pizza St. user baking cloche, and avoid wrapping the bread while it cools. Additionally, consider the type of flour you use, as it impacts the crust’s texture.
Q: Why does my sourdough pizza crust come out chewy?
A: A chewy sourdough pizza crust is often caused by using high-protein white flour, typically around 13-14% protein. To reduce chewiness, opt for lower-protein flour, such as all-purpose or Type 00 flour, better suited for a less chewy texture.