How to Choose the Best Natural Proving Basket for Perfect Bread
A quality natural proving basket plays a significant part in creating perfectly shaped artisan bread with professional results. Bannetons effectively support and control moisture during bread’s critical proofing phase. Bakers of all sizes depend on these baskets to achieve consistent results and beautiful bread patterns.
Natural proving baskets are available in different shapes and sizes. Round designs work perfectly for boules, while oval baskets suit traditional loaves best. Each basket type helps absorb moisture properly and supports dough throughout the proofing process. This piece covers what you should think when picking a proving basket, proper usage techniques, and maintenance tips that ensure lasting performance.
Understanding Natural Proving Baskets
Bread-proofing baskets have come a long way from their traditional roots. These natural tools now feature different materials that create an optimal environment for dough-proofing. Bakers can choose the perfect basket by understanding its composition, advantages, and size requirements that match their breadmaking process.
Types of Natural Materials
[Image: Various natural proving baskets made from different materials]
Rattan, wood pulp, and wicker are the foundations of natural materials used in proving baskets. Artisan breadmakers love rattan baskets for their durability and traditional spiral patterns. Wood pulp baskets excel at absorbing moisture and delivering reliable results. Wicker baskets bring together the perfect balance of lightweight and proper airflow.
Benefits of Natural Baskets
Natural proving baskets are a great way to get better results for serious bread bakers. These baskets provide:
- Natural absorption properties that control moisture effectively
- Better airflow that creates an ideal crust
- Beautiful patterns on the bread’s surface
- Green practices with eco-friendly materials
- Excellent durability when maintained properly
The natural materials regulate humidity levels perfectly during proofing. This balance is significant in achieving the perfect crust and crumb structure in artisan bread.
Common Shapes and Sizes
[Image: Different shapes and sizes of proving baskets]
Proving baskets are available in shapes and sizes of all types to make different bread styles and quantities. Here are the most popular configurations:
| Shape | Ideal For | Typical Capacity |
|---|---|---|
| Round | Boules | 500g – 1kg |
| Oval | Batards | 750g – 1.2kg |
| Long | Baguettes | 350g – 500g |
The baker’s choice of size mostly depends on the dough’s weight and the final loaf shape they want. The best results come from choosing a basket where the dough fills about 75% of the container. This will give proper support during proofing and leave enough room for the dough to expand.
Natural proving baskets need some preparation before first use. We moistened them lightly and added flour to create a protective barrier. The natural materials’ properties and this preparation work together to keep the dough from sticking and give consistent results every time you bake.
Factors to Consider When Choosing
The quality of your final bread depends on choosing the right proving basket. Several factors affect your bread’s outcome. A good basket is a great way to consistently get beautiful and properly shaped loaves.
[Image: Various proving baskets showing different materials and shapes]
Material Quality
A natural proving basket’s performance and durability depend on its material quality. High-quality rattan baskets showcase tight and uniform weaving patterns without loose strands or rough areas that might catch the dough. The wood pulp baskets need smooth and even surfaces that maintain consistent thickness. Bakers should ask about these quality indicators:
- Consistent construction that eliminates gaps or flaws
- A surface that feels smooth inside
- The rim’s robust construction
- Materials that remain natural and untreated
- Consistent color and texture from end to end
Size and Shape
The correct size and shape will give optimal support during the proofing process. This table provides specifications to select appropriate basket dimensions:
| Dough Weight | Recommended Basket Size | Ideal Shape |
|---|---|---|
| 500g – 750g | 8-9 inches | Round/Oval |
| 750g – 1kg | 9-10 inches | Round/Oval |
| 1kg – 1.5kg | 10-12 inches | Round/Oval |
[Image: Size comparison of different proving baskets with bread samples]
Absorption Capacity
Moisture management is significant to achieve the perfect crust. Wood pulp baskets excel in moisture absorption and can absorb 3-4% of their weight in moisture during proofing. This creates an ideal environment that develops crust and prevents sticking. Rattan baskets provide moderate absorption, while wicker’s excellent airflow comes with less moisture control.
Rattan bannetons’ absorption properties improve naturally as they season with use. This conditioning process increases efficiency and creates a reliable proofing environment for consistent results.
Ease of Cleaning
Different materials need substantially different levels of care, affecting your basket choice. Wood pulp baskets need minimal cleaning—a quick brush-off after use is enough. Rattan baskets require complete drying between uses, and occasional brushing stops flour from building up.
Bakers should look for baskets with these features:
- Quick moisture evaporation after use
- Protection against flour buildup in crevices
- Durability that withstands repeated cleaning
- Space to dry completely between uses
A perfect sourdough-proofing basket combines everything to match your loaf size and shape needs. Quality-proving baskets become essential tools that help create professional artisanal bread once you pick and care for them properly.
How to Use a Natural Proving Basket
Proper use of a natural proving basket will yield optimal results when making artisan bread. By mastering preparation and proofing techniques, bakers can create consistent, professional-quality loaves that showcase beautiful patterns and proper structure.
[Image: A well-prepared proving basket with proper flour dusting]
Preparing the Basket
A natural proving basket needs proper preparation at its first use and between bakes. Bakers need to know everything about the preparation process:
- The basket’s interior surface needs a light dampening with water
- Rice flour works best for dusting the surface generously
- The basket must dry completely before its first use
- A fresh coating of rice flour helps before each use
- The grooves and crevices need even coverage throughout
Rice flour is the best choice over wheat flour because it doesn’t create gluten after moisture exposure. The original preparation creates a protective layer that gets better with each use. This makes the banneton basket work better as time passes.
Shaping and Placing the Dough
[Image: Properly shaped dough being placed into a proving basket]
The proper technique when placing the dough in a proofing basket will give a perfect final shape and pattern. Shape the dough firmly yet gently to create surface tension without releasing gas. The following steps lead to optimal results:
- Shape the dough according to the basket’s style (boule for round, batard for oval)
- Dust the dough’s surface lightly with flour
- Place the dough seam-side up in the basket
- Fill approximately 75% of the basket’s volume with dough
Proofing Time and Temperature
The right temperature can make a big difference in your proofing process. Here are the guidelines to get the best results:
| Environment | Temperature Range | Proofing Duration |
|---|---|---|
| Room Temperature | 72-78°F (22-26°C) | 2-4 hours |
| Refrigerated | 38-42°F (3-6°C) | 8-16 hours |
Bakers need a draft-free space with the proper humidity to get consistent results. Your sourdough proofing basket works best with a cover during proofing. This prevents your dough from getting a dry surface skin. You can use clean linen towels or plastic bags as covers.
Put your basket in the refrigerator after shaping the dough to control fermentation during cold proofing. This technique, called retarding, creates better flavors and makes scoring easier before baking.
You’ll know your dough is ready to bake when it passes the gentle finger poke test. The indentation should slowly spring back halfway, which shows proper fermentation and structure development. Keep an eye on your dough because overproofing can reduce oven spring and affect the texture.
[Image: Properly proofed dough showing ideal rise and texture]
Caring for Your Natural Proving Basket
A well-managed natural proving basket will give a perfect performance and last longer for your bread-making needs. When you take good care of your basket, life will extend and perform better with each use.
[Image: Clean proving basket being maintained with proper tools]
Cleaning Methods
A banneton basket needs regular care to prevent flour from building up and to keep its natural qualities intact. The basket’s cleaning schedule depends on how often you use it:
| Usage Frequency | Cleaning Schedule | Method |
|---|---|---|
| Daily Use | After each use | Light brush and tap |
| Weekly Use | Weekly | Complete cleaning |
| Monthly Use | Monthly | Deep cleaning |
Bakers should follow these steps to clean their baskets:
- Give the basket a firm tap to remove excess flour
- Clean all crevices with a stiff brush
- Let the basket dry completely before storing
- Stay away from soap or harsh chemicals
- Look for any leftover dough pieces
[Image: Demonstration of proper cleaning technique]
Proper Storage
How you store your sourdough-proofing basket substantially affects its performance and duration. Your basket needs the right environment to maintain its natural moisture-absorption properties without encouraging mold growth.
These storage guidelines will help:
- Store in a well-ventilated area
- Keep away from direct sunlight
- Avoid plastic bags or sealed containers
- Position baskets upright to let air circulate
- Maintain room temperature conditions
Professional bakers typically keep their baskets near ovens or on dedicated shelving units that allow air to flow freely. You can create similar conditions at home by choosing a dry, well-ventilated spot in your kitchen away from any moisture sources.
[Image: Properly stored proving baskets in a ventilated area]
Extending Basket Lifespan
A natural proving basket can last substantially longer with good care. Here’s how to take care of your basket:
Conditioning Treatment
- Spray light water mist every three months
- Add a coating of rice flour
- Let it dry completely
- Do this again when needed
Preventive Care
- Check often for damage
- Fix minor issues right away
- Clean on a set schedule
- Keep track of dampness
Your basket can bounce back from mold if you:
- Heat it in an oven at 130°C for 45 minutes
- Brush it well after heating
- Add a new flour coating
- Let it dry thoroughly before using it again
[Image: Properly maintained proving basket showing excellent condition]
Bakers who work with bread often suggest using multiple baskets in rotation. Each proofing basket gets enough time to dry between uses and lasts longer.
Sunlight helps control moisture levels, and many bakers leave their baskets in the sun occasionally. This keeps the natural germ-fighting properties of rattan and other materials working well. Don’t leave them out too long, as too much sun can age the material faster.
Taking good care of your basket pays off with better bread quality and fewer replacements needed. A banneton basket that’s well cared for develops its character over time. It creates more beautiful patterns on artisan loaves while maintaining the perfect proofing environment.
[Image: Collection of well-maintained proving baskets showing various ages and patterns]
Conclusion
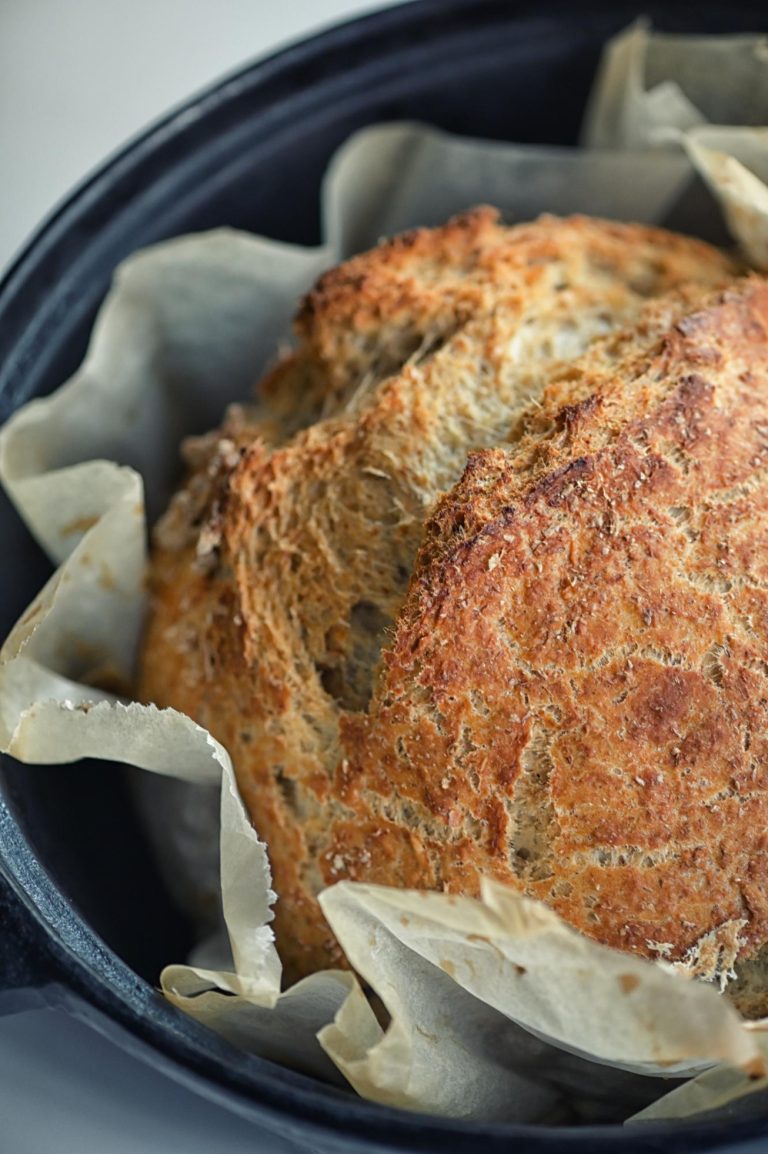
[Image: Collection of well-managed proving baskets with beautiful bread results]
Natural proving baskets are the life-blood tools that serious breadmakers rely on. These baskets combine traditional craftsmanship with practical functionality. The foundations for consistently beautiful artisan loaves are the correct material selection, proper sizing, and careful preparation. Bakers can achieve professional-quality results that boost their bread’s appearance and texture by correctly choosing and using these time-tested tools.
The baker’s proving baskets become increasingly valuable companions with regular maintenance and proper storage practices. Each use adds character and develops optimal proofing conditions for future loaves. Bakers who want to create exceptional bread can raise their results with an authentic artisanal sourdough starter from The Yeast We Can Do. Contact john@theyeastwecando.com to craft bread with the perfect tangy flavor and signature crust. Quality ingredients and proper technique paired with a well-managed proving basket will give every loaf the highest artisan bread-making standards.
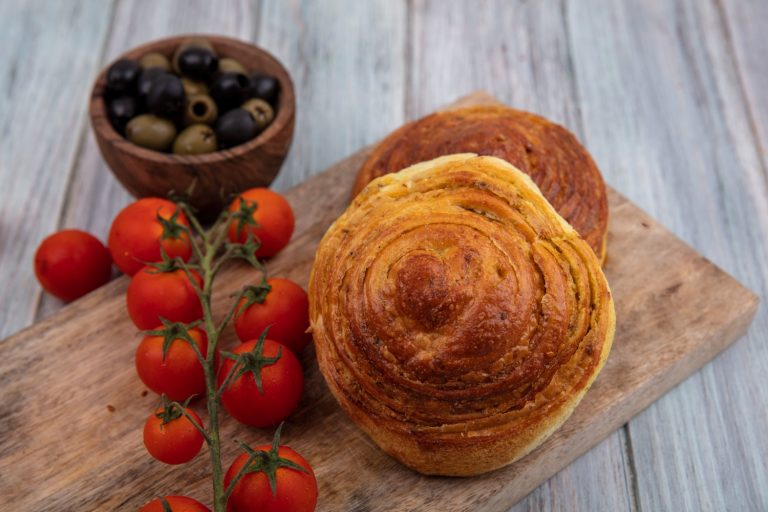
[Image: Beautiful artisan bread next to a well-seasoned proving basket]
FAQs
What should I consider when selecting a bread-proofing basket?
When choosing a bread-proofing basket, selecting a size that matches the most frequently baked loaf sizes is essential. For instance, an 8-inch round or oval banneton is typically suitable for 1 pound of bread dough. Opting for a basket that closely fits your loaf size will yield the best results.
Which material is recommended for a banneton?
Wood pulp is highly recommended for bannetons due to its durability and effectiveness. Many bakers prefer wood pulp bannetons for their consistent performance in bread baking.
Is investing in a breadproofing basket worthwhile?
Especially for those who bake bread regularly. A quality proofing basket helps achieve a consistent shape and size and can imprint a beautiful ringed pattern on the loaf if used without a liner.
How do Bulka and Flourside bannetons differ?
The primary difference lies in their weight and moisture absorption capabilities. Bulka baskets are slightly heavier and absorb more moisture, which can be beneficial during the proofing process. Although most baskets perform well, these slight differences can influence the outcome of your bread.
What should I look for in a bread-proofing basket based on user experience?
It’s crucial to choose a bread-proofing basket that does not leave splinters or residues in the bread, as some poorly made baskets might. Checking customer reviews and opting for recommended brands or stores can help ensure you get a high-quality product that safely contributes to the bread-making process.