How to Master Double Hydration Sourdough for Stronger Dough
Many bakers find making perfect sourdough bread with high moisture content challenging. The double hydration sourdough technique gives bakers better control over their dough consistency and strength. This technique helps bakers handle wet dough easily and achieve better results. Bakers can create bread with an open crumb structure and crispy crust without dealing with sticky dough.
The technique requires careful mixing and adding water at specific times to build gluten structure gradually. Bakers will master the quickest way to add water, mix properly, and handle dough through stretch and folds. This detailed guide explains everything in the double hydration process. You can now tackle high-hydration dough with confidence and make exceptional sourdough bread.
Understanding Double Hydration Technique
Double hydration is a sophisticated bread-making technique that bakers also call massage. This method adds water in two separate stages instead of all at once. This technique helps bakers achieve higher total hydration levels while they retain control over dough development.
What is double hydration?
Double hydration represents a bread-making technique that adds water to the dough at different stages. Bakers don’t add all the water at once during the original mixing. They reserve a lot of water and add it slowly as the dough develops. This method creates better gluten formation and dough structure.
Benefits for sourdough bread
The double hydration technique brings several advantages to sourdough baking:
- Makes dough easier to handle during the original mixing phase
- Develops gluten better while maintaining dough structure
- Creates bread with an exceptionally open crumb pattern
- Gives you a thinner, crispier crust
- Makes bread last longer through balanced moisture distribution
When to use this method
Bakers will find the double hydration technique most effective with high-hydration doughs that exceed 80% hydration. This technique becomes vital for creating artisanal breads like ciabatta or open-crumb sourdough. The texture of these breads can be hard to achieve through traditional mixing methods.
Strong, high-protein flours that handle increased water content make this technique more effective. Flour’s hydration rates vary, making this method the best choice for recipes where moisture control determines optimal results.
Step 1: Initial Mixing and Autolyze
Successful double hydration sourdough starts with precise calculations and proper original mixing techniques. These fundamental steps will give you optimal dough development and create superior bread quality.
Calculating the original hydration percentage
Bakers need to determine the original hydration level before they start mixing. A simple formula helps calculate this: (Weight of Water ÷ Weight of Flour) × 100 = Hydration Percentage. Most bakers begin with 65-70% hydration in double hydration and add the remaining water later. The calculation needs to account for both flour and water components from the starter or levain.
Mixing flour and water
The original mixing phase needs careful attention to temperature and technique. Bakers must use ice-cold water (16-18°C) to combine flour and water for optimal dough consistency. The temperature control is significant and will:
- Support gluten’s formation
- Stop fermentation too early
- Give the dough proper strength
- Set perfect conditions for the autolyze period
Resting period for gluten development
The autolyze period is a vital passive development stage during which the original flour-water mixture rests for 20-60 minutes. During this time, the flour hydrates fully, and gluten bonds form naturally without mechanical intervention. The flour type and desired outcome determine the autolyze period’s length and whole grain flours usually need longer rest periods.
Bakers should moisten all flour particles entirely in the original mix to achieve optimal results. Dry flour won’t blend properly in later stages. This rest period substantially reduces kneading time and enhances the dough’s extensibility. These improvements are the foundations for subsequent water additions in the double hydration process.
Step 2: Adding Remaining Water and Ingredients
Bakers need to add the remaining ingredients with precision after the original autolyze period to build proper dough strength in their double-hydration sourdough. The order and timing of these additions greatly affect the bread’s quality.
Incorporating levain/starter
Add the levain at its peak activity, usually 8-12 hours after feeding. The levain should dissolve completely in the original water mixture before you combine it with the autolyzed dough. This step distributes the natural yeasts and bacteria evenly throughout the dough mass. A well-mixed levain creates consistent fermentation and develops optimal flavor.
Gradually adding reserved water
Reserved water (typically 5-10% of total hydration) needs careful addition in multiple stages to help you retain control over dough strength. The process demands careful attention:
- First addition: Add 1/3 of reserved water and mix until the dough absorbs it completely
- Second addition: Add another 1/3 once the dough’s original strength develops
- Final addition: Mix the remaining water after the dough shows proper gluten development
Each water addition will temporarily weaken the dough but regains strength quickly with continued mixing. This methodical approach allows you to achieve higher total hydration while the dough structure remains intact.
Mixing in salt
Salt is vital in dough development and should be added after the levain ferments. The quickest way is to dissolve the salt in the reserved water before incorporation. This method will give a uniform distribution throughout the dough and help strengthen the gluten network.
Salt tightens the gluten structure and controls the fermentation rate. Proper timing is essential—early salt addition can slow down fermentation, while late addition leads to poor distribution. Bakers want to add salt when the dough shows its first signs of development, usually after completing the first set of stretches and folds.
Step 3: Developing Dough Strength
A systematic approach during bulk fermentation helps build optimal dough strength. Bakers achieve the best results when they apply specific techniques at precise moments that develop a strong gluten network and maintain dough extensibility.
Stretch and fold technique
The stretch and fold method forms the foundation for building dough strength in double-hydration sourdough. This technique requires pulling the dough upward and folding it over itself in four directions. The process creates tension and helps align gluten strands naturally. You should complete 4-6 sets of stretch and folds within the first 90 minutes of bulk fermentation. Each set needs 15-30 minutes of rest between rounds.
Key benefits of proper stretch and fold technique:
- Builds dough strength without excessive degassing
- Creates a well-structured gluten network
- Maintains even dough temperature
- Helps track fermentation progress
Coil folding method
Coil folding offers a gentler approach that works especially well with doughs with higher hydration. This technique becomes particularly effective in the final phases of bulk fermentation after the dough has developed its original strength. Bakers can execute a coil fold by lifting the dough from its middle and letting the ends naturally drop before folding them underneath.
The coil folding method strengthens the dough and preserves the delicate air pockets created during fermentation. The process requires 4-6 coil folds with 30-minute intervals between each fold until the dough demonstrates adequate strength by maintaining its shape and achieving an aerated texture.
Lamination for even hydration
Lamination is an advanced technique that develops dough strength and ensures even hydration distribution. You must stretch the dough into a thin sheet and fold it back onto itself. After 2-3 sets of stretch and folds, lamination proves most effective, and the dough has developed enough extensibility.
This technique works best with doughs that have more than 80% hydration. It creates a strong gluten network and maintains optimal moisture distribution. You should use gentle movements that you think over to avoid tearing the dough structure. The process strengthens your dough and creates layers that result in an open crumb structure in the final bread.
Conclusion
Double hydration sourdough is a technique that helps bakers turn challenging high-hydration doughs into easy-to-handle, well-laid-out bread. Bakers can control dough development with careful water additions, smart ingredient mixing, and methodical strength-building techniques that lead to better fermentation and gluten formation. These elements combine to create artisanal bread with an outstanding crumb structure and crispy crust.
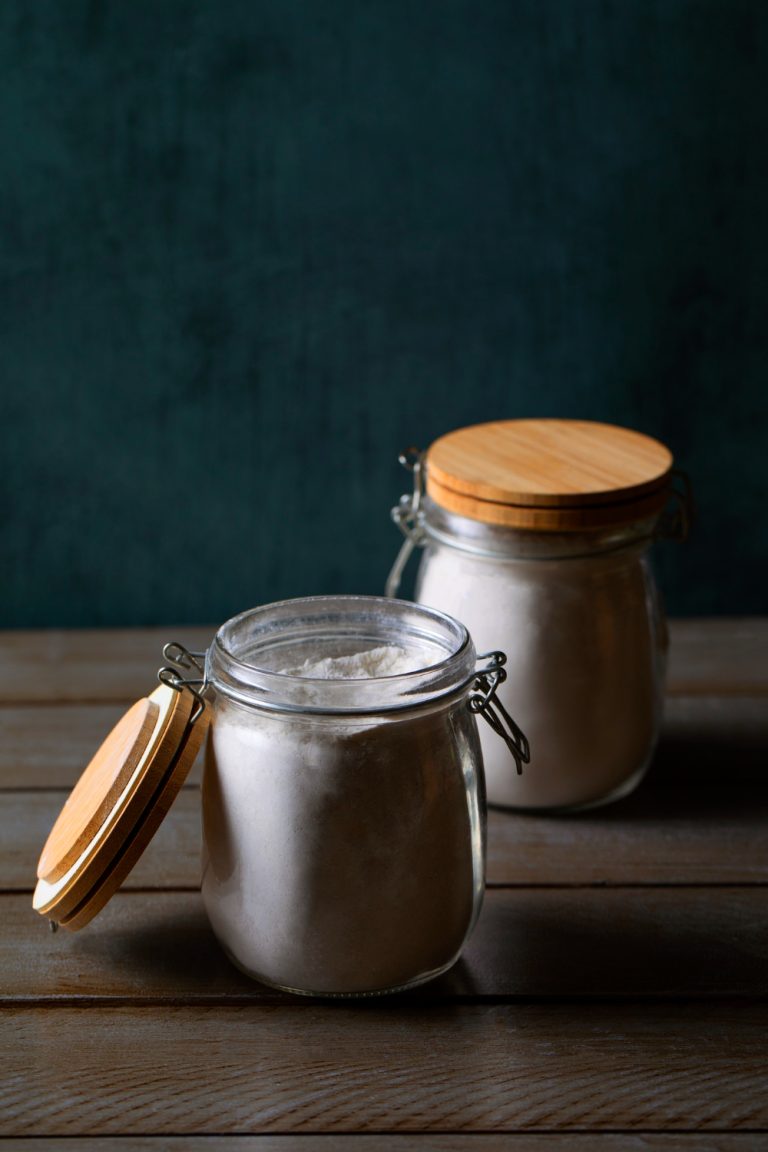
This technique creates new possibilities for home bakers and professionals who want to improve their bread-making skills. The process needs patience, attention to detail, and quality ingredients. Your sourdough’s foundation depends on an active starter that you manage to keep healthy. The Yeast We Can Do offers authentic artisanal sourdough starter to raise your bread and pizza making to new heights. Home bakers and restaurant owners can add true sourdough’s distinct flavor and character to their menu with our small-batch starter that creates exceptional bread and pizza with perfect tangy flavor and signature crust john@theyeastwecando.com to get your hands on our premium sourdough starter). Bakers who combine proper technique with premium ingredients can make professional-quality bread that realizes the full potential of high-hydration sourdough.