How to Perfectly Incorporate Cheese in Sourdough Bread: A Complete Guide
You might have sliced into your fresh cheese sourdough bread and found the cheese sitting at the bottom or wholly leaked out. Don’t worry – this happens to everyone.
The process of adding cheese to sourdough bread needs careful attention. Your loaf’s success depends on perfect timing, temperature, and technique. One wrong step could disappoint those dreams of evenly spreading, melty cheese pockets.
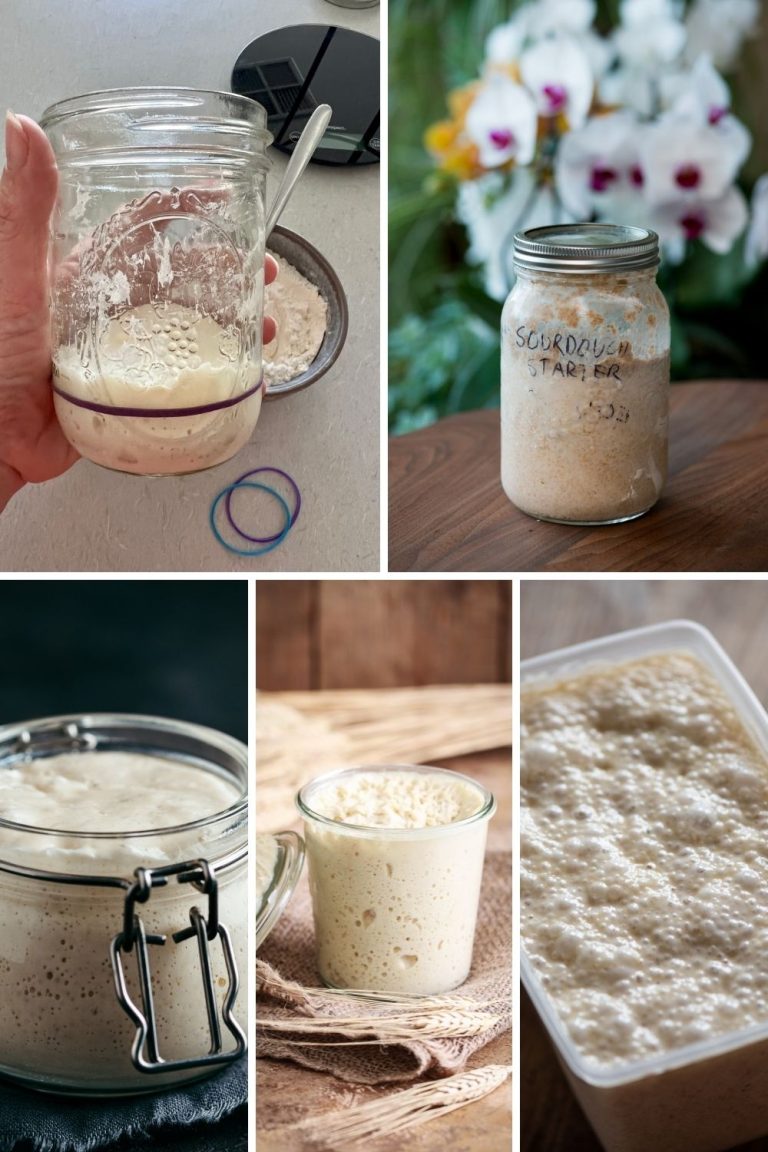
Our team tested numerous methods with sourdough starter until we got it right. We learned everything about cheese selection and folding techniques. These lessons will help you create that social media-worthy cheese pull in your next loaf.
Want to improve your cheesy sourdough? Explore these techniques, which guarantee a perfect loaf every time you bake.
Understanding Cheese Properties for Bread
The science behind cheese properties is significant for achieving the perfect cheese-studded sourdough. Let’s explore why some cheeses work better than others in our sourdough creations.
Moisture Content and Melting Points
A cheese’s moisture content affects its behavior during baking. Young, high-moisture cheeses like mozzarella, Taleggio, and Gruyère are reliable melters and maintain their emulsion better when heated. These cheeses create the beautiful, stretchy pockets we love in our sourdough bread.
Aged cheeses need more careful handling. They lose much moisture taporation, and their proteins form tighter clumps. This makes them nowhere near as good at creating smooth, melted pockets in our bread.
Fat Content Effects on Dough
Cheese’s fat content greatly affects our sourdough’s structure. When we add cheese to our dough, the fat coats the flour proteins, changing gluten development. This works just as with butter or oil in enriched doughs. Adding more than 10% cheese (relative to flour weight) needs careful timing during mixing to ensure proper gluten development.
Best Cheese Types for Sourdough
Our extensive testing shows these cheeses are top performers in sourdough bread:
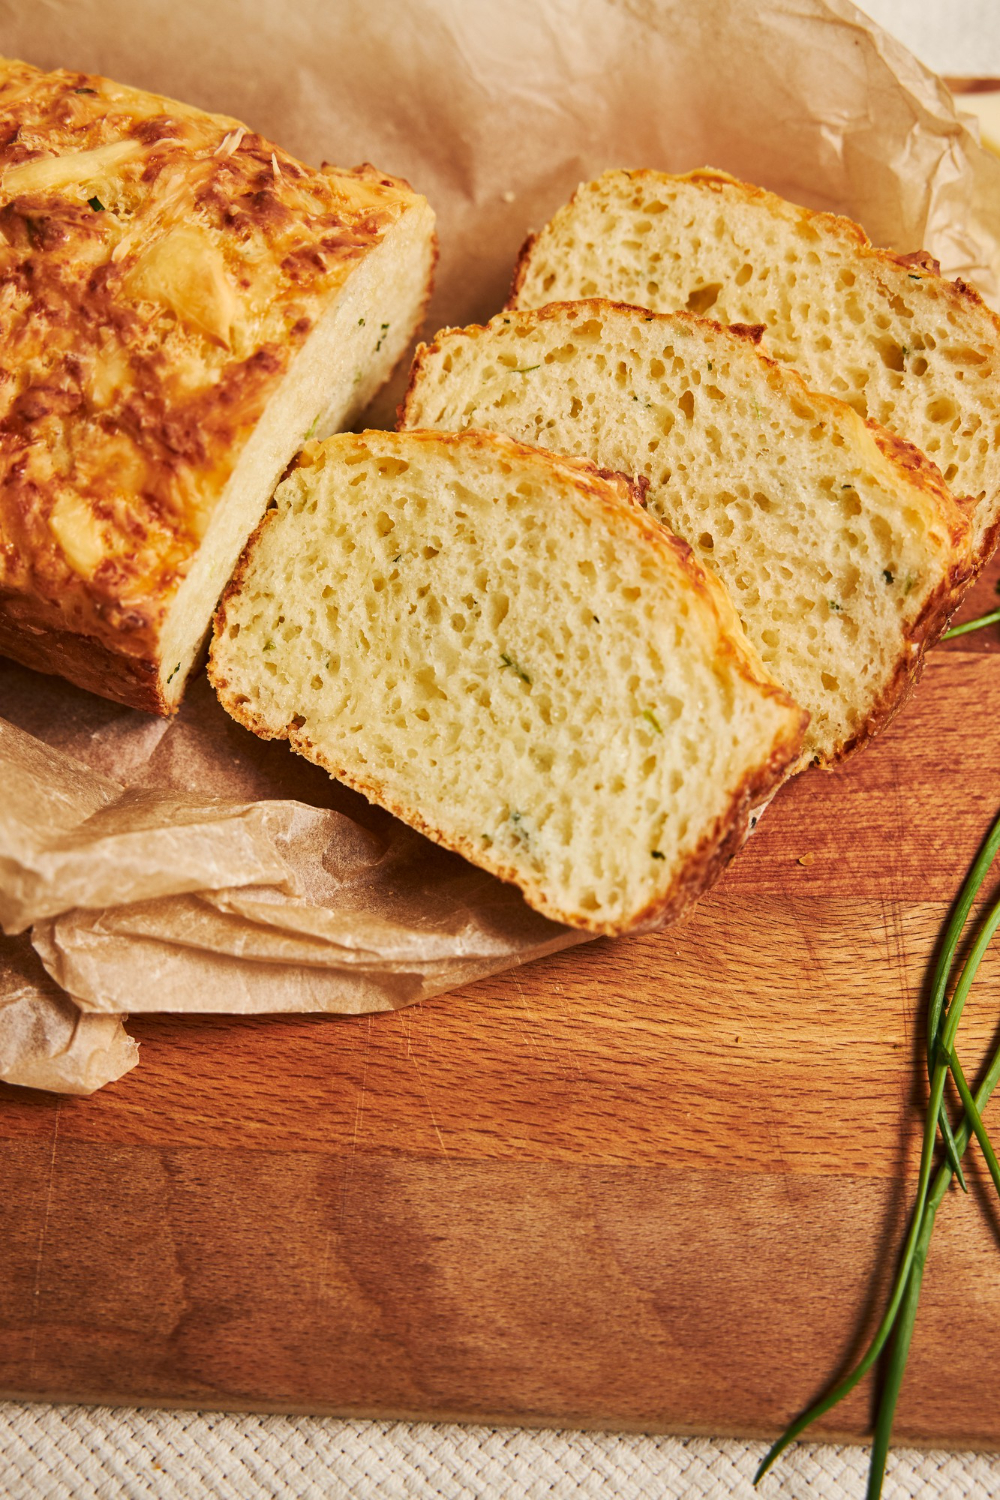
- Fresh Mozzarella: Creates perfect melty pockets and doesn’t fully blend into ththoroughlygh
- Provolone: Offers excellent melting properties and adds moisture to the bread
- Gruyère: Provides intense nutty flavor while maintaining good melting characteristics
- Young Gouda: Melts beautifully due to its lower acidity and higher moisture content
- Fontina: Delivers superior melting qualities with a buttery undertone
The best cheeses for our sourdough can be easily sliced at room temperature and have a balanced moisture and fat content. This will give even distribution throughout our dough and create those desirable cheese pockets during baking.
Despite being excellent melters, processed cheeses lack the complex flavors that make artisanal bread unique. Traditional cheese varieties work better as they complement our sourdough’s natural tanginess and maintain their structural integrity during baking.
Preparing Cheese for Integration
Preparing cheese before adding it to sourdough can transform an ordinary loaf into something extraordinary. Let’s look at the vital preparation steps that will raise your cheese sourdough to new heights.
Shredding vs. Cubing Methods
Our testing shows that shredding and cubing methods each serve their purpose in cheese sourdough. Shredded cheese blends more smoothly throughout the dough and creates delicate cheese ribbons. But pre-shredded cheese doesn’t melt as well because of anti-caking agents. This is why you should shred your own cheese.
It is cubing he superior method if you want distinct pockets of melted cheese. We cut our cheese into 3/8″ to 1/2″ cubes to create those sought-after cheese-filled cavities in the final loaf. The larger chunks don’t disrupt the dough structure like smaller pieces that blend into the dough as it ferments.
Temperature Considerations
Temperature is a vital part of successful cheese integration. Here are our tested guidelines:
- Keep cheese refrigerated until needed
- Take cheese out 15-20 minutes before use
- Skip room-temperature cheese as it can smear during folding
- Think over cold proofing to get better cheese distribution
Size and Distribution Guidelines
Precision matters with size and distribution. Our tests show that cubes larger than 1/2 inch create too many holes in the crumb structure, while pieces smaller than 3/8 inch disappear into the dough.
These proven techniques give the best results:
- Spread cheese evenly during lamination or folding
- Leave the final layer cheese-free (this becomes the base)
- Save about 1/3 of the cheese for the final fold
- Use a dough scraper to distribute evenly
Even cheese distribution prevents it from collecting at the bottom of the loaf. We add the cheese in multiple layers during folding instead of all at once. This folding approach gives even distribution in the final bake and stops the “cheese sink” effect.
Note that the moisture content of your chosen cheese will change the hydration levels of your dough. When you add cheese to your sourdough bread, be ready to adjust your base recipe’s water content.
Timing the Cheese Addition
The right moment to add cheese to sourdough bread makes all the difference. Our extensive testing shows that the time we add cheese can substantially affect our loaf’s final structure and cheese distribution.
During Original Mix vs Lamination
Adding cheese at the time of the original mix doesn’t work well for most sourdough breads. The second set of stretches and folds, about an hour into the process, works better. This timing lets the gluten network develop properly before cheese enters the picture.
The lamination method gives perfect cheese distribution. Here’s what works best:
- Add cheese at the time of the second or third set of stretch and folds
- Perform lamination by stretching dough into a large rectangle
- Layer cheese in multiple stages during folding
- Let the dough rest for 20-30 minutes between subsequent folds
Effect on Fermentation
Cheese provides proteins and fats that change the fermentation dynamics of our sourdough. Cheese-enriched doughs need more fermentation time than plain sourdough because fats slow the fermentation process.
Room temperature works best for bulk fermentation of cheese-enriched dough. Refrigeration at this stage can create uneven cheese distribution and change the bread’s final texture. The dough should rise about 50%, though cheese-enriched versions might not rise as much as plain sourdough.
Cold Proofing Tips
Our best results come from a cold-proofing period after bulk fermentation. The ideal timeline runs 12 to 36 hours in the refrigerator. This extended cold fermentation works on multiple levels.
Lower temperatures help cheese particles stay solid so they don’t completely blend into the dough structure. This creates delicious cheese pockets in the final bake. In addition, the cold environment slows fermentation, which develops flavors while maintaining dough structure.
The shaped dough should be broom-proofed at room temperature before entering the refrigerator. This kickstarts the final rise while keeping the cold-proofing benefits intact. The dough shouldn’t proof too long at room temperature—it could reduce the oven spring in the final bake.
Mastering Dough Handling
The way you handle Howugh can make or break your cheese-filled sourdough bread. Our extensive testing across different conditions has helped us develop reliable techniques for creating that perfect loaf with well-distributed cheese pockets.
Proper Folding Techniques
Traditional kneading isn’t the best way to work with cheese-enriched sourdough. A series of gentle folds helps develop strength while protecting the dough’s delicate structure. Here’s our tested method:
- Begin with a wet hand to prevent sticking
- Reach under the dough’s edge
- Stretch upward gently and let gravity do the work
- Fold over the top of the dough
- Rotate the bowl quarter-turn
- Repeat 4-6 times per folding session
Through this process, your dough will change from slightly shaggy to smooth and elastic. Gentler handling helps maintain cheese distribution while building the needed strength.
Managing Dough Temperature
Temperature control is vital when working with cheese-enriched sourdough. The best results come at 24°C/75°F. Here are our top temperature management tips:
- Adjust the water temperature to reach the desired dough temperature
- Keep dough protected from drafts during bulk fermentation
- Watch room temperature throughout the process
- A proofing box helps achieve consistent results
If temperatures vary too much, the cheese can separate from the dough structure. Consistent temperatures are therefore important throughout the process.
Preventing Cheese Leakage
Nothing ruins a loaf like watching your carefully chosen cheese leak during baking. Proper sealing techniques can prevent this. The secret lies in creating a cheese-free zone around your dough’s edges during shaping.
The final shaping requires all cheese pieces to stay fully enclosed within the dough. A 2-inch cheese-free border creates strong seals that hold during baking. Any cheese breaking through the surface needs gentle tucking back in to reinforce the seal.
A bench scraper helps create tension in the dough’s surface for stubborn spots, sealing potential weak points. This approach significantly reduces cheese leakage, especially with proper proofing times and temperatures.
Note that fixing any exposed cheese during shaping beats, hoping it seals itself during baking. Experience has taught us to always check our always to check our seconstantlyfore the final proof on Levels
The right hydration level in cheese sourdough bread needs careful calculation and adjustment. We found that cheese can substantially affect our dough’s moisture content, making it vital to modify our base recipe.
Compensating for Cheese Moisture
Adding cheese to sourdough enhances flavor—it brings extra moisture that changes our dough’s hydration. Each cheese variety has its own water content, usually between 35% and 55%. To name just one example, 200g of cheese with a 45% moisture content adds 90g of water to our dough.
The quickest way to keep perfect dough consistency is simple: reduce the recipe’s water content by the amount of moisture the cheese will contribute. This stops our dough from becoming too wet and hard to handle.
Calculating Water Reduction
Here’s a simple method we use to calculate the water adjustment:
Calculate cheese moisture:
- Cheese weight × moisture percentage = Additional water
- Example: 200g cheese × 45% = 90g water
Adjust recipe water:
- Original water – Cheese moisture = New water amount
- Example: 500g water – 90g = 410g water
Standard sourdough needs 65-70% hydration. The cheese-enriched dough works better with 2-3% less hydration to balance the cheese’s moisture contribution.
Dough Consistency Tests
Numbers tell only part of the story. These practical tests help ensure proper hydration:
The Window Pane Test: The dough should stretch thin enough to see light through without tearing. Cheese-enriched dough needs slightly less stretch than regular sourdough.
The Finger Dent Test: A finger pressed into the dough should slowly spring back with a slight mark left behind. Too much spring means dry dough, and no spring shows it’s too wet.
I love how properly hydrated dough feels slightly firmer than regular sourdough. This extra firmness helps balance the moisture that cheese releases during baking. Sticky or slack dough during folding signals the need for less hydration next time.
Note that these adjustments need some trial and error. Keep detailed notes of hydration levels and results until you find the perfect balance for your cheese and flour combination.
Optimizing Bake Parameters
Baking parameters for cheese sourdough bread demand precision and careful attention. Our kitchen tests have led us to perfect results that give an ideal balance between a crusty exterior and melted cheese inside.
Temperature Adjustments
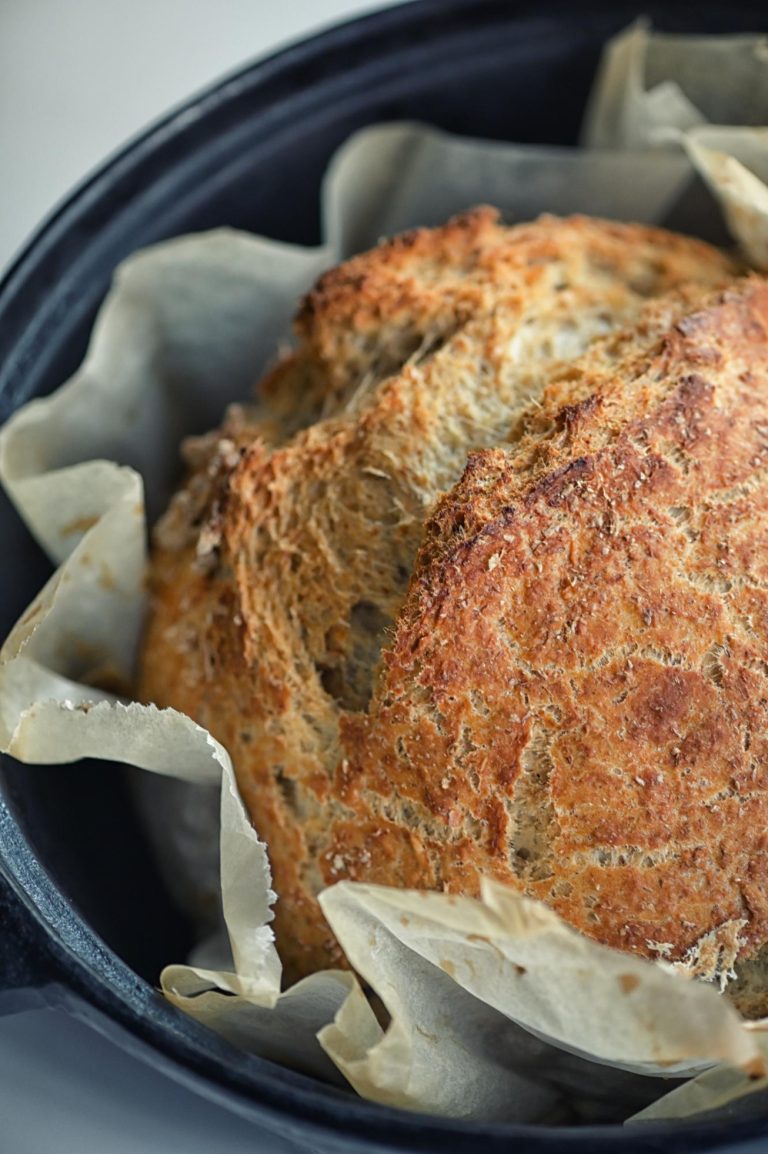
Perfect cheese sourdough comes from a two-stage baking process. The Dutch oven needs to be preheated at 500°F (260°C) for 30-60 minutes. This high heat creates the perfect environment that leads to optimal oven spring. Once the dough goes in, the temperature drops to 450°F (230°C) for covered baking.
Our tested temperature progression:
- Original preheat: 500°F (260°C)
- Covered bake: 450°F (230°C)
- Uncovered bake: 400-450°F (204-230°C)
Steam Requirements
Proper steam is vital to achieving a professional-quality crust that prevents the cheese from burning. Here’s our proven steam-creation process:
- Preheat Dutch oven with lid for maximum steam retention
- Transfer dough using parchment paper
- Spray a light mist of water before closing the lid
- Bake covered for 25 minutes to trap steam
- Remove the lid for the final 20-30 minutes of baking
Preventing Burnt Cheese
Multiple test bakes have helped us develop strategies that prevent cheese from burning while ensuring perfect melting. Parchment paper under the dough isn’t just for easy transfer – it prevents the cheese from sticking and burning on the Dutch oven’s bottom.
A baking sheet on the rack below the Dutch oven helps distribute heat evenly and prevents a darkened bottom. This becomes even more significant with cheese-enriched dough since leaked cheese can burn quickly.
The bread’s internal temperature should reach 204-206°F (95-96.5°C). This will give you fully baked bread without overheated cheese. If browning happens too fast, aluminum foil can loosely cover the top during final baking.
Careful cheese placement during shaping stands out as one of the unsuccessful techniques. The cheese should stay slightly away from the surface to prevent exposure during baking. Leaking cheese isn’t a problem – these spots often create delicious crispy cheese crystals when temperatures are managed well.
Note that every oven behaves differently, so check your bread’s color often during uncovered baking. A conventional oven without a Dutch oven needs a different steam approach – place a shallow pan of hot water on the bottom rack for the first 20 minutes of baking.
Conclusion
Perfect cheese sourdough bread needs attention to the tail at every step. Our tested methods cover selecting the right cheese, proper timing of additions, careful dough handling, and precise baking techniques. These elements combine to create picture-perfect cheese pockets and exceptional flavor that everyone loves.
The secret to excellent sourdough is understanding how cheese affects the dough’s behavi—properer hydration adjustments, temperature control, andintelligentt cheese placemintelligentistinguish an outstanding loaf from a mediocre one. Years of experience show that these techniques require practice, but the results make every effort worthwhile.
Your sourdough experience can begin right now. The Yeast We Can Do offers an authentic artisanal sourdough starter to lift your bread and pizza creation skills. Passionate home bakers and restaurant owners can add the unmistakable flavor and character of true sourdough to their baking. Our small-batch starter helps create exceptional bread and pizza with that perfect tangy flavor and signature crust. You can reshape your baking results today – simply email john@theyeastwecando.com to get our premium sourdough starter.
Note that each batch of cheese sourdough teaches something new. We suggest experimenting with different cheese varieties while following these fundamental principles. Your perfect loaf of cheese sourdough bread awaits – it’s time to start baking!
FAQs
How can I incorporate cheese into my sourdough bread? Add shredded or cubed cheese just before your second set of stretch and folds to incorporate cheese into your sourdough bread. As you perform the folds, the cheese will begin to incorporate intoincorporatingr optimal distribution, spread the cheese evenly during lamination or folding, keeping the final layer cheese-free. Reserve about 1/3 of the cheese for the final fold to ensure even distribution throughout the loaf.
What are the best cheese types for sourdough bread? The best cheese types for sourdough bread are those with goodhaverties and complementary flavors. Some excellent options include fresh mozzarella, provolone, Gruyère, young Gouda, and Fontina. These cheeses create beautiful melty pockets and add moisture to the bread without overpowering the sourdough’s natural tanginess.
Should I refrigerate my cheese sourdough bread after baking? It’s generally not necessary to refrigerate sourdough bread with cheese after baking. However, it’s best to consume the bread within a few days for optimal freshness and texture. Refrigeration can alter the texture of sourdough, so it’s preferable to store it at room temperature in a bread box or paper bag.
How do I prevent cheese from burning in my sourdough bread? Use a two-stage baking process to prevent cheese from burning in your sourdough bread. Start with a high temperature (500°F/260°C) for oven spring, then reduce to 450°F (230°C) for the covered bake phase. Parchment paper under the dough prevents the cheese from sticking and burning on the bottom. Monitor the internal temperature, aiming for 204-206°F (95-96.5°C), and loosely cover the top with aluminum foil if it’s browning too quickly.
How should I adjust the hydration of my dough when adding cheese? When adding cheese to your sourdough, reduce the recipe’s water content to compensate for the cheese’s moisture content. Calculate the cheese’s moisture content (typically 35-55%) and subtract that amount from your original water quantity. Aim for a hydration level 2-3% lower than your standard sourdough recipe for cheese-enriched dough to account for the cheese’s moisture contribution.
What’s the best time to add cheese to sourdough? The best time to add cheese to your sourdough is about an hour into the process, typically during the second set of stretch and folds. This timing allows the gluten network to develop properly before introducing the cheese. For perfect distribution, consider using the lamination method, adding cheese in multiple stages during folding and allowing 20-30 minutes of rest between subsequent folds.
How can I ensure even cheese distribution in my sourdough? Spread the cheese evenly during lamination or folding. Use a dough scraper for even distribution and create multiple layers by incorporating the cheese gradually rather than all at once. Keep the final layer cheese-free, and reserve about 1/3 of the cheese for the final fold. Cold proofing can also help maintain cheese distribution by solidifying the cheese particles.
What folding techniques work best for cheese sourdough? Gentle folding techniques work best for cheese sourdough. Use a series of stretches and folds rather than traditional kneading. With a wet hand, reach under the dough’s edge, stretch upward gently, fold over the top, rotate the bowl, and repeat 4-6 times per folding session. This gentle handling preserves cheese distribution while building necessary dough strength.