How to Achieve an Open Crumb Sourdough: A Baker’s Guide
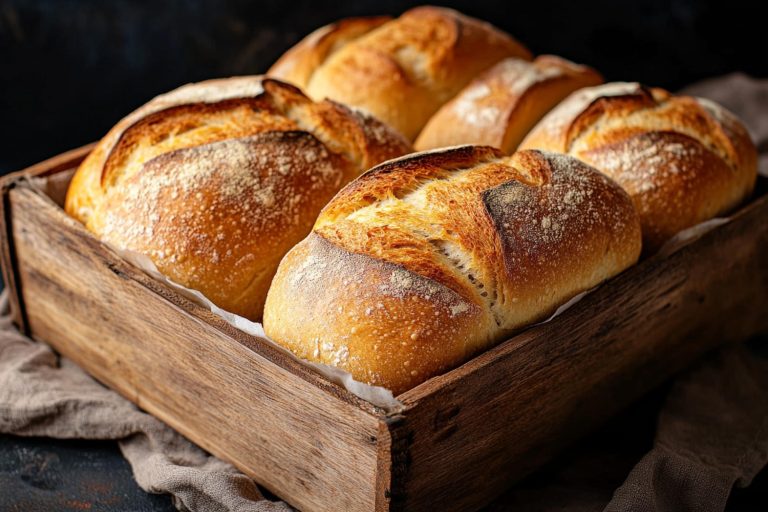
You slice into your freshly baked sourdough, hoping to see those beautiful, irregular holes. Instead, a dense, tight crumb stares back at you.
This disappointing moment feels like a setback after hours of mixing, folding, and waiting. The truth is simple: achieving that coveted open-crumb sourdough doesn’t depend on luck. Success comes from understanding the science and becoming skilled at specific techniques.
Each step plays a significant role in creating those gorgeous, honeycomb-like holes that define exceptional artisan bread. Your sourdough starter’s management and folding technique are the foundations of success. The best part? Years of baking and testing have helped us unlock these secrets.
Would you like to revolutionize your dense loaves into Instagram-worthy open-crumb masterpieces? Let’s explore the exact steps and techniques you should know.
Understanding Open Crumb Structure
The fascinating world of open crumb structure in sourdough bread has amazing secrets to reveal. My years of baking experience have taught me that understanding the science behind those beautiful holes is crucial for getting consistent results.
What Makes an Open Crumb
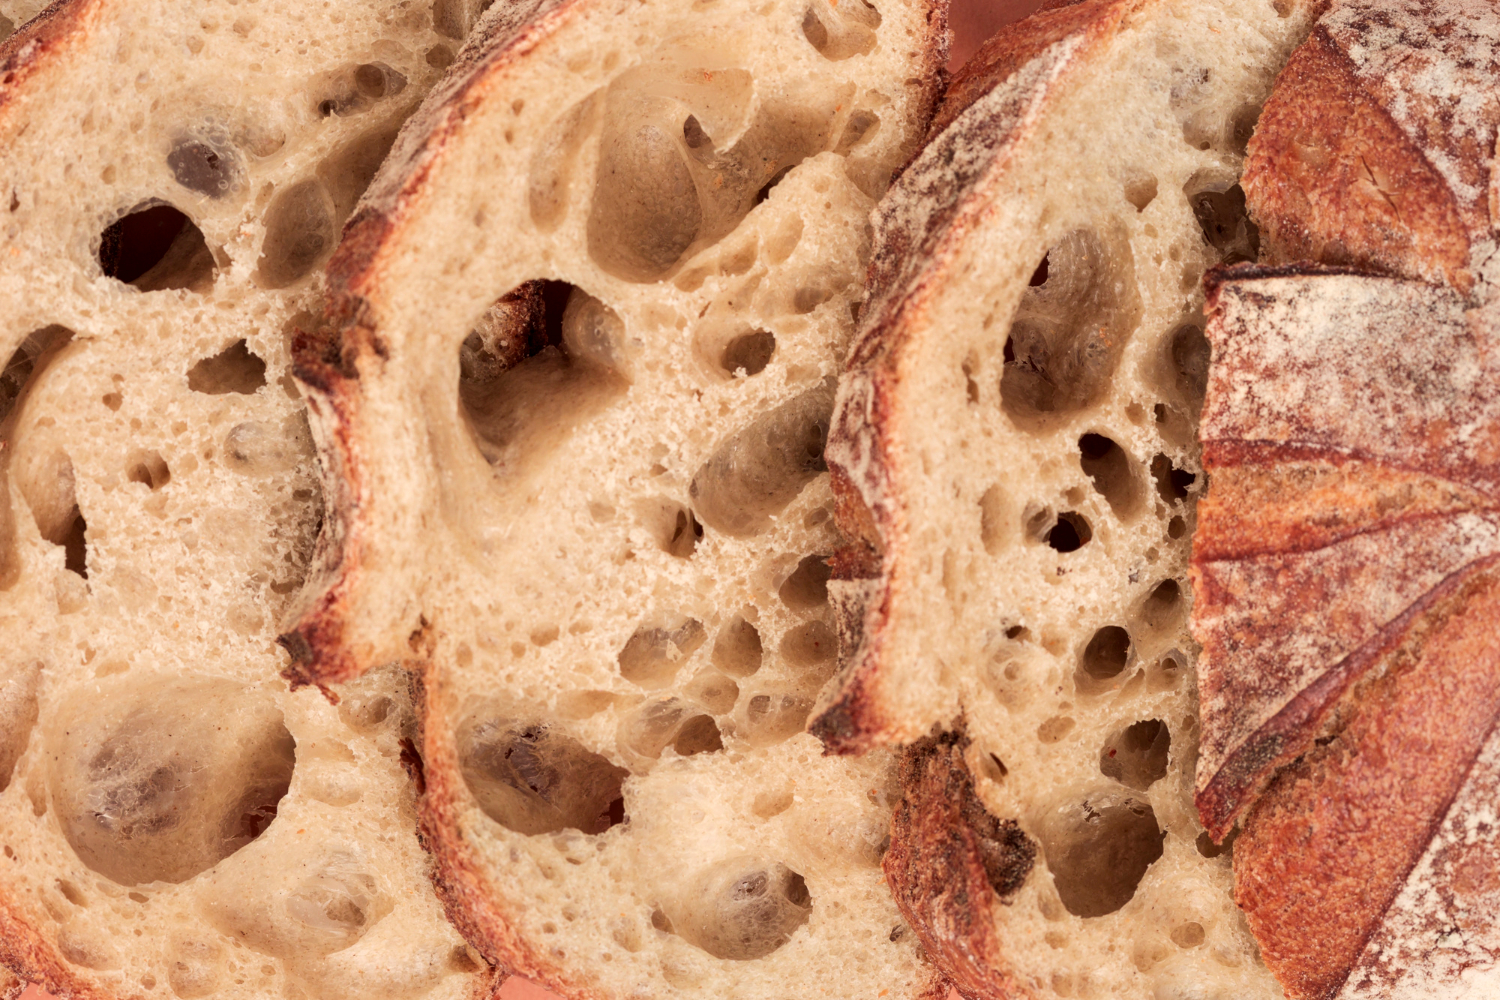
Beautiful, irregular holes spread evenly throughout the bread create an open crumb structure. The goal isn’t to develop massive tunnels or dense spots. A light, airy texture should show clear signs of proper fermentation. The perfect balance comes from proper fermentation and dough strength working together.
The Science Behind Gluten Development
The fascinating interplay between elasticity and extensibility creates the foundation of an open crumb structure. Gluten works like a protein network that forms when flour meets water. Here’s how different gluten characteristics shape our bread:
| Characteristic | Weak Development | Strong Development |
|---|---|---|
| Texture | Dense, tight crumb | Light, open structure |
| Stretch | Tears easily | Forms windowpane |
| Gas retention | Poor, deflate | Excellent, holds shape |
Visual Characteristics of Perfect Crumb
A well-developed open crumb should have these key features:
- Shiny, translucent walls between holes (showing proper gluten development)
- Even the distribution of various-sized holes throughout the loaf
- Light and airy texture that feels silky to the touch
- There are no dense spots or gummy areas between the holes
The perfect balance of fermentation and strength creates magic. Many bakers put too much emphasis on hydration levels and think more water automatically means better holes. The key lies in developing and maintaining proper dough structure throughout the process.
Creating an open crumb isn’t about making the most significant possible holes. The goal is to develop a strong yet extensible dough that effectively traps and holds fermentation gases. In the following sections, we’ll become skilled at this delicate balance.
Building a Strong Foundation
Creating perfect open crumb sourdough requires mastery over three essential elements. After years of testing different methods, I can share what works.
Choosing the Right Flour Blend
Great open crumb starts with flour that has the right protein content. My tests show that flour with 11-13% protein content gives you the best foundation to build strong gluten networks. Here’s my go-to mix:
| Flour Type | Protein % | Best Used For |
|---|---|---|
| Bread Flour | 12.7% | Primary structure |
| All-Purpose | 11.7% | Balanced texture |
| Whole Wheat | 13-14% | Flavor (limit to 10-20%) |
Optimal Hydration Levels
Many bakers think you need super high hydration for a beautiful open crumb structure. My experience shows you can get great results with 70-80% hydration. Success comes from finding that perfect balance where your dough is:
- Easy enough to work with and build strength
- It has enough moisture for good gluten development
- Stays in shape while proofing
Salt and Temperature Control
Salt does more than add flavor – it’s a vital part of controlling fermentation and building gluten strength. A 1.8-2.0% salt ratio to flour weight gives the dough perfect strength without overpowering the taste.
Temperature control plays an equally important role. The best results come when the dough stays between 75-78°F (24-25°C) during fermentation. This temperature range helps:
- Keep fermentation active without over proofing
- Build a proper gluten structure
- Create consistent results every time
These elements work together through a collaborative effort. Getting these basics right makes that beautiful open crumb much more predictable. Success comes from careful measurement and monitoring throughout the baking process.
Mastering Fermentation
The real magic of open-crumb sourdough starts when you become skilled at fermentation. My years of baking have taught me that this stage can determine your bread’s final structure.
Signs of Perfect Starter Activity
My starter needs to show specific signs before I start baking. A healthy starter should double in volume within 4-6 hours of feeding, giving off a pleasant, yeasty smell. The best open crumb structure comes from using the starter right at its peak, not after it starts falling.
Bulk Fermentation Indicators
My countless bakes have helped me identify these reliable signs of proper bulk fermentation:
- It becomess smoother and more elastic
- The surface develops a slight dome shape
- Tiny bubbles appear on the top and sides
- Volume increases noticeably
- Edges between dough and container become rounded
Managing Dough Temperature
Temperature control is vital to achieve that perfect open crumb. These specific temperature ranges guide my process:
| Stage | Ideal Temperature | Effect on Fermentation |
|---|---|---|
| Starter | 74-78°F (23-26°C) | Optimal yeast activity |
| Bulk Fermentation | 75-78°F (24-26°C) | Balanced development |
| Cold Retard | 38-42°F (3-6°C) | Flavor enhancement |
Consistent temperature matters more than hitting exact numbers. My dough needs checking at 3-3.5 hours in warmer kitchens (around 80°F). More excellent conditions (around 75°F) need 4-5 hours.
I love how time and temperature work together. Warmer doughs ferment faster but risk becoming too acidic. Cooler temperatures allow longer fermentation and create complex flavors. A final dough temperature of 75-78°F gives me consistent results for that coveted open crumb structure.
Keep in mind that fermentation isn’t just about timing—your dough tells you what it needs. The dough’s increased elasticity and those beautiful bubbles forming along the container’s sides signal that perfect open-crumb sourdough is on its way.
Essential Dough Handling Techniques
Proper dough handling is key to the perfect open crumb structure. My experience shows that balancing gentleness and confidence while handling dough creates the best results.
Gentle Folding Methods
The dough needs treatment like a delicate network of tiny gas pockets. My folding technique strengthens the dough and keeps its airy structure intact:
| Folding Stage | Technique | Purpose |
|---|---|---|
| Early Folds | Confident stretches | Build original strength |
| Mid-Process | Moderate tension | Develop structure |
| Final Folds | Gentle stretches | Preserve gas bubbles |
The folds happen every 30 minutes during the first 90 minutes of bulk fermentation. The intensity decreases gradually as the dough becomes stronger.
Building Surface Tension
Surface tension is vital to achieving that beautiful open crumb. It does more than enhance outer appearance—it creates a structure that supports proper oven springs.
My shaping process uses a gentle but firm hand to create tension by:
- Pulling the dough against the work surface
- Creating a tight outer skin without tearing
- Maintaining the dough’s natural gas structure
- Developing just enough tension to hold shape
Avoiding Common Handling Mistakes
Over the last several years of baking, these handling mistakes can compromise your open crumb:
- Over-aggressive folding: Too much force can deflate precious gas bubbles
- Inconsistent timing: Irregular fold intervals can lead to uneven development
- Excessive flour: Too much bench flour can create unwanted layers
- Rushed shaping: Quick, rough handling destroys careful fermentation work
Success comes from developing a feel for your dough. The dough tells you when it becomes more extensible and elastic, and you adjust your handling. This process works like a dance – confidently lead while responding to your partner’s movements.
Note that the perfect open crumb doesn’t need maximum force. Finding the spot between developing strength and preserving the delicate structure built through proper fermentation would be best.
Perfecting the Final Stages
Making perfect open-crumb sourdough takes precision and patience in its final stages. After becoming skilled at handling dough, I’ve found that these last steps can transform good bread into exceptional bread.
Proper Proofing Techniques
Cold proofing gives me the most consistent results for open crumb structure. My dough is shaped and put in the refrigerator at 38-42°F (3-6°C) to proof for 12-16 hours. The long cold fermentation creates complex flavors and lets me better control the final structure.
These signs tell me the proofing is perfect:
- The dough feels alive and soft to the touch
- The finger poke test shows a slow spring-back
- The surface appears slightly domed
- Visible bubbles under the skin
Scoring for Success
Simple scoring works best. A single “utility score” about ¼ to ½ inches deep creates a controlled weak point where the bread expands during baking. Batards need one long slash at a 30-45-degree angle, while boules do well with a simple cross pattern.
| Scoring Type | Depth | Angle | Purpose |
|---|---|---|---|
| Primary Score | ¼-½ inch | 30-45° | Direct expansion |
| Decorative | Surface only | 90° | Esthetic only |
Optimal Baking Environment
My many bakes have shown that a perfect open crumb needs specific conditions. A preheated Dutch oven at 450°F (230°C) works better than traditional higher temperatures. The dough springs up nicely without setting the crust too fast.
Steam is vital to achieving that sought-after open crumb. The Dutch oven stays covered for the first 20 minutes to create the perfect steamy environment. The dough expands fully before the crust sets, creating those beautiful irregular holes we want.
The lid comes off for another 20-25 minutes of baking at 420°F (215°C). This gentle approach keeps the crust from getting too dark while the inside bakes completely. The result? You’ll get a perfectly open crumb structure with a golden-brown crust that shows off all your careful work.
Conclusion
Perfect open-crumb sourdough demands patience, practice, and an understanding of core principles. My experience shows that success comes when you master each element—from choosing the right flour blend to keeping proper fermentation temperatures and perfecting gentle dough handling techniques.
A beautiful open crumb structure comes from balanced coordination between strong gluten development and careful fermentation management. Small adjustments in your technique, like steady temperatures and proper dough tension, will improve your final loaf’s appearance.
Take your bread and pizza to the next level with an authentic artisanal sourdough starter from The Yeast We Can Do. Our small-batch starter helps create exceptional bread and pizza with perfect tangy flavor and signature crust. This works excellent for passionate home bakers and restaurant owners who want to add true sourdough’s unmistakable flavor and character to their menu. Start baking better today. Email john@theyeastwecando.com to get your hands on our premium sourdough starter.
Your dough’s signals will guide you in adjusting your approach. Each loaf offers valuable lessons that bring you closer to consistently achieving that coveted open crumb structure. These techniques and understanding will help you create beautiful, artisanal sourdough bread that makes any baker proud.
FAQs
How can I achieve an open crumb structure in my sourdough bread? To achieve an open crumb structure in sourdough, focus on using flour with 11-13% protein content, maintain 70-80% hydration, and control fermentation temperature between 75-78°F (24-26°C). Use gentle folding techniques, build proper surface tension when shaping, and avoid common handling mistakes like over-aggressive folding or excessive flour use. Proper proofing and baking techniques are also crucial, including cold proofing and creating a steamy baking environment.
What causes an open crumb in sourdough bread? A balance between proper gluten development and careful fermentation management primarily causes an open crumb. It results from a dough that’s extensible enough to allow gas bubbles to elongate yet strong enough to maintain structure. Gentle dough handling, correct hydration levels, and optimal fermentation conditions create beautiful, irregular holes in the bread.
Why is my sourdough crumb dense instead of open? A dense crumb can result from several factors, including dough temperature being too low for proper fermentation, under-proofing, or over-handling the dough. Ensure your dough temperature is between 75-78°F (24-26°C) during fermentation, allow for adequate bulk fermentation and proofing times, and handle the dough gently to preserve the gas structure.
How can I improve the crumb structure of my sourdough? To improve crumb structure, focus on these critical areas: Don’t rush fermentation, allowing the dough to develop fully. Avoid over-flouring your work surface during shaping. Be gentle when handling the dough to preserve gas bubbles. Use proper scoring techniques before baking. Create a steamy environment in the first part of baking to allow for optimal oven spring. Consistently practice and adjust these techniques based on your results.
What’s the ideal hydration level for achieving an open crumb? Contrary to popular belief, extremely high hydration isn’t necessary for an open crumb. Aim for a hydration level between 70-80%. This range provides enough moisture for proper gluten development while keeping the dough manageable. Remember, it’s more about finding the right balance for your specific flour and environment than pushing for the highest possible hydration.
How does fermentation affect the openness of the crumb? Fermentation plays a crucial role in developing an open crumb. During bulk fermentation, look for signs like the dough becoming smoother and more elastic, producing a slight dome shape, and tiny bubbles appearing on the surface. Proper fermentation allows for developing gas pockets that create an open structure. Be careful not to over-ferment, which can lead to a collapsed structure.
What role does scoring play in achieving an open crumb? Scoring is essential for directing the bread’s expansion during baking, which affects crumb structure. A single “utility score” (about ¼ to ½ inches deep) creates a controlled weak point where the bread can expand. This helps achieve a better oven spring and a more open crumb structure. Avoid excessive decorative scoring, which can interfere with the bread’s expansion.
How does the baking environment impact crumb structure? The baking environment significantly affects crumb structure. Start with a preheated Dutch oven at 450°F (230°C). Cover it for 20 minutes to create steam, allowing the dough to expand fully before the crust sets. This promotes optimal oven spring and helps achieve that coveted open crumb. After uncovering, reduce the temperature to 420°F (215°C) to finish baking without over-darkening the crust.